

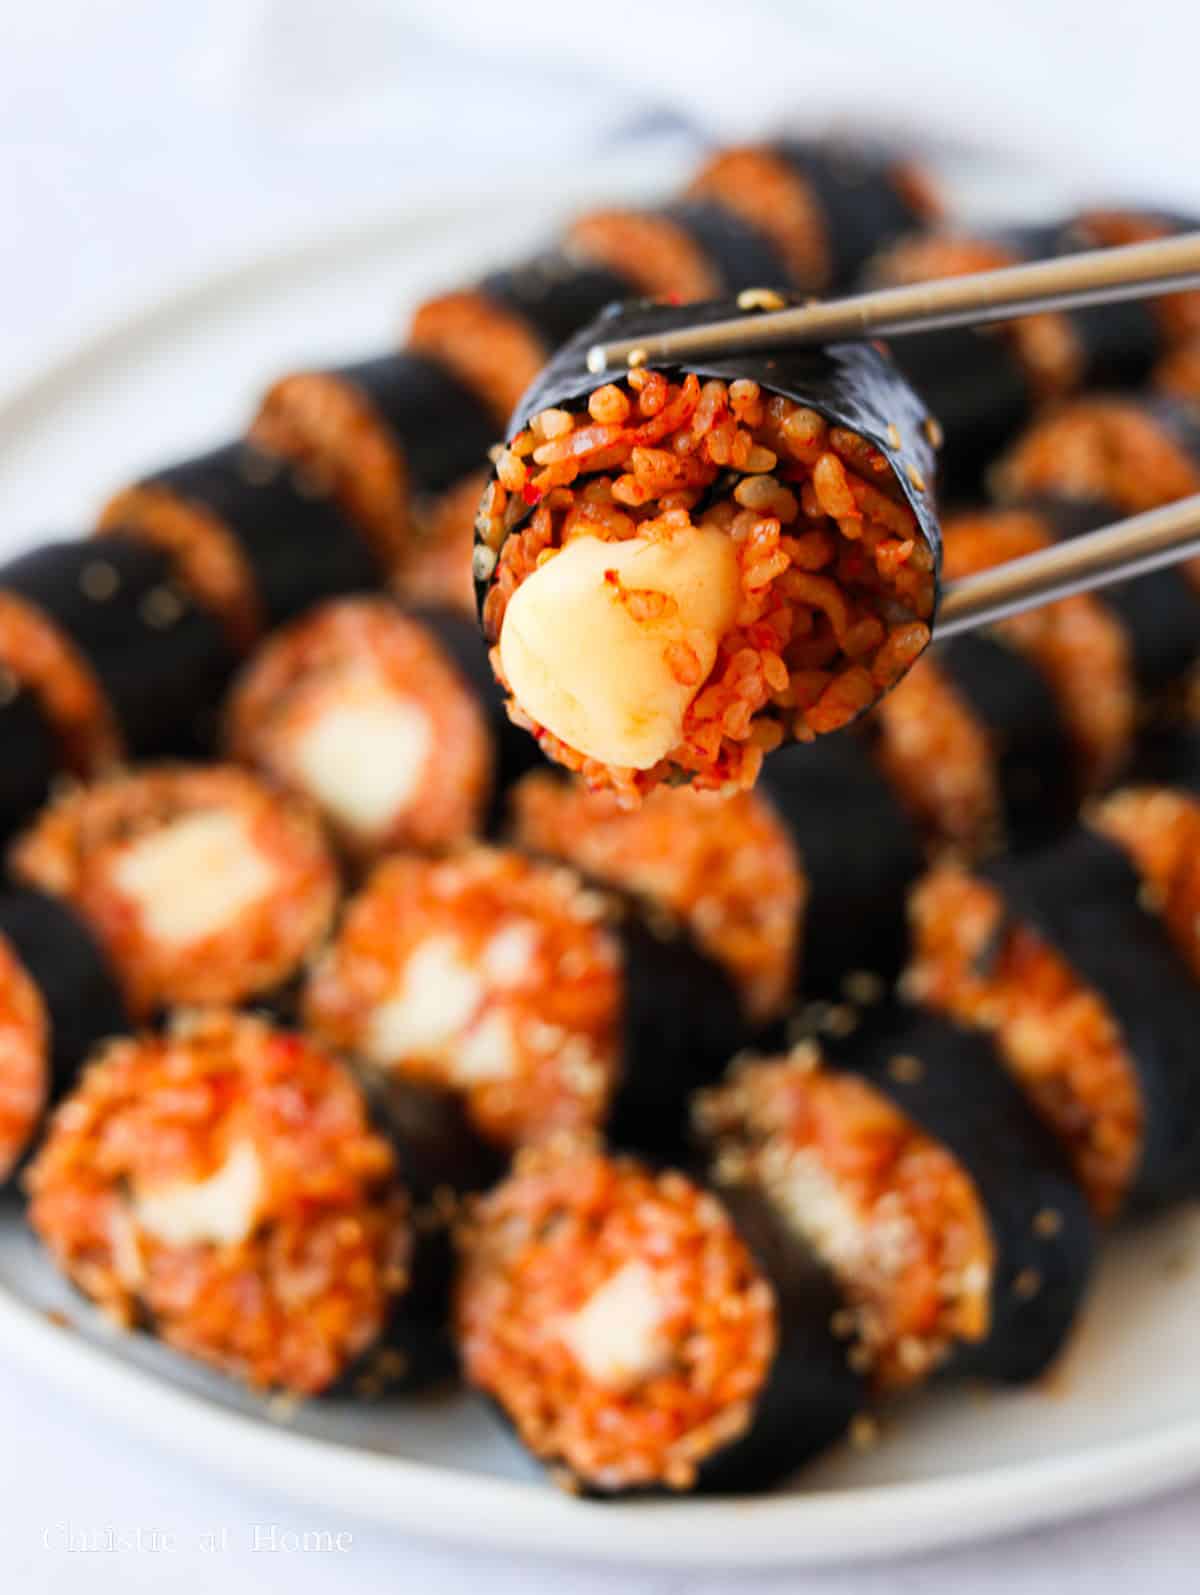
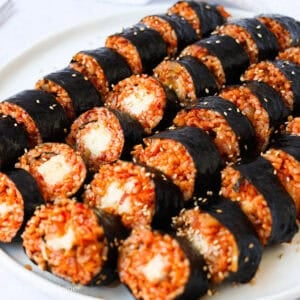
Tangy kimchi fried rice wrapped in roasted seaweed with gooey, melted mozzarella cheese. This easy cheese kimchi kimbap recipe is ready in just 30 minutes using cooked rice. I use warm, slightly sticky rice so the rolls hold together beautifully when sliced!
Jump to:
Cheese kimchi kimbap (or gimbap) is a Korean seaweed rice roll filled with savory kimchi fried rice and mozzarella cheese. Kimbap translates to "seaweed rice" in Korean.
This cheesy variation is sometimes found at Korean convenience stores, where it's reheated and enjoyed warm as a grab-and-go meal or snack, especially among students and commuters.
It's also a favorite in my home because I love the combination of tangy kimchi fried rice, melted mozzarella, and savory roasted seaweed.
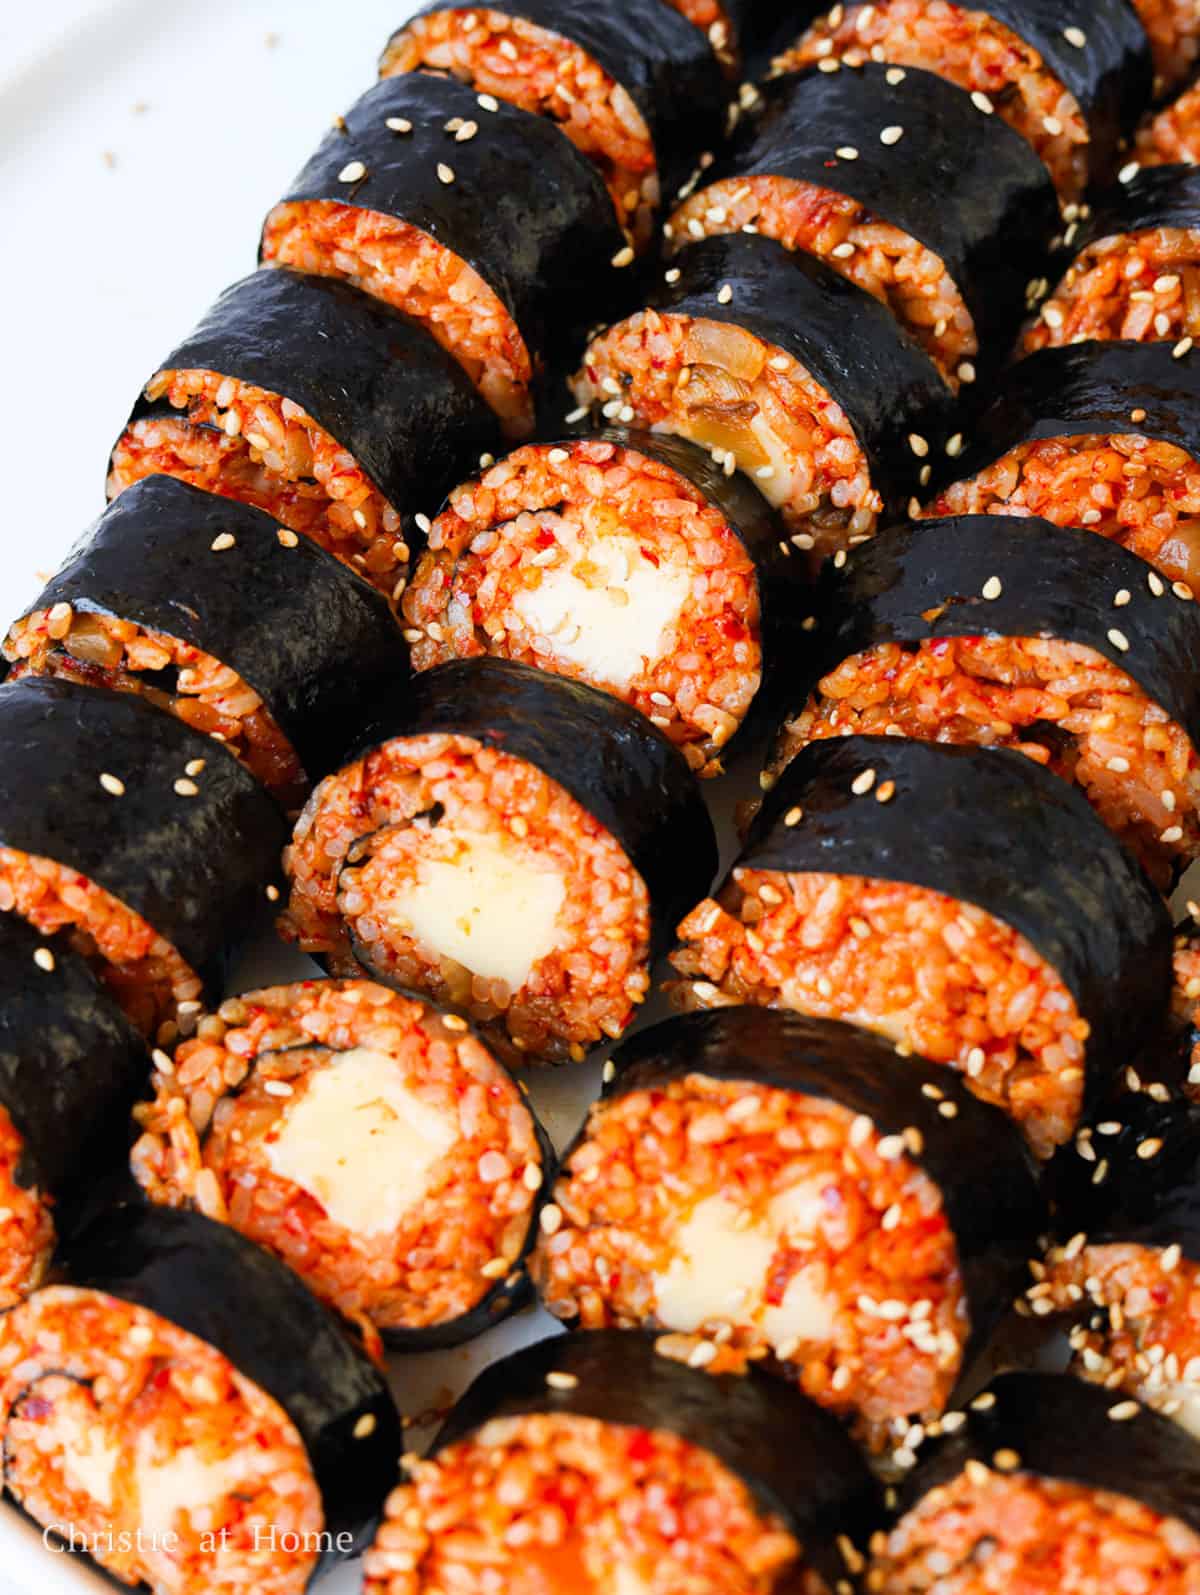
When I make this for lunch or dinner, I briefly stir-fry the kimchi rice to keep it moist and sticky enough for rolling. I also cut the mozzarella into thick strips so there's a cheesy center running through every slice.
Ingredients & Substitutes
Exact ingredient measurements are in the recipe card below.
- Mozzarella Cheese Block: Use low-moisture mozzarella cut into 3⁄4-inch-thick strips, trimming or arranging them end to end to fit the width of the nori. Mozzarella cheese sticks also work. Avoid shredded mozzarella, which is harder to keep centered when rolling.
- Gim (or Nori): Use full-sized sheets of roasted seaweed made for kimbap or sushi, not small seasoned seaweed snacks.
- Toasted Sesame Oil: For brushing over the finished kimbap to add a nutty aroma.
- Toasted Sesame Seeds: For garnish. If unavailable, toast raw sesame seeds in a dry pan over medium heat until golden.
Kimchi Fried Rice Filling
- Cooked Short-Grain Rice: Use short-grain white rice, such as sushi rice, for its sticky texture that helps the kimbap hold together. Medium-grain Calrose rice also works. Avoid long-grain white rice.
- Kimchi: Use well-fermented napa cabbage kimchi with a pronounced tangy flavor and softened cabbage.
- Kimchi Juice: The flavorful red brine from the kimchi package that seasons the fried rice. Larger packages or jars typically contain more juice.
- Garlic
- Toasted Sesame Oil: Adds a nutty aroma to the kimchi fried rice.
- Regular Soy Sauce: Light soy sauce also works. For a less salty option, use low-sodium soy sauce.
- Chicken Bouillon Powder: Adds a savory chicken flavor to the fried rice.
- Vegetable Oil: Or use a neutral oil with a high smoke point, such as canola or refined avocado oil.
Note: Find the Asian ingredients at your local Asian grocery store or in the international aisle of larger supermarkets.
Expert Tips
- Don't overcook the fried rice. Stir-fry briefly to prevent excessive moisture loss, which makes the rice harder to roll.
- Keep the seaweed dry. Handle the gim with dry hands and add the rice just before rolling to prevent the seaweed from becoming soggy.
- Roll the kimbap tightly. Spread the rice in an even layer, then firmly tuck it around the cheese as you roll to keep the filling compact and prevent gaps.
- Use a sharp, oiled knife. This helps make clean cuts without squishing the kimbap. Rinse and wipe the blade between cuts to prevent sticking.
Instructions
Below are instructions on how to make cheese kimchi kimbap:
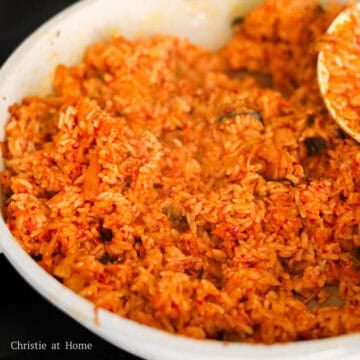
- Make the Kimchi Fried Rice: Heat vegetable oil in a large pan over medium heat. Stir-fry the garlic for 10 seconds until fragrant, then add the chopped kimchi and stir-fry for 1 minute until slightly softened. Add the cooked rice, kimchi juice, soy sauce, and chicken bouillon powder. Stir-fry briefly until combined, then mix in the toasted sesame oil. Transfer to a large bowl and let cool slightly until comfortable to handle. Cover to keep warm and prevent drying out.
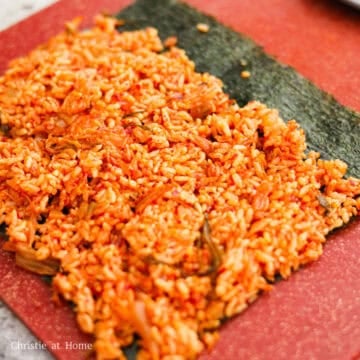
- Spread the Rice: Place a sheet of gim or nori horizontally on a clean work surface, rough side up. Evenly spread 1 cup of warm kimchi fried rice over the seaweed, leaving a 1-inch-wide border along the edge farthest from you.

- Add the Cheese: Place a thick strip of mozzarella cheese horizontally across the center of the rice.
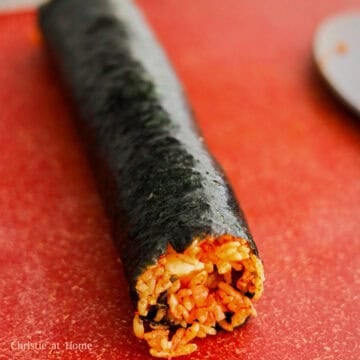
- Roll the Kimbap: Starting from the edge closest to you, lift the seaweed and firmly tuck the rice around the cheese. Continue rolling tightly toward the uncovered border. Place the roll seam-side down and let it rest for 1-2 minutes so the seaweed adheres and the roll holds its shape. Repeat with the remaining ingredients to make 4 rolls.
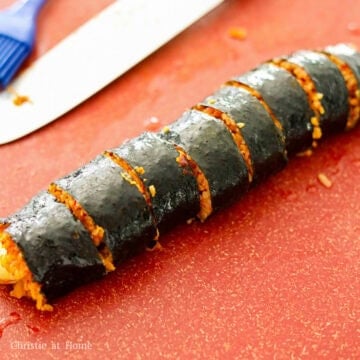
- Slice the Kimbap: Lightly brush each roll and a sharp knife with toasted sesame oil. Slice the rolls into 3⁄4-inch-thick pieces. Rinse and wipe the knife clean with warm water between cuts for cleaner slices. Garnish with toasted sesame seeds and serve warm.
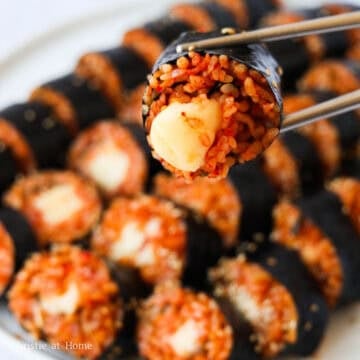
- Melt the Cheese: If the mozzarella hasn't fully melted, microwave each whole roll for 15-20 seconds, or until the cheese is soft and melted.
Storage & Reheating
- Refrigerator: Store leftover cheese kimchi kimbap in an airtight container in the fridge for up to 2 days. The rice will firm up when chilled.
- Freezer: I don't recommend freezing this kimbap because the rice and seaweed can become soggy when thawed.
- Reheating: Cover the kimbap loosely with a damp paper towel and microwave in 20-30-second intervals until heated through and the cheese is melted. This prevents the rice from drying out.
Pairing Suggestions
Serve cheese kimchi kimbap with:
- Korean Cucumber Salad: A crisp, refreshing side that balances the rich, cheesy kimbap.
- Tteokbokki: Chewy rice cakes in a sweet and spicy sauce that complement the savory kimbap.
- Korean Fish Cake Soup: A light, savory broth that rounds out the meal.
FAQ
Yes! You can roll the kimbap by hand on a clean, flat surface. Use your fingers to firmly tuck the rice around the cheese as you roll. A bamboo mat can make rolling easier, but it isn't necessary.
Yes! Substitute the mozzarella with a dairy-free mozzarella alternative that melts well.
📖 Recipe
Easy Cheese Kimchi Kimbap (30 Minutes)

Ingredients
- ½ lb mozzarella cheese block cut into four strips, each 8 inches long and 3⁄4 inch thick
- 4 sheets nori or gim (dry roasted seaweed)
- 2 teaspoon sesame oil toasted kind, for garnishing
- 1 teaspoon sesame seeds toasted kind, for garnishing
Kimchi Fried Rice Filling
- 1 tablespoon vegetable oil or any neutral oil
- 2 garlic cloves minced
- 1 cup kimchi finely chopped
- 4 cups cooked short grain rice hot
- 2 tablespoon kimchi juice from the kimchi package
- 2 teaspoon regular soy sauce or light soy sauce
- ½ teaspoon chicken bouillon powder
- 1 tablespoon sesame oil toasted kind
Instructions
- Heat vegetable oil in a large pan over medium heat. Stir-fry the garlic for 10 seconds until fragrant, then add the chopped kimchi and stir-fry for 1 minute until slightly softened.
- Add the cooked rice, kimchi juice, soy sauce, and chicken bouillon powder. Stir-fry briefly until combined, then mix in the toasted sesame oil. Transfer to a large bowl and let cool slightly until comfortable to handle. Cover to keep warm and prevent drying out.
- Place a sheet of gim or nori horizontally on a clean work surface, rough side up. Evenly spread 1 cup of warm kimchi fried rice over the seaweed, leaving a 1-inch-wide border along the edge farthest from you.
- Place a thick strip of mozzarella cheese horizontally across the center of the rice.
- Starting from the edge closest to you, lift the seaweed and firmly tuck the rice around the cheese. Continue rolling tightly toward the uncovered border. Place the roll seam-side down and let it rest for 1-2 minutes so the seaweed adheres and the roll holds its shape. Repeat with the remaining ingredients to make 4 rolls.
- Lightly brush each roll and a sharp knife with toasted sesame oil. Slice the rolls into 3⁄4-inch-thick pieces. Rinse and wipe the knife clean with warm water between cuts for cleaner slices. Garnish with toasted sesame seeds and serve warm.
- If the mozzarella hasn't fully melted, microwave each whole roll for 15-20 seconds, or until the cheese is soft and melted.
June
This was so delicious and I will definitely be making it again!
Christie Lai
Thank you so much for making my recipe and leaving such a kind review, June! Glad it worked out and I hope you continued to enjoy it 🙂
Heidi | The Frugal Girls
I really like how this recipe doesn't really require any special tools to make... and that gooey mozzarella cheese is so irresistible!