Jump to:
Korean Fried Chicken is made of flavorful fried chicken that is super crispy on the outside and juicy on the inside. The chicken is seasoned in a soy marinade and a hint of curry then battered and fried in oil.
In the 1940's during the Korean war, the idea of fried chicken was brought to South Korea from the United States by African-American troops.
This Korean dish is popularly served at many Korean restaurants and best enjoyed with pickled daikon radish with a cold beer.
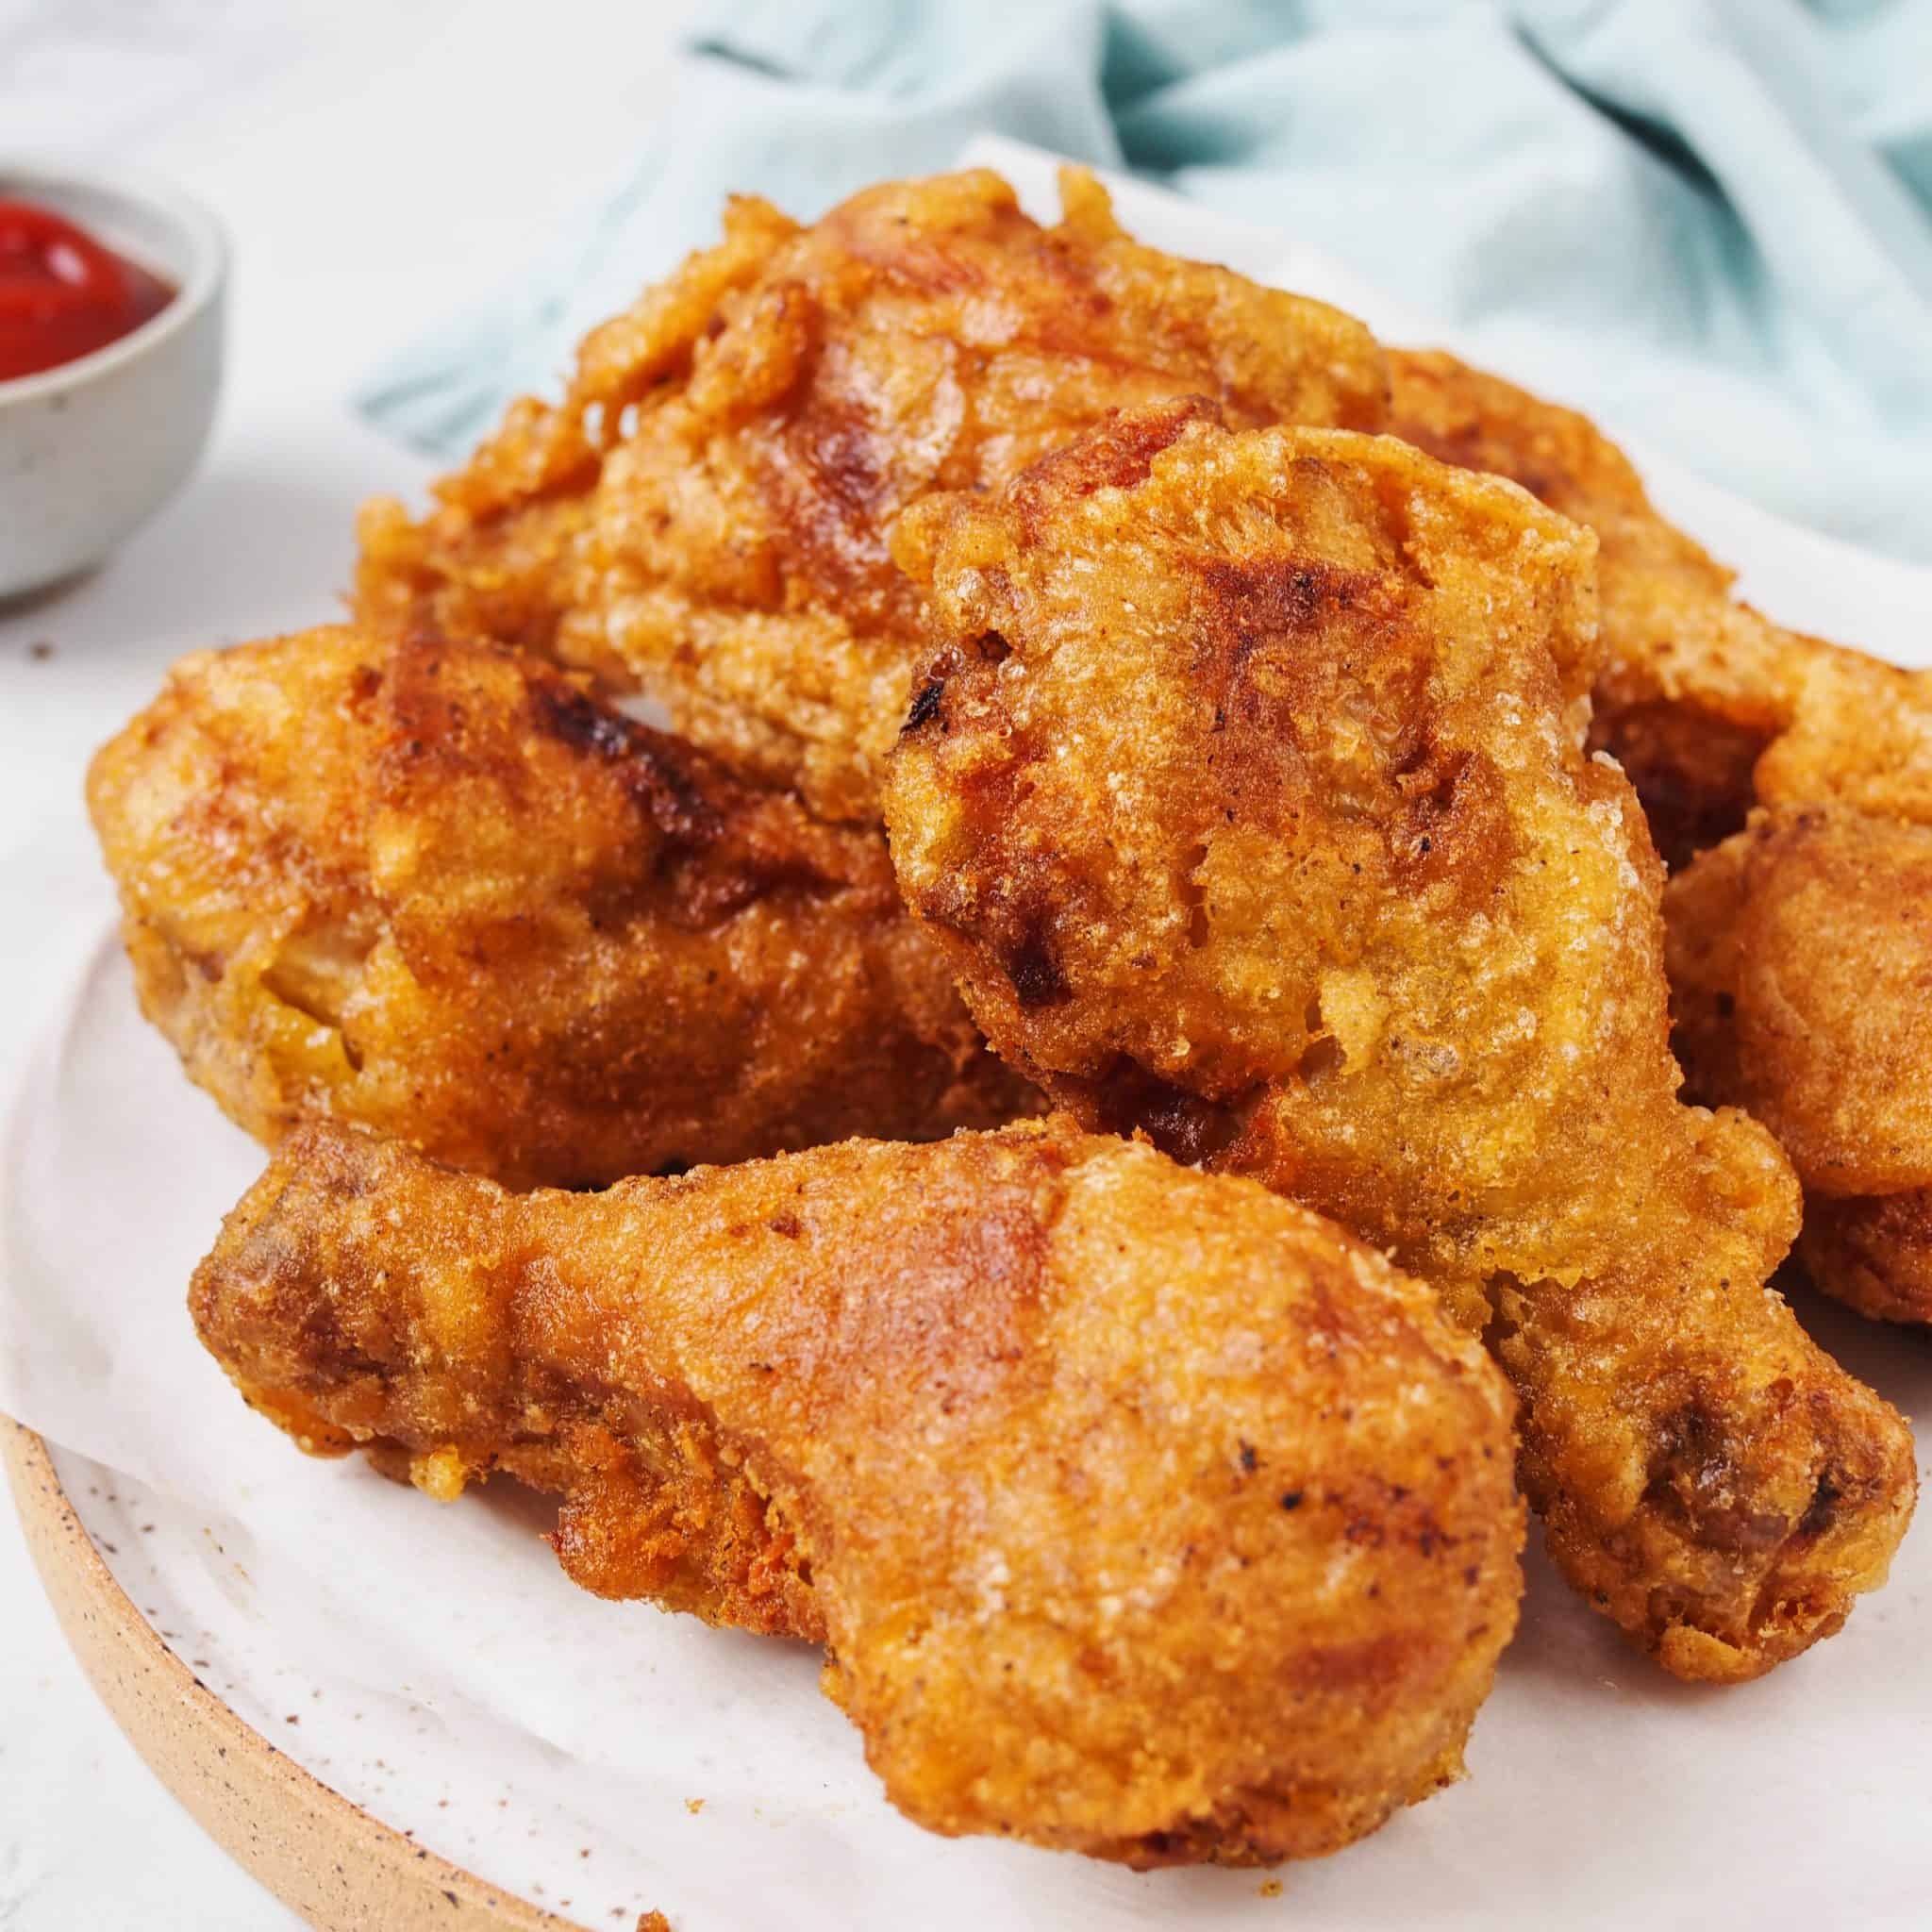
There are many variations of Korean fried chicken like "Yangnyeom-chikin", which is fried chicken coated in a spicy gochujang sauce. Another type of Korean fried chicken is "Ganjang chicken", which is a soy garlic chicken.
But today I'm sharing the original kind without any sauces and it's my favorite because it's super crispy and flavorful on its own!
Ingredients & Substitutes
Please scroll down to below recipe card for exact measurements.
- Chicken drumsticks: or substitute with bone-in skin on chicken thighs or chicken wings but please refer to recipe card for instructions.
- Neutral oil: like avocado oil, sunflower oil, grapeseed oil, peanut oil, vegetable oil or canola oil. Avoid olive oil or heavy scented oils.
Chicken marinade
- Rice Vinegar, Dry Sherry or White Wine: or substitute with apple cider vinegar
- Regular soy sauce: or substitute with low sodium soy sauce or light soy sauce. If you’re gluten-free, substitute with tamari sauce, coconut aminos or a gluten-free soy sauce of your choice.
- Garlic
- Black Pepper & Salt
Wet batter
- Tapioca flour: or substitute with potato starch or cornstarch. Avoid using all purpose flour or it won't be crispy.
- Onion powder
- Garlic powder
- Curry powder: Use Japanese curry powder or Indian curry powder for a stronger curry flavor.
- Salt & Black Pepper
- Baking powder: don't skip as it makes the chicken extra crispy.
- Cold water: this makes the coating light and flaky!
Note: Your grocery store or Asian market should carry most of these ingredients.
Expert Tips
- Marinate the chicken for longer if possible for best flavors!
- Opt for bone-in, skin-on chicken for a juicier cut!
- Batter will be runny and will solidify – that’s totally normal! Just mix it again when you batter the chicken.
- Fry chicken in small batches to maintain oil temperature.
- The batter may slightly run off the chicken in some areas, but don't worry that's normal.
- Rest chicken on a wire rack or paper towel lined baking tray to soak up excess oil which can cause chicken to go soggy.
Instructions
Below are step-by-step instructions on how to make Korean fried chicken:
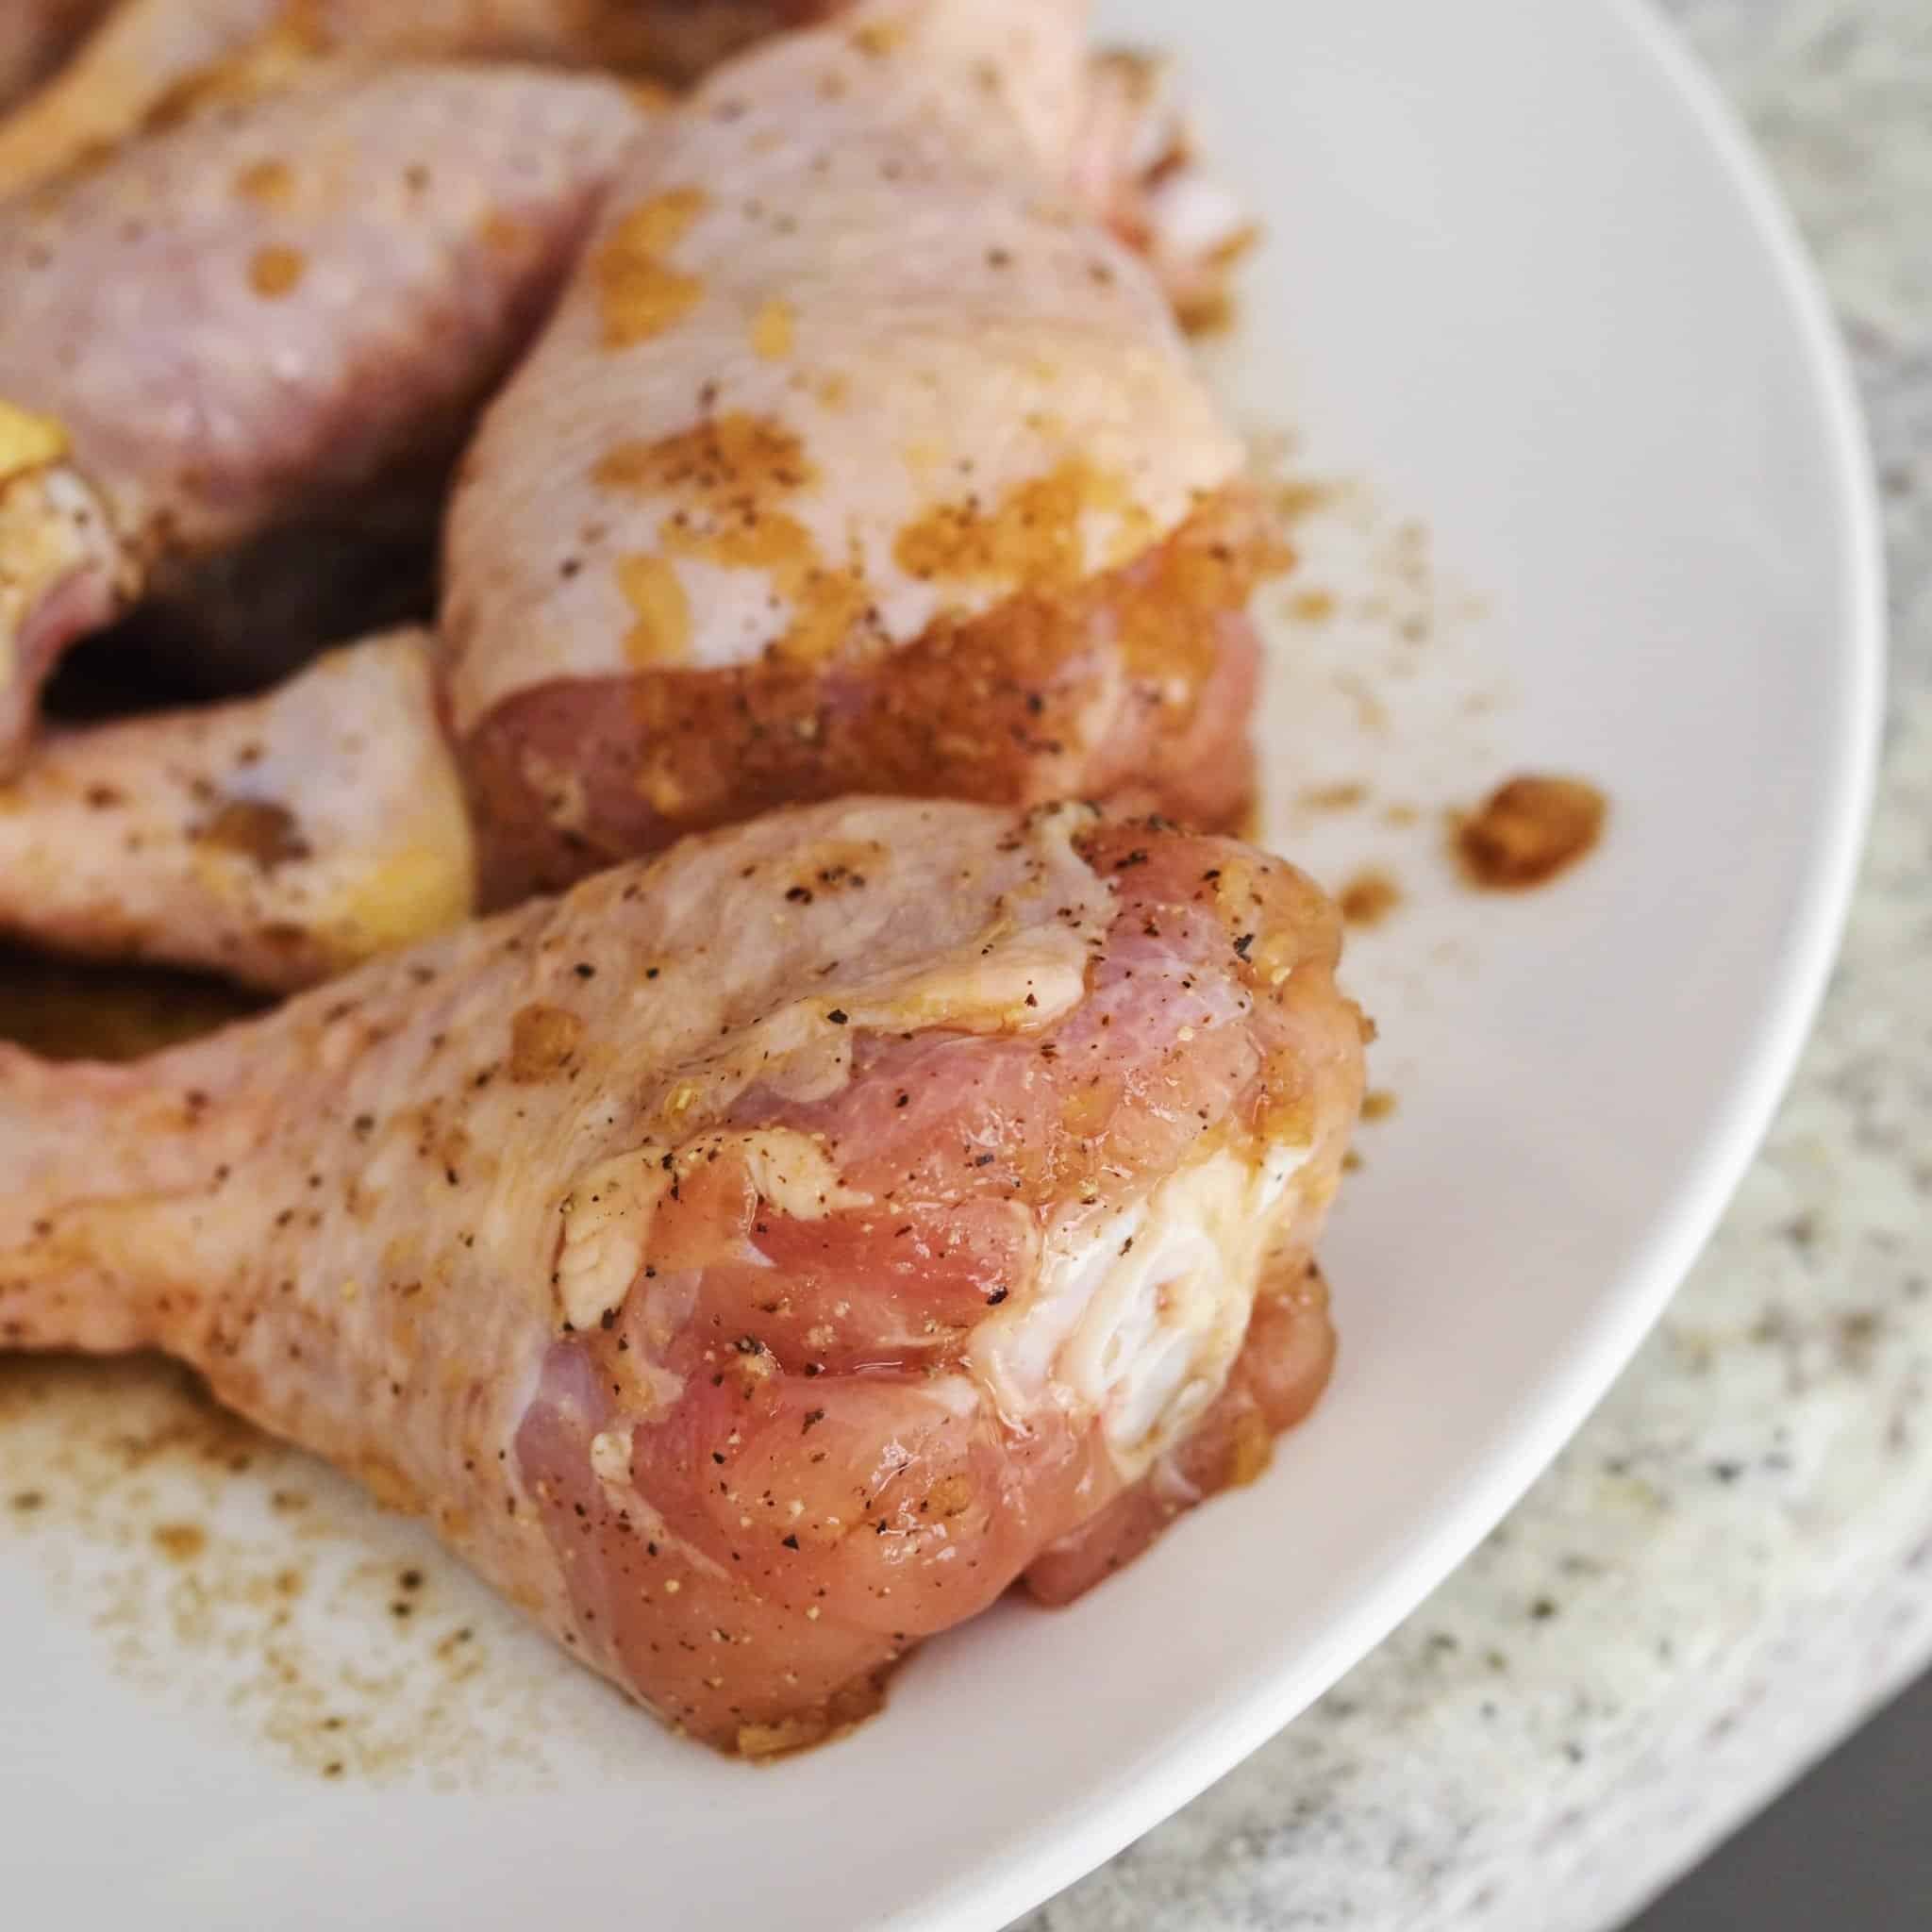
First in a large bowl or Ziplock bag, combine Marinade ingredients as listed. Add chicken to marinade and mix well. Cover the bowl or seal the bag. Let this sit for 10 minutes at room temperature or overnight in the fridge.
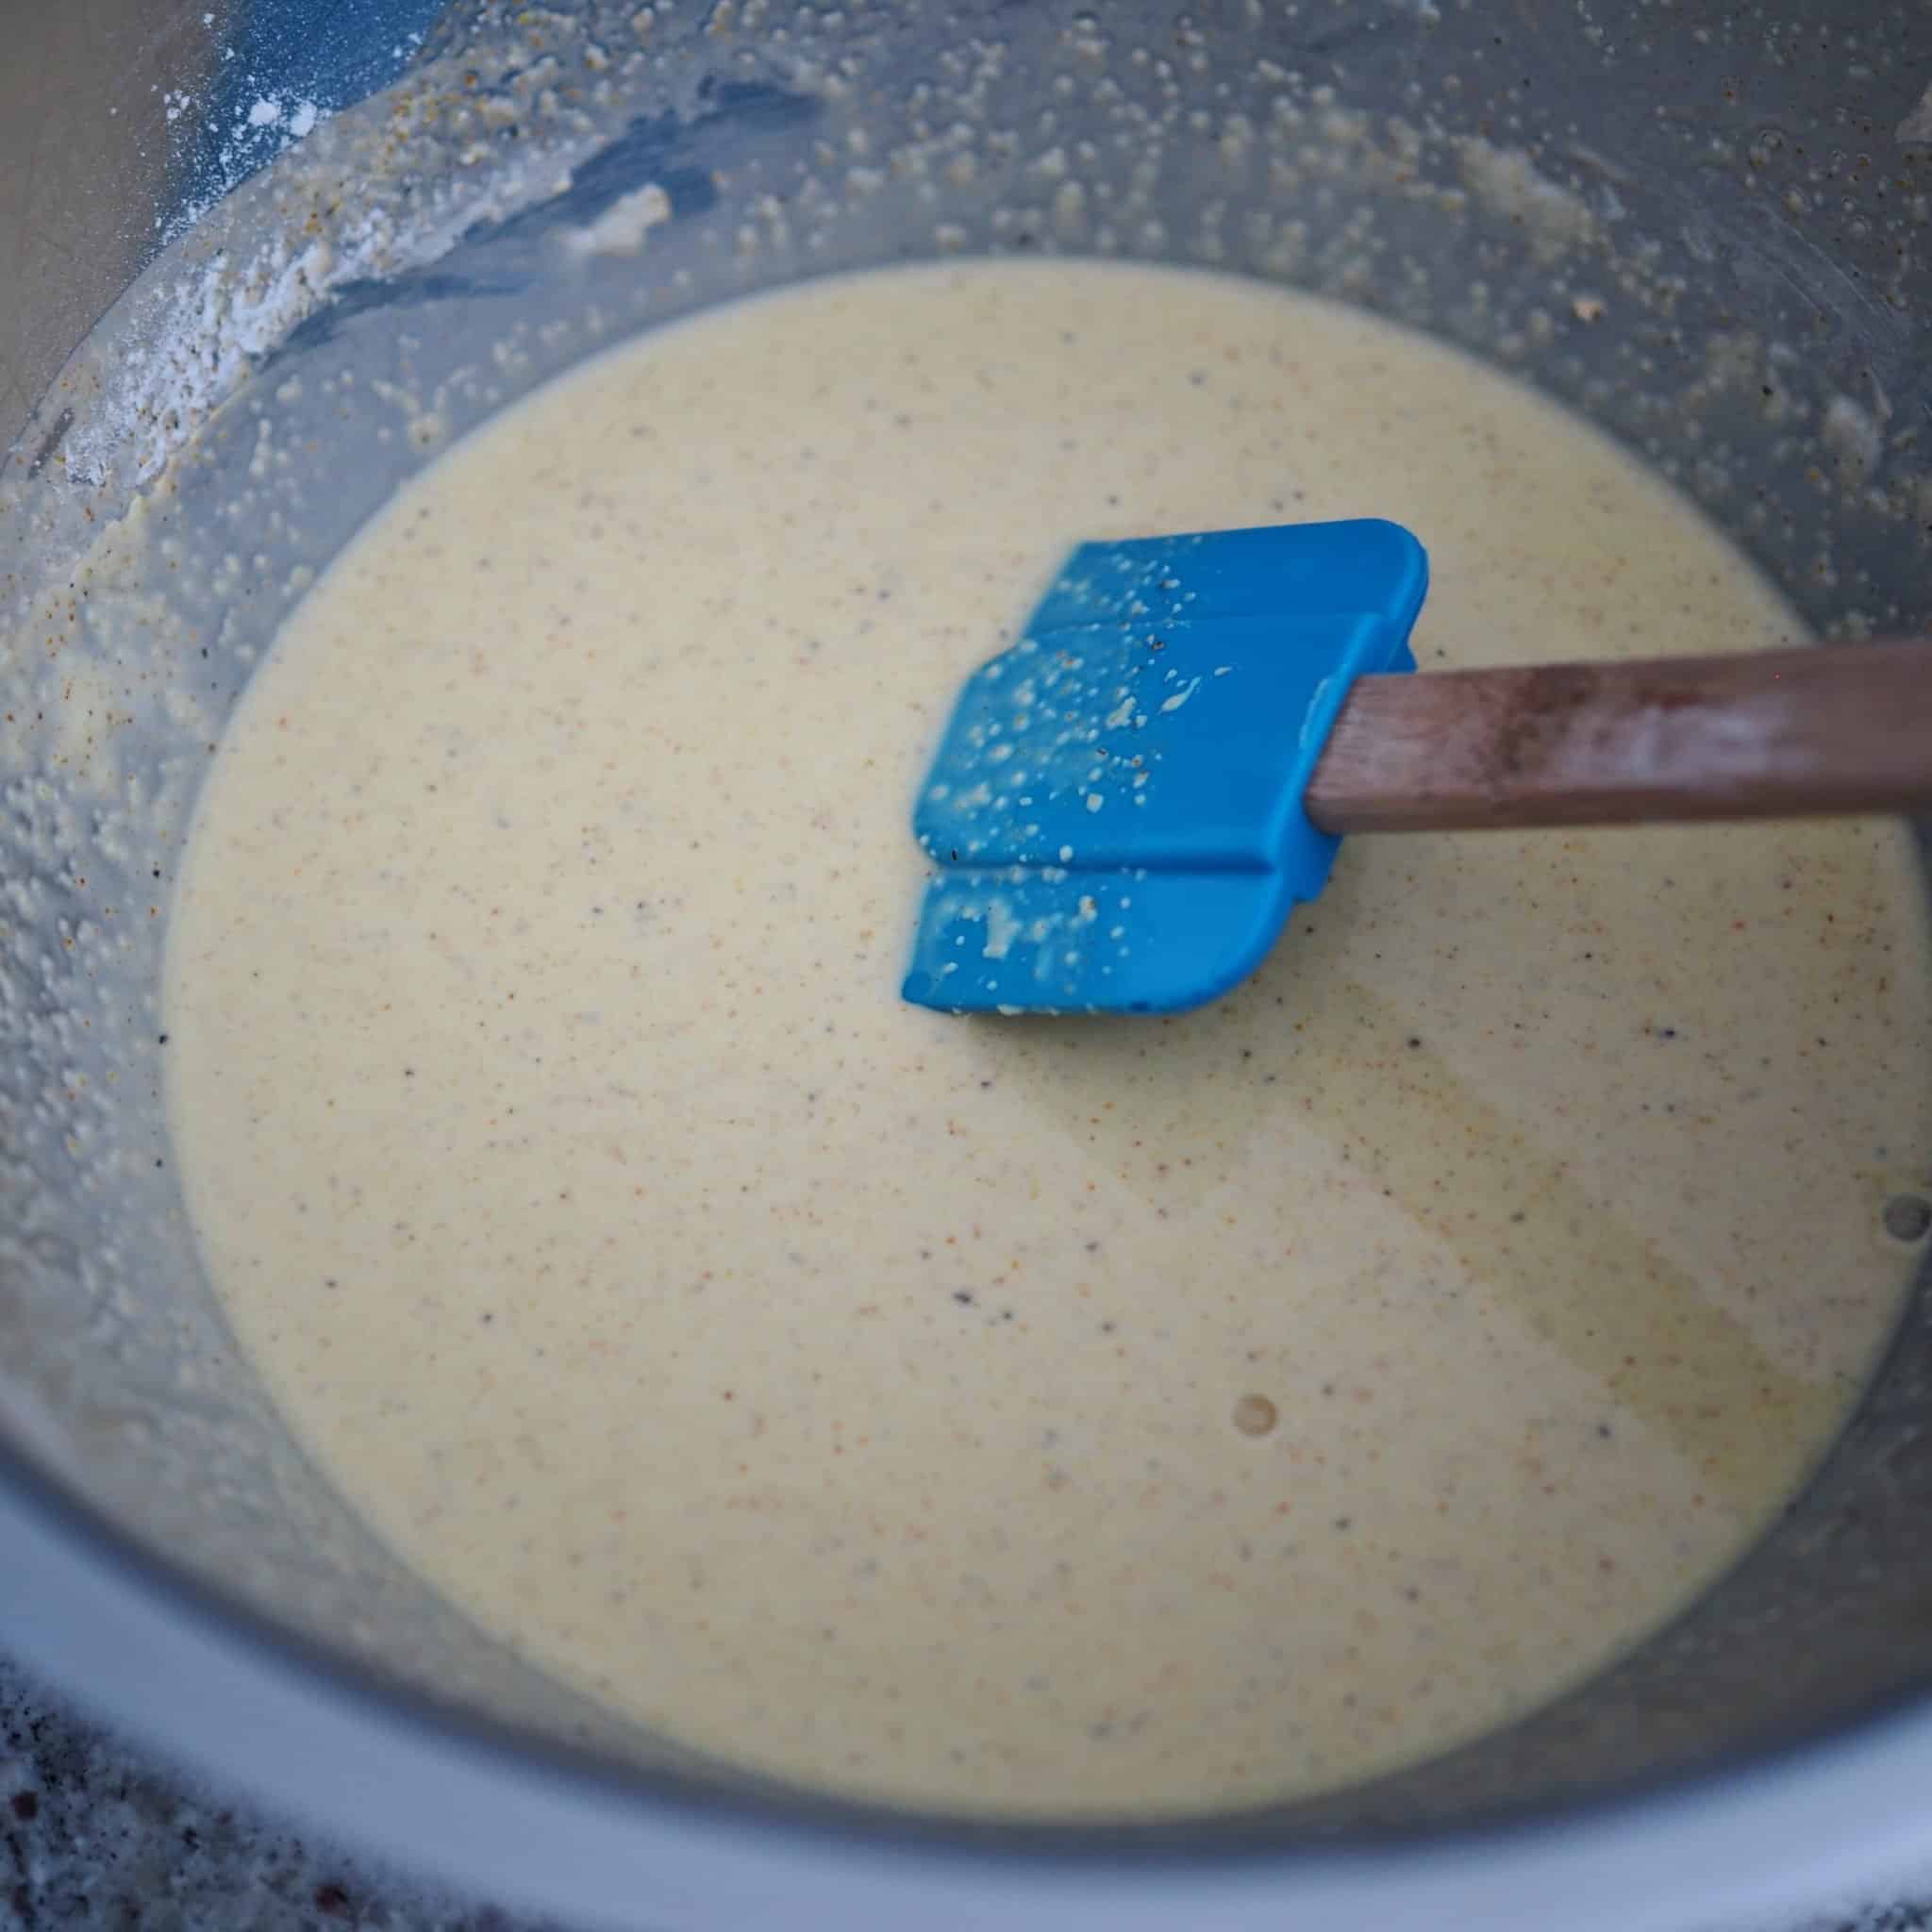
Then in another large bowl, combine Wet batter ingredients as listed until you have a thick but runny batter. The batter will settle and almost "solidify" but that is normal. You will just need to mix it again when you're ready to batter the chicken.
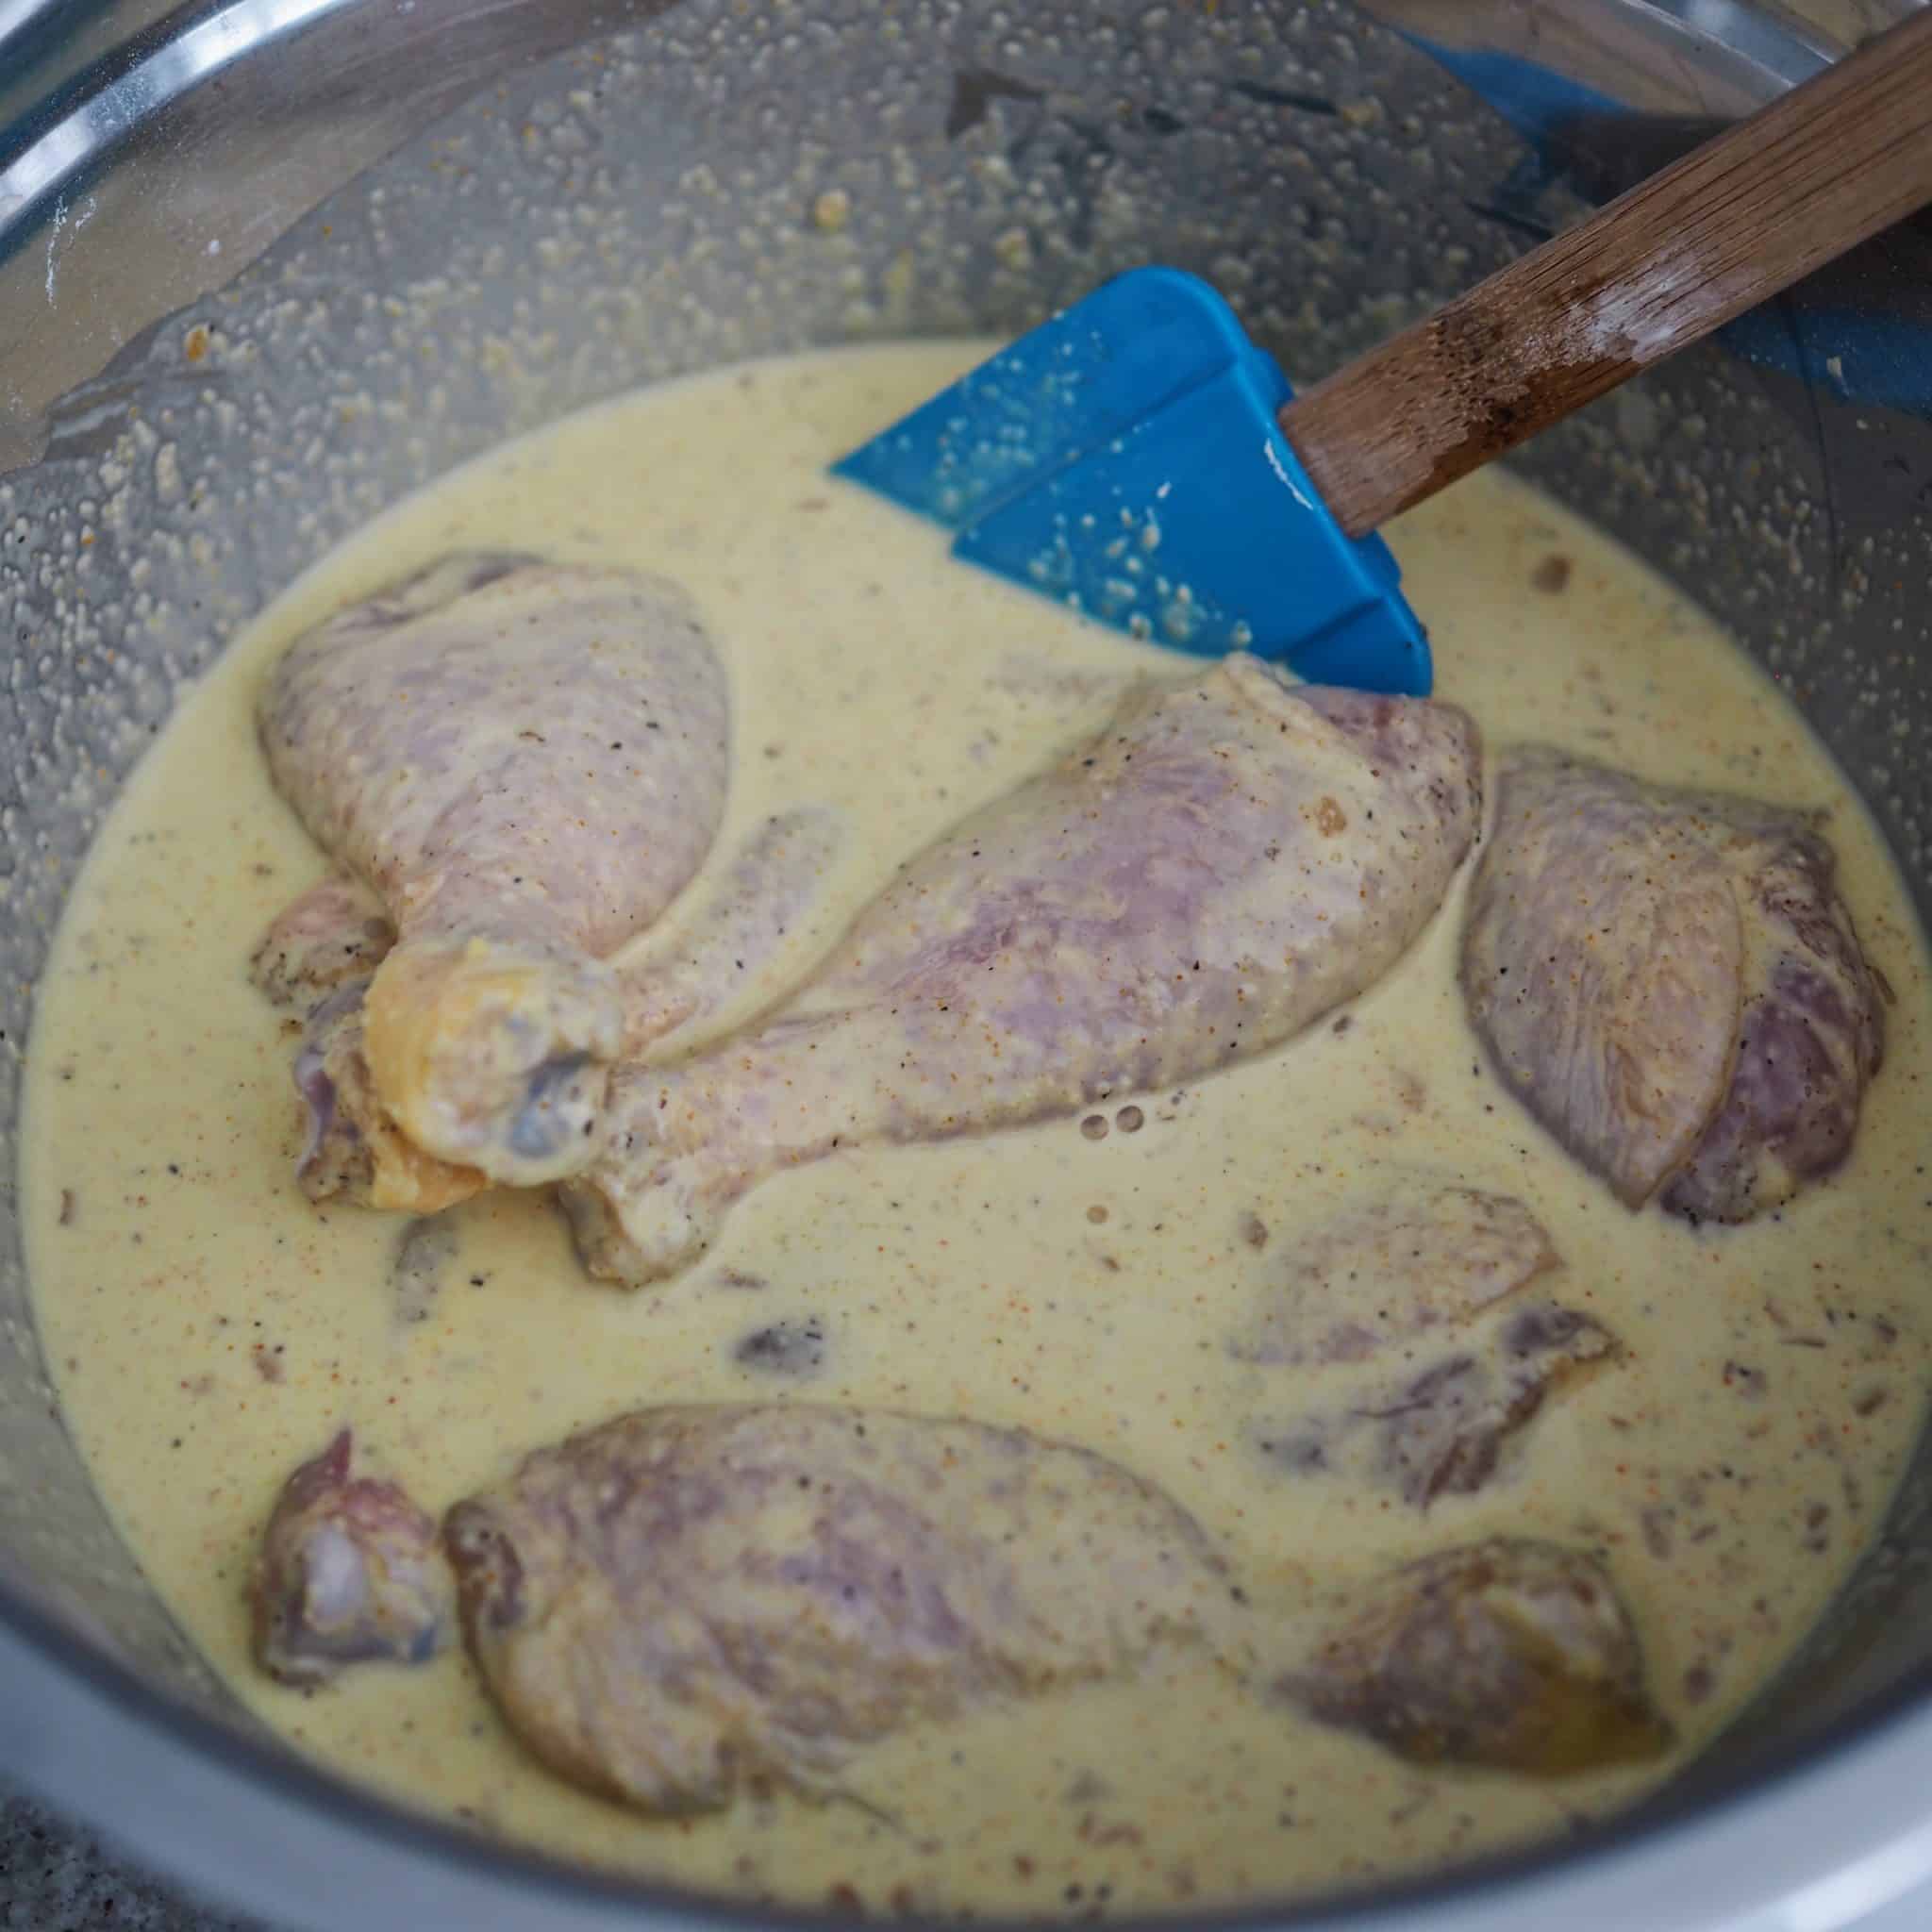
Next add marinated chicken to the batter and mix. You'll need some arm strength here to evenly coat the chicken.
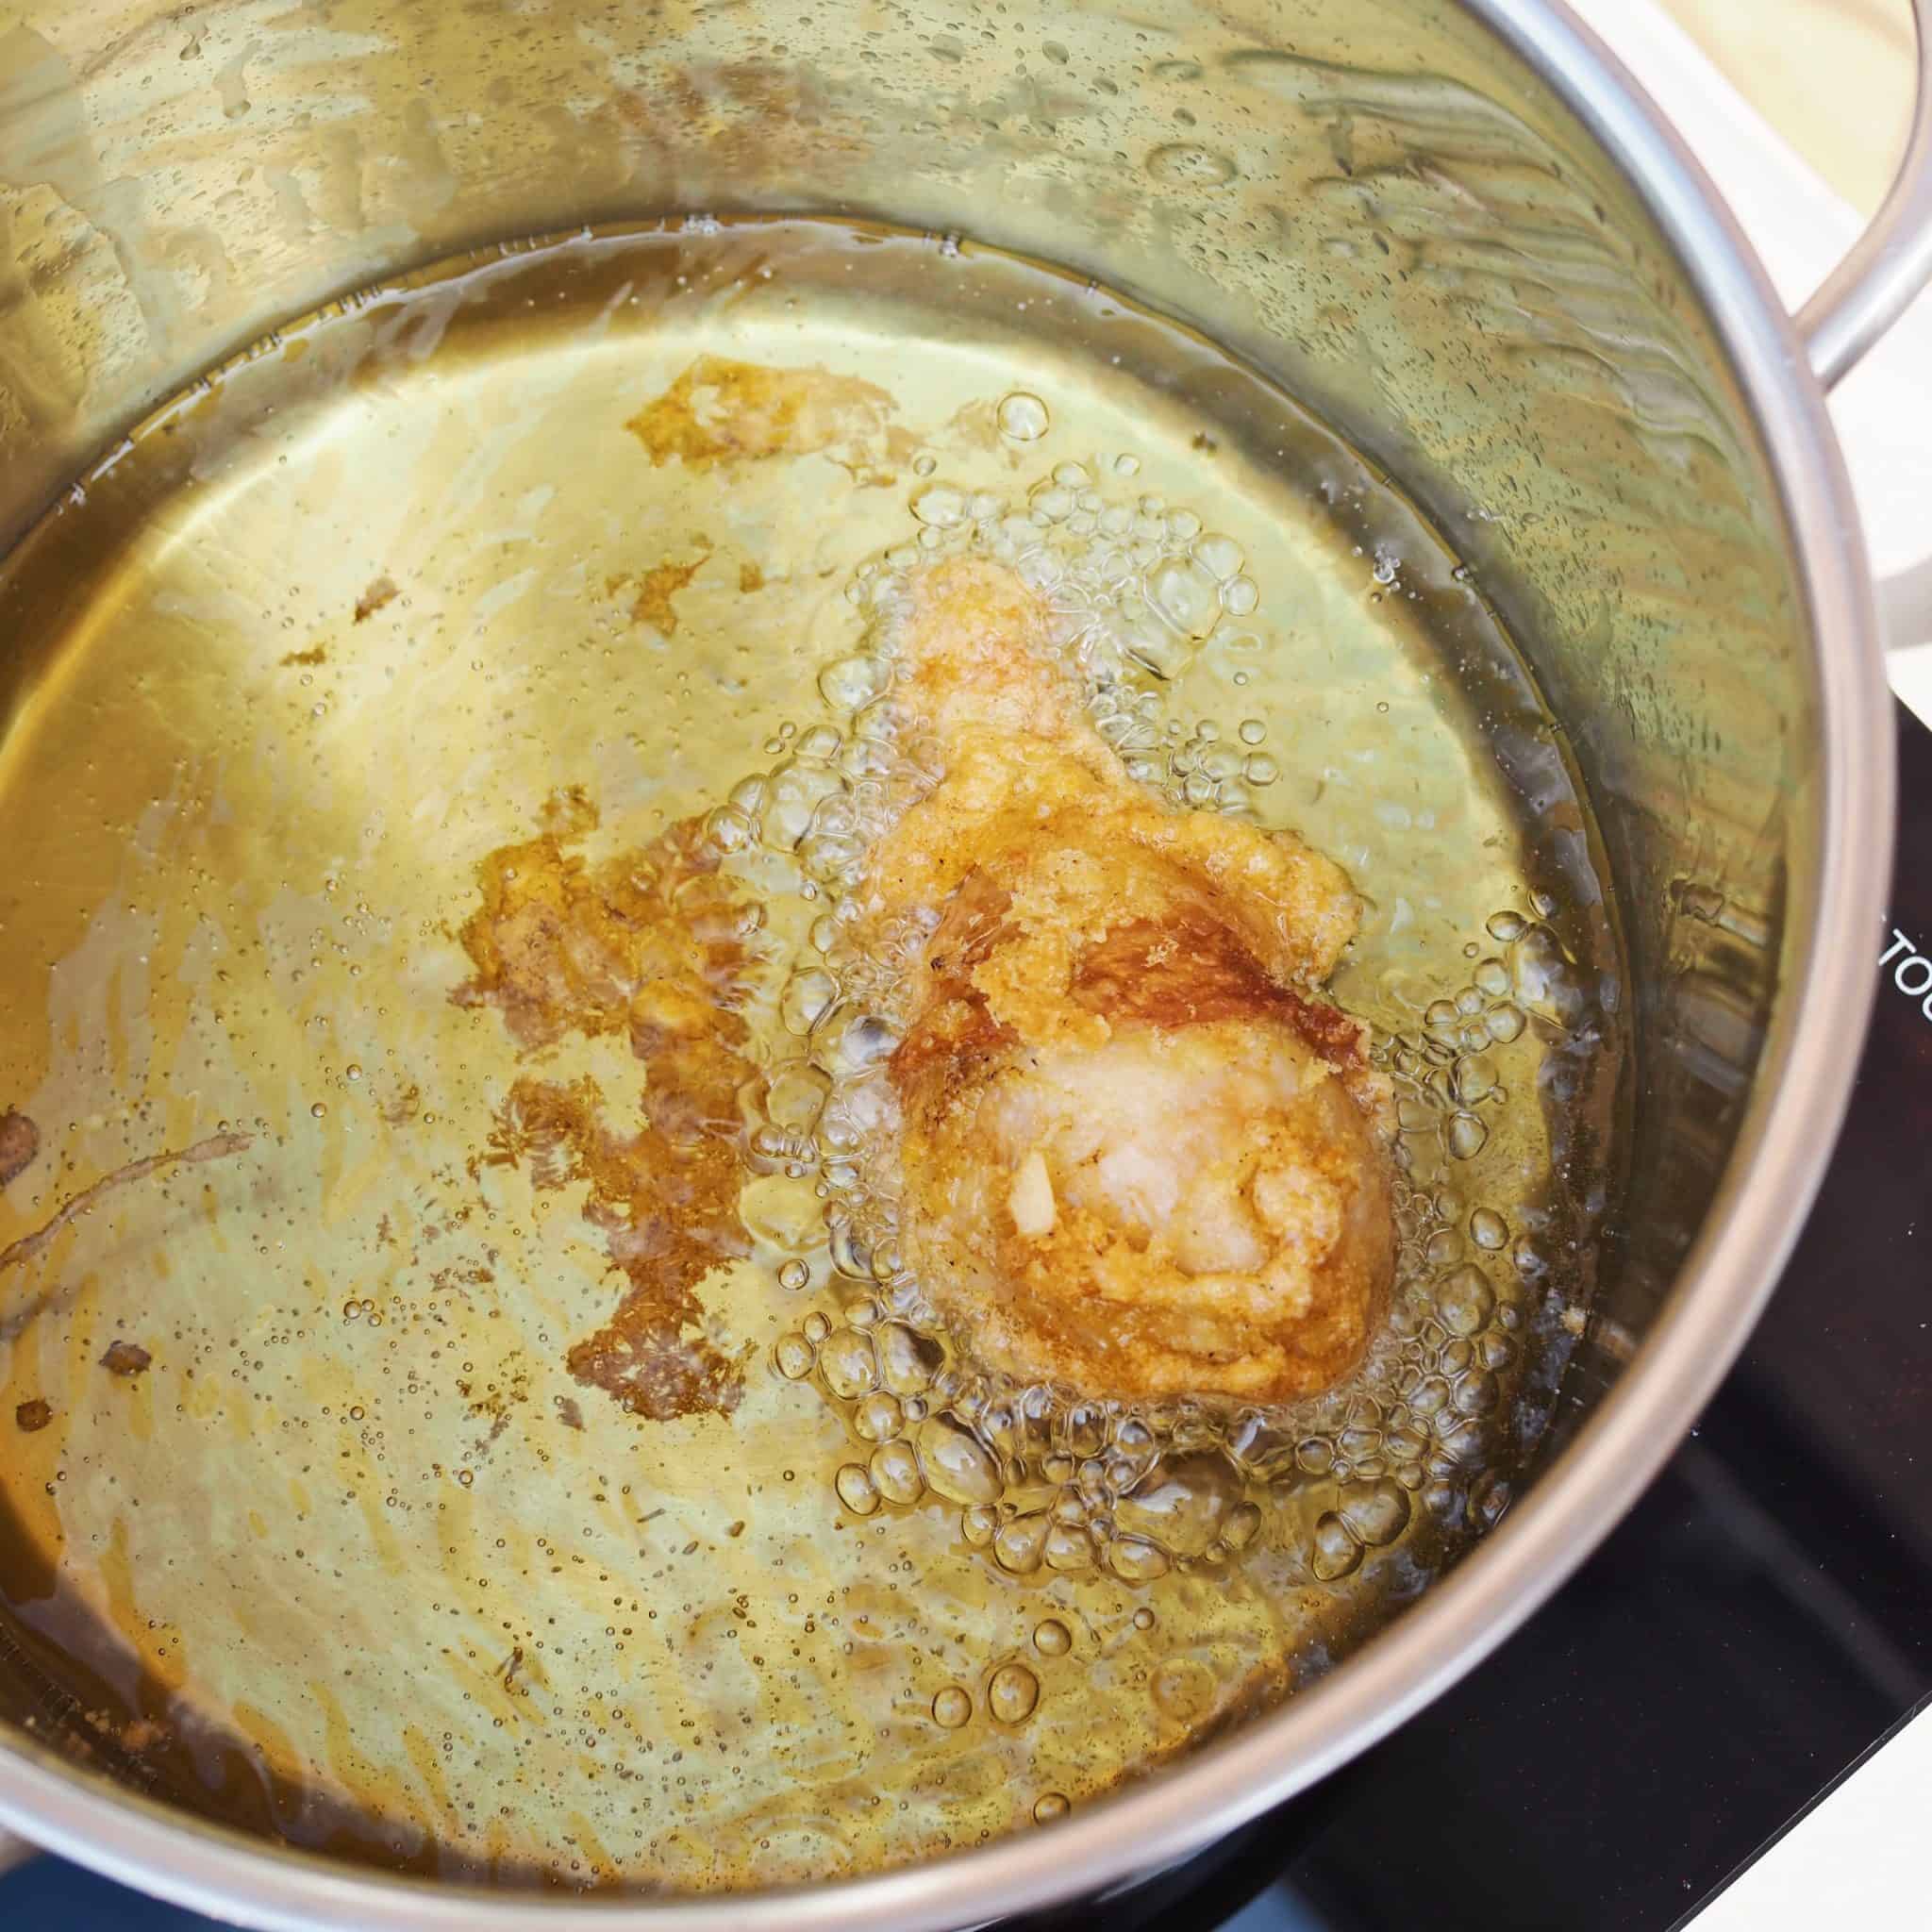
Then in a heavy bottomed pan, heat cooking oil on medium heat or 350 degrees F with a digital cooking thermometer. Fry coated chicken in small batches. Fry for 20 minutes, flipping halfway and turning occasionally until golden crispy brown and juices run clear. The internal temperature of cooked chicken is 165 F with a digital cooking thermometer.
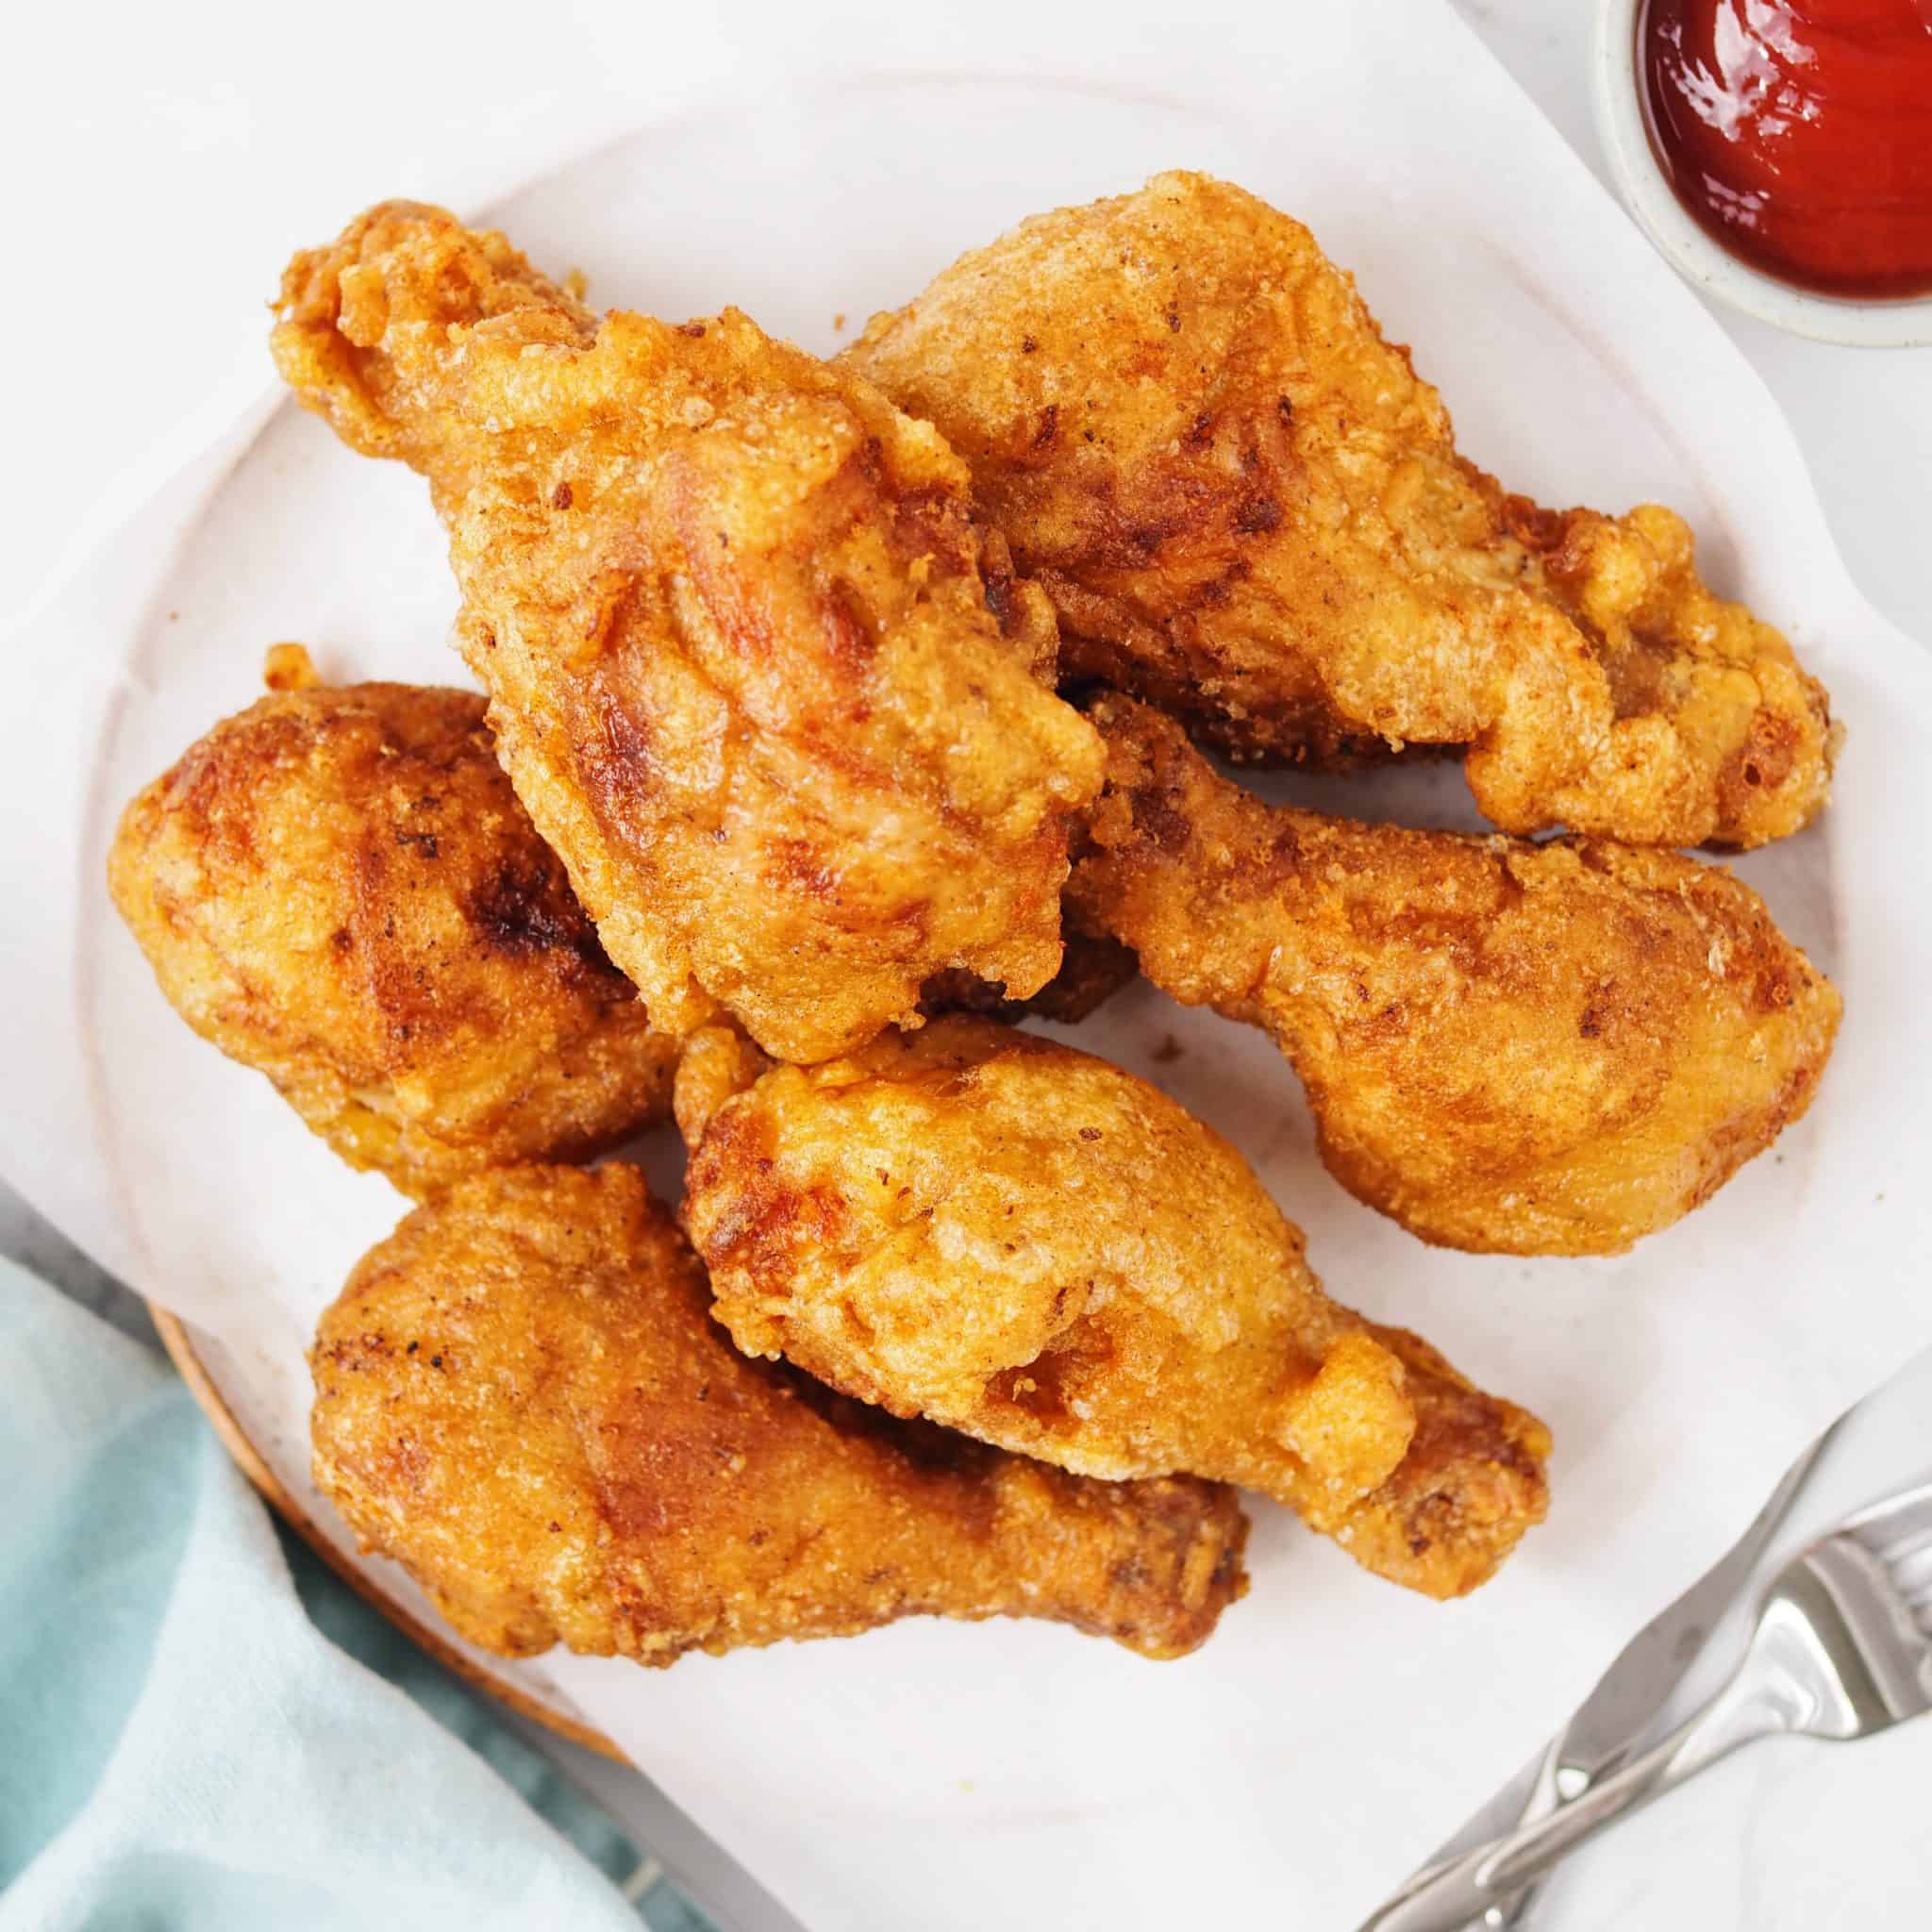
Lastly, transfer fried chicken to a wire rack or a paper-towel lined baking sheet to remove excess oil. Enjoy!
Storage
- Leftovers will last up to 4 days stored in an airtight container in the fridge. To reheat, bake in the oven or air fry at 350 degrees F for 5-7 minutes until hot throughout. Or microwave for 2-3 minutes.
- Freezer friendly? Korean fried chicken can be stored in a freezer friendly bag and frozen up to 3 months. To reheat, defrost it and reheat in the microwave, oven or air fryer at 350 F until hot through out.
Pairing Suggestions
Korean fried chicken can be served with:
- Spicy Tteokbokki or Instant Noodles
- pickled daikon radish, kimchi, coleslaw, or Korean Cucumber salad
- onion rings, french fries, fried dumplings, deep fried cheese sticks
- Korean scallion pancake, kimchi pancake, or braised potatoes
FAQ
Korean fried chicken can be made up to 4 days in advance and stored in an airtight container in the refrigerator. To reheat, bake in the oven or air fryer at 350 degrees F or deep frying again in oil until hot throughout.
Yes, you can air fry the chicken and I share a dedicated recipe post for this version, click here.
Other recipes you may like
📖 Recipe

Easy Crispy Korean Fried Chicken
Ingredients
- 8 chicken drumsticks
- 4 cups vegetable oil or any neutral oil
Chicken Marinade:
- 1 tablespoon dry sherry or sub with white wine or rice vinegar
- ¼ teaspoon black pepper
- 1.5 teaspoon regular soy sauce or sub with a gluten-free soy sauce, tamari sauce or coconut aminos
- 1 tablespoon garlic minced
- ½ teaspoon salt
Batter (for 8 drumsticks):
- 1.25 cups tapioca starch aka tapioca flour or sub with potato starch or cornstarch
- ½ teaspoon onion powder
- 1 teaspoon garlic powder
- 1.5 teaspoon curry powder
- ½ teaspoon salt
- ¼ teaspoon black pepper
- 1 teaspoon baking powder
- ½ cup + 2 tbsp water cold
Instructions
- In a large mixing bowl, combine marinade ingredients as listed. Marinate your chicken for 10 minutes or overnight for best results.
- In another large mixing bowl, combine batter ingredients until you have a thick but runny batter. The batter will settle and almost "solidify" but that is normal. You will just need to mix it again when you're ready to batter the chicken.
- Add marinated chicken it to your batter and mix. You'll need some arm strength here to evenly coat the chicken.
- In a large wok, deep pan or heavy bottomed pot, heat oil or neutral oil in a pot over medium heat (around 350 degrees F). Place a wooden chopstick in the oil to check if the oil is hot enough by looking for bubbles. Once you see bubbles form at the tip of the chopstick, your oil is hot enough.
- In small batches, carefully lower battered chicken into hot oil away from you. The batter will run off the chicken a bit but that's normal. Do not overcrowd the pan (about 4 pieces per batch).
- Fry drumsticks for 10 minutes on each side for a total of 20 minutes. Flipping around every now and then until golden crispy brown. The internal temperature of cooked chicken is 165 degrees F with an digital cooking thermometer.
- Transfer fried chicken to a wire rack or a paper-towel lined baking sheet to remove excess oil. Enjoy!


Akiko
I made it with potato starch. It was a little bit difficult to coat drumsticks with the mixture. I needed more water than the instructions. But chicken was absolutely delicious!!! Inside is juicy outside is crispy!
By itself is amazing but I also eat with homemade garlic honey soy sauce too.
That was very good too! Thank you for the amazing recipe!
Christie Lai
So happy to read this! Thanks so much for making my recipe and for leaving this positive review 🙂 Yes, the coating mixture will take some arm strength since the starch will temporarily solidify with water until you mix it again but glad it all worked out well.
Lazer
I’ve made this with bone-in chicken a couple times, and it was great. Is there a similar recipe for beef? This looks like it make a great chicken fried steak.
Christie Lai
Thank you so much for making my recipe and for leaving this positive review, Lazer! Unfortunately I don't have a recipe for this using beef.
Pamela
So flavorful and an amazing crunch will be making a lot
Christie Lai
Thanks so much for making my recipe, Pamela! Glad you found it flavorful!
Ashley
I love this recipe! I originally made this with drumsticks and tried it again tonight with chicken breast. This makes for a mean chicken sandwich in a pinch. (I omit curry powder and add cayenne and paprika instead.) Thank you for sharing!
Christie Lai
Thank you so much for making my recipe and for leaving such a kind review, Ashley! I'm so happy you love it with both cuts of meat. Have a great weekend!
Tom Cooney
Tried this today on chicken legs. This is now one of my favorites! Flavorful and super crispy! Can't wait to try it on boneless chicken thighs next!
Christie Lai
I am so thrilled to hear that you enjoyed it! Thanks so much for making my recipe and for sharing this kind review with me, Tom! Have a fantastic day 🙂
Tom
incredible recipe! i don't think i will want to buy fried chicken ever again lol there was a ton of batter left over for 8 drumsticks (almost half the amount) i would suggest cutting the batter in half for 8 legs or keeping the current recipe for double the amount of chicken. but super tasty and crispy fired chicken
Christie Lai
Thank you so much for sharing your kind review with me Tom! I am so happy that you enjoyed it and thank you for your feedback about the batter. I've reduced the ingredient amounts by half to reflect this. I hope you enjoy this recipe again in the future 🙂
Tom
thank you, Christie for the great recipe! i actually thought it was handy to have some left over batter as i will use it again tomorrow! lol cheers
Garry
This looks amazing & I will try very soon.
Thanks Christie
Kristen Cayce
Made this tonight with boneless skinless chix thighs cut into nuggets. My family flipped out for them. They were so flavorful and juicy. Very easy recipe. Thank you.
christieathome
Thank you so much for making my recipe, Kristen! So happy your whole family enjoyed it!