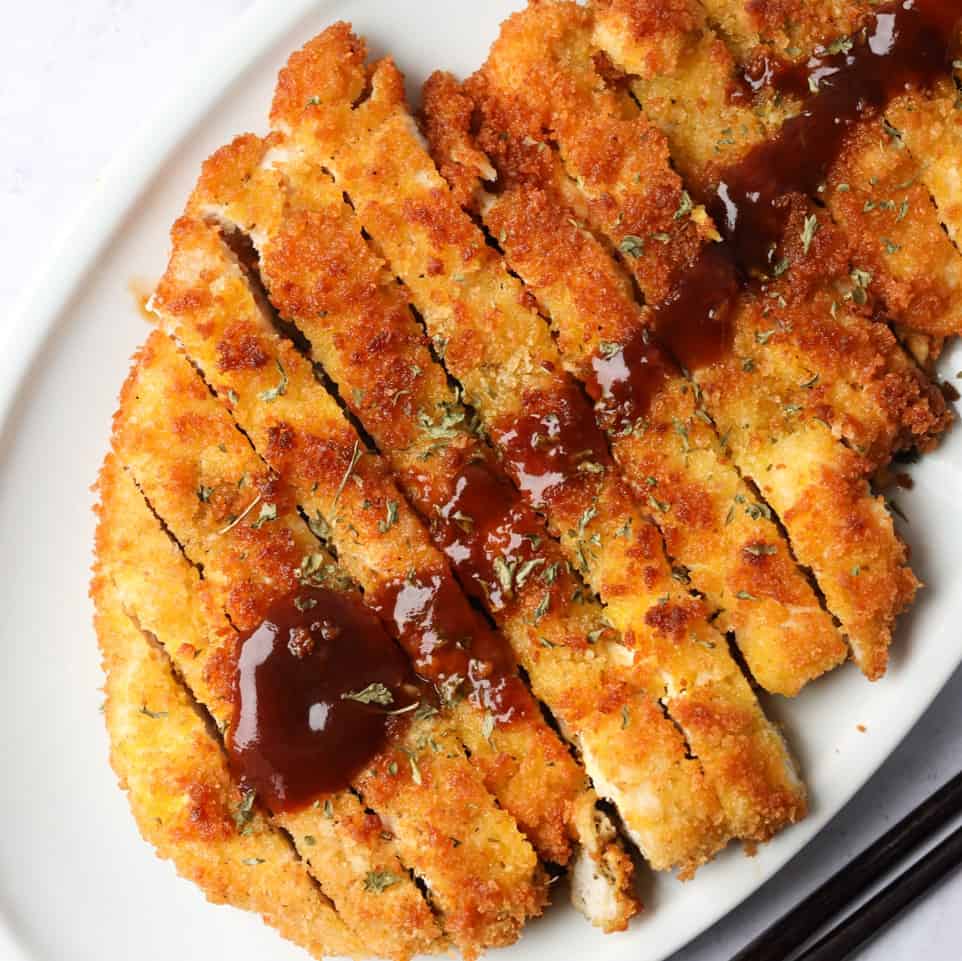
Deep fried crispy panko breaded chicken that is tender and so juicy with a crunchy exterior! This quick and easy chicken katsu is a classic Japanese dish ready in 20 minutes with minimal ingredients! It beats takeout and is great for the family!
Jump to:
What is Japanese Chicken Katsu?
Chicken katsu is a crispy chicken dish simply made of tenderized chicken that is seasoned and coated in flour, beaten egg and panko breadcrumbs. Then it's deep fried in hot oil until golden brown and it's absolutely divine!
Many Japanese restaurants will serve this popular chicken dish with a sweet tangy brown sauce, white rice and cabbage slaw for a complete meal. This main can also be served over curry, in a sandwich, in bento boxes, katsudon or over udon noodles.
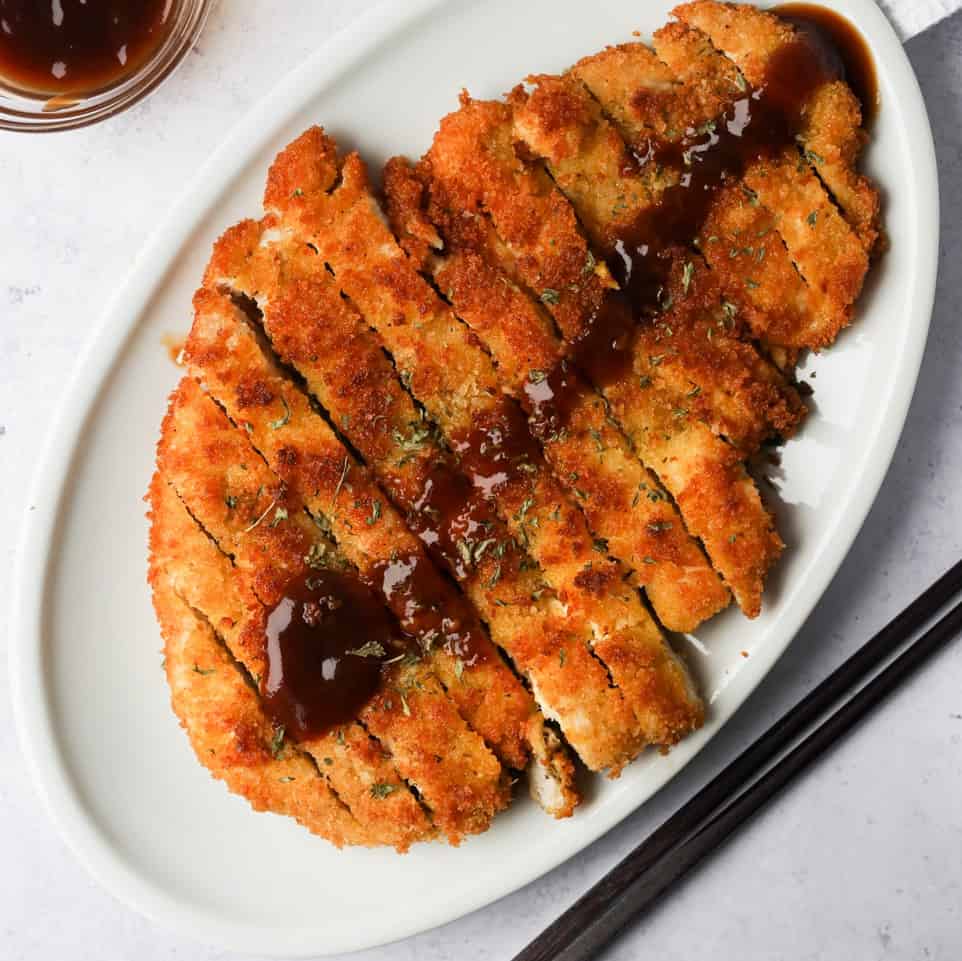
Homemade chicken katsu is easy to make at home with simple ingredients. I’ve made this chicken dish so many times I’ve lost count so I knew I had to share my version of it!
You can also shallow fry the chicken in less oil if you wish, just make sure the chicken is cooked through.
Ingredients & Substitutes
Please scroll down to below recipe card for exact measurements.
- Boneless skinless chicken breasts: as a last resort, you may substitute with boneless skinless chicken thighs but reduce the cooking time by a couple minutes or until an internal temperature of 165 F because the thighs will be smaller in size.
- Large Eggs
- Japanese Panko Breadcrumbs: these are light and flaky breadcrumbs made from Japanese milk bread (aka shokupan) that are different from regular breadcrumbs. You can find these Japanese breadcrumbs at many Asian markets sold dried or fresh. If you can't find them, you can also buy Japanese milk bread and process it into flakes in the food processor or substitute with regular breadcrumbs but the coating will be less flaky and crispy.
- Neutral oil: any flavorless oil like avocado oil, peanut oil, grapeseed oil, vegetable oil or canola oil with a high smoke point. Avoid olive oil due to its heavier scent.
- All-purpose flour: or substitute with cornstarch or potato starch.
- Black Pepper
- Salt
Katsu Sauce
- Ketchup
- Worcestershire sauce
- Oyster sauce: or substitute with vegetarian stir fry sauce if you don't like oysters.
- White Granulated Sugar
Note: Most Asian or Western grocers will carry these ingredients.
Expert Tips
- Evenly butterfly the chicken breast in half and spread the “wings” apart but be careful not to slice the breast all the way through.
- Cover the chicken breast with plastic wrap when tenderizing, so the juices don't fly everywhere which reduces mess.
- Tenderize the breast so it’s evenly thin. This creates for a consistent cooking time.
- Make sure there are no bald spots when coating the chicken or it'll lead to less crispy chicken.
- Use a heavy-bottomed pan to maintain consistent oil temperature.
- Make sure your oil is hot enough before frying chicken, ideally 350 F with a digital instant read thermometer. If you don't own a thermometer, insert a wooden utensil into the hot oil and look for bubbles.
- Fry each breast one at a time and avoid frying it all at once or this will lower the oil temperature, which can cause undercooked or less crispy chicken.
- Place fried chicken on a wire rack or plate lined with paper towel to drain excess oil which creates a soggy crust.
Instructions
Below are step-by-step instructions on how to make chicken katsu:
- On a large cutting board, lay your chicken breasts flat and butterfly each breast by slicing it halfway but not all the way through. You should be able to open the breast into two adjoined "wings".
- Lay a piece of plastic wrap to cover the butterflied chicken breast to prevent the juices from splashing everywhere (optional). Using the back and side of your knife or a meat mallet, evenly tenderize the chicken breasts into thin slices, about ½-inch thick. Remove the plastic wrap.
- Evenly season each chicken breast on both sides with salt and black pepper.
- Place flour into a large shallow bowl. In the second bowl, beat your eggs. In the last bowl, evenly spread-out panko breadcrumbs. Evenly dredge each seasoned breast in all-purpose flour, then beaten egg and lastly in the panko breadcrumbs ensuring no bald spots.
- In a large heavy-bottomed pan, heat vegetable oil on medium heat, around 350 degrees F with a digital instant read thermometer or insert a wooden utensil into the oil and look for bubbles.
- Fry each breast one at a time until golden brown, about 2-3 minutes per side. Avoid moving the chicken around in the oil to evenly cook it. Cooked chicken has an internal temperature of 165 degrees F on an instant-read thermometer or until juices run clear.
- Transfer fried chicken to a wire rack set over a baking sheet or paper towel lined plate to remove excess oil. Allow this to cool a bit for a few minutes.
- In a small bowl, combine katsu sauce ingredients as listed. Serve and enjoy with chicken katsu!
Storage
- Leftovers will last up to 4 days stored in an airtight container, however with time, the crunchy exterior will be less crispy. To reheat, pan fry on the stove top over medium heat until warm in some hot oil or air fry at 350 degrees for 4-5 minutes.
- Freezer friendly? Chicken katsu can be stored in a freezer friendly bag after cooling and with parchment paper between each piece of chicken. It can be frozen up to 3 months or until you see freezer burn. To reheat, deep fry again from frozen until hot through out or defrost and microwave for a few minutes until hot.
Pairing Suggestions
Chicken Katsu serves well with steamed rice, cabbage slaw, and fresh tomatoes, but it can also pair well with other Japanese dishes like:
- starters like miso soup, Japanese crab corn salad or salad with Japanese ginger salad dressing or Korokke
- seafood dishes like shrimp tempura, panko shrimp or ebi mayo
- protein dishes like ramen eggs, or tonkatsu, Karaage, Teriyaki Tofu, Teriyaki Chicken, or Ginger Miso Salmon.
- rice dishes like Oyakodon, Omurice, Shrimp Tempura Rice Ball, Onigiri, or Spicy Tuna Onigiri
- other noodle dishes like Yaki Udon, Creamy Mushroom Udon, or Udon Carbonara
- or Japanese egg salad sandwich
FAQ
Chicken katsu can be made in advance and stored in an airtight container in the fridge for up to 4 days. To enjoy, I recommend shallow frying in some hot oil until hot through out or microwaving it for a few minutes.
Yes, you can make chicken katsu in the air fryer - please click here for that recipe!
Yes, feel free to substitute the chicken with pork tenderloin, pork shoulder, beef steak, white sturdy fish like cod, pollack or halibut, peeled jumbo shrimp or extra-firm tofu.
Yes, allow the cooking oil to completely cool. Then run the oil through a fine sieve lined with clean paper towel placed over a large bowl to remove any browned bits. Then transfer the strained oil into a sealed airtight container and store it in the fridge for up to 3 months to reuse for later.
Other recipes you may enjoy
📖 Recipe

Easy 20-min. Chicken Katsu
Ingredients
- 2 chicken breasts skinless boneless
- ⅓ cup all purpose flour or cornstarch or potato starch
- 2 large eggs
- 1 ½ cups panko breadcrumbs or as needed
- 1 cup vegetable oil or any neutral oil
- ½ teaspoon salt or as needed
- ½ teaspoon black pepper or as needed
Katsu Sauce:
- 3 tbsp oyster sauce or vegetarian stir fry sauce
- 2 tbsp ketchup
- 5 teaspoon Worcestershire sauce
- 2 ¼ tsp white granulated sugar
Instructions
- On a large cutting board, lay your chicken breasts flat and butterfly each breast by equally slicing it halfway but not all the way through. You should be able to open the breast into two adjoined "wings".
- Lay a piece of plastic wrap to cover the butterflied chicken breast to prevent the juices from splashing everywhere (optional). Using the back and side of your knife or a meat mallet, evenly tenderize the chicken breasts into thin slices, about ½-inch thick. Remove the plastic wrap.
- Evenly season each chicken breast on both sides with salt and black pepper.
- Place flour into a large shallow bowl. In the second bowl, beat your eggs. In the last bowl, evenly spread-out panko breadcrumbs. Evenly dredge each seasoned breast in all-purpose flour, then beaten egg and lastly in the panko breadcrumbs ensuring no bald spots.
- In a large heavy-bottomed pan, heat vegetable oil on medium heat, around 350 degrees F with a digital instant read thermometer or insert a wooden utensil into the oil and look for bubbles.
- Fry each breast one at a time until golden brown, about 2-3 minutes per side. Avoid moving the chicken around in the oil to evenly cook it. Cooked chicken has an internal temperature of 165 degrees F on an instant-read thermometer or until juices run clear.
- Transfer fried chicken to a wire rack set over a baking sheet or paper towel lined plate to remove excess oil. Allow this to cool a bit for a few minutes.
- In a small bowl, combine katsu sauce ingredients as listed. Serve and enjoy with chicken katsu!


Char C
This is a simple yet delicious recipe. I finally had the chance to try it! I will definitely make it again.
christieathome
Happy it worked out for you and thanks for leaving a kind review!
Annie
This katsu sauce is delicious. My kids liked it better than the katsu recipe I made from the NYT. Very simple to make, lots of flavor.
christieathome
I'm so happy to read this Annie! Thanks very much for making my recipe and glad the kids liked it too!
Agnes K
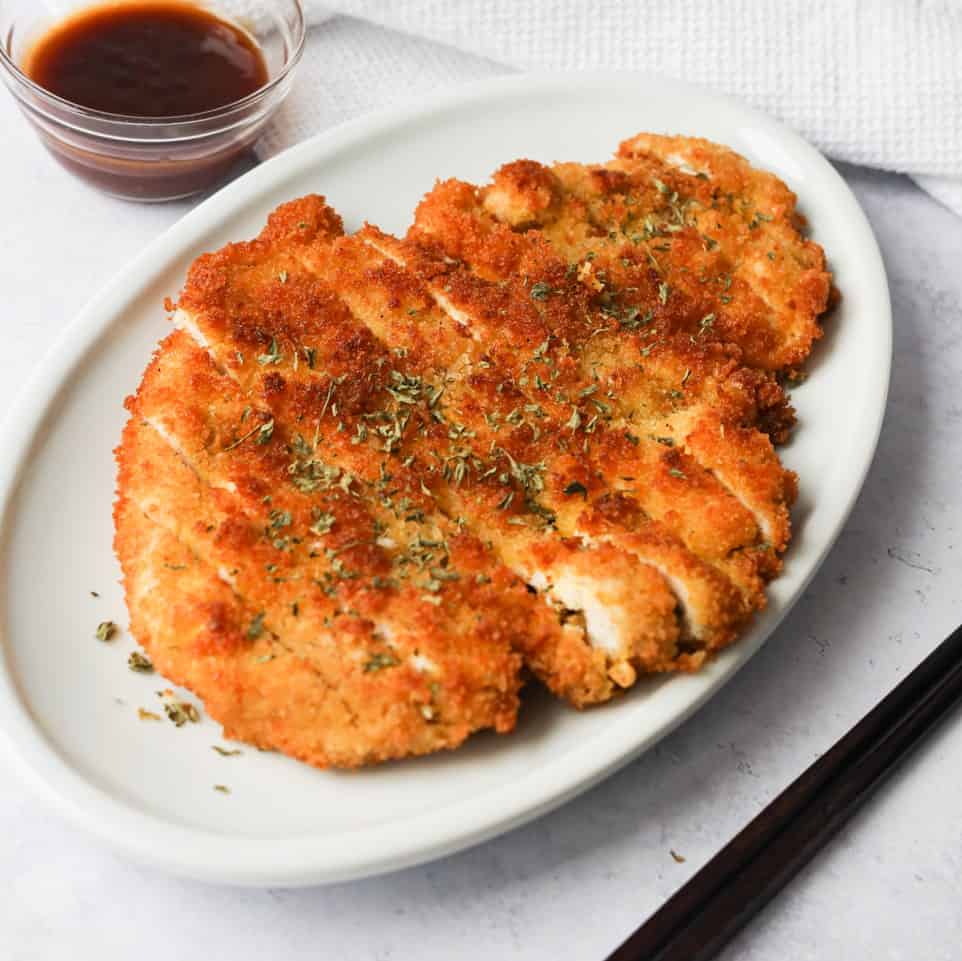
So easy to make and was a big hit with my family! Served this on rice with side of green beans. For the sauce, I only had ketchup, worcestershire, and added a bit of hoisin sauce - so good. Just one question, what’s the green herb that you sprinkled on the Katsu at the end? (It looks like oregano)
christieathome
Thanks so much for making my recipe Agnes! I'm so glad you and the family enjoyed it with some green beans! I sprinkled some dried parsley at the end but it's more so for aesthetic 🙂
Myra
It came out delicious! Thank you
christieathome
Thanks so much for making my recipe Myra! I'm so glad you enjoyed it 🙂
Heidi | The Frugal Girls
With just 4 ingredients, your homemade katsu sauce really adds so much fun flavor to this dish!
Marius Podaru
Made this for the family, surprised myself how easy it was to follow the recipe and surprised my family with how good it turned out. Now they ask for it as part of dad's rotation.
christieathome
Thank you so much Marius! So glad you and the family enjoyed the recipe. Even happier that it's become a part of dad's meal rotation!
Devyn Derksen
So delicious! Easy to make, not a lot to prep and both the chicken and the sauce turned out perfectly 🙂
christieathome
Thanks so much for giving this recipe a try and I'm so happy to hear it turned out well!!
Alexandra
SO delicious - what a lovely recipe. Simple, but so tasty.