

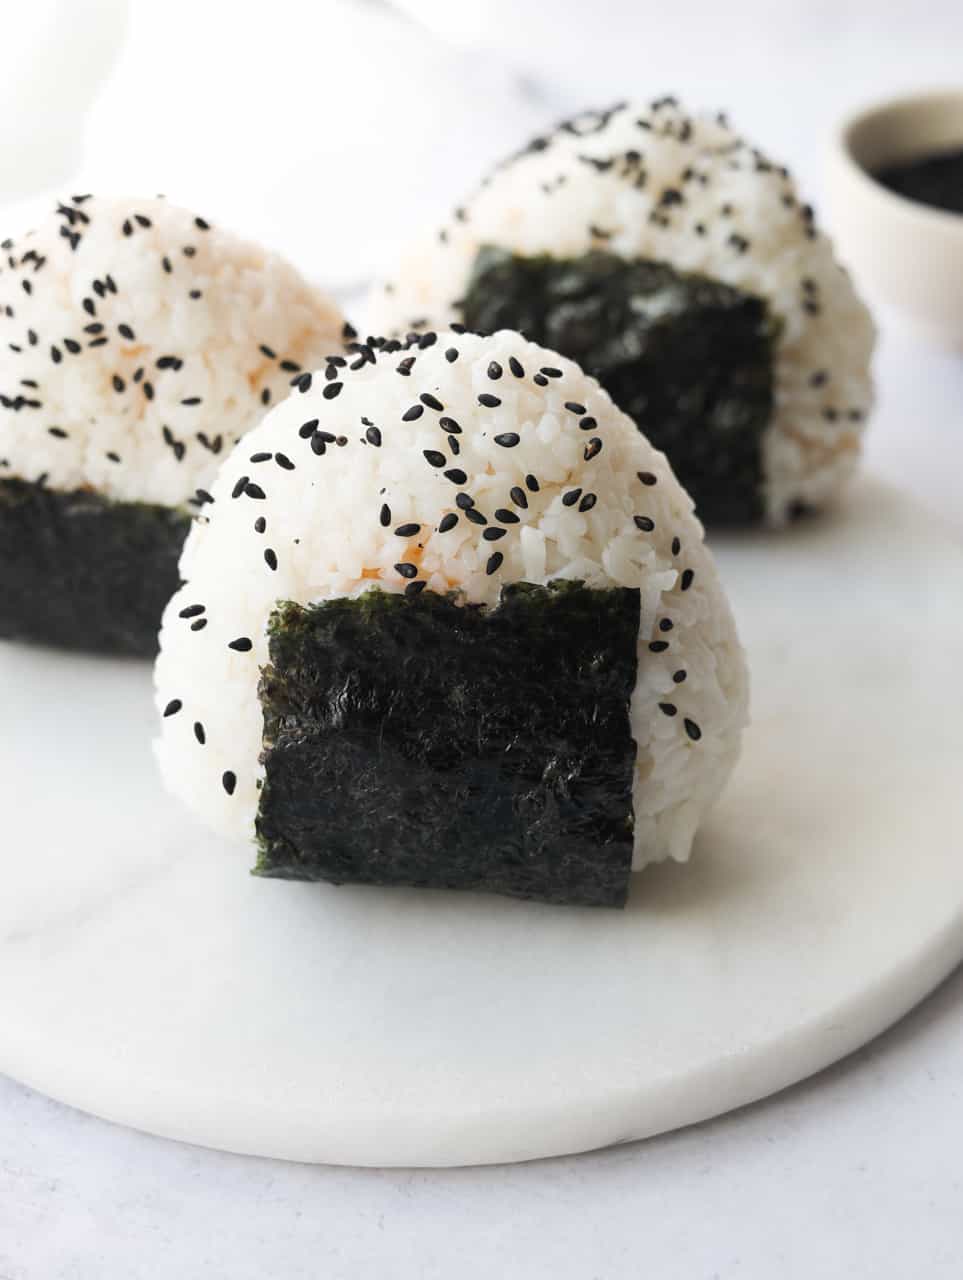
Warm rice balls are stuffed with creamy spicy tuna mayo and wrapped in crisp roasted seaweed. This easy spicy tuna onigiri recipe is ready in just 20 minutes using cooked rice and canned tuna. Enjoy them for breakfast, a quick lunch, a snack, or a picnic.
Jump to:
Spicy tuna onigiri is a Japanese rice ball filled with creamy spicy tuna mayo and wrapped with roasted seaweed. Onigiri with various fillings are commonly sold at convenience stores and specialty shops across Japan as a quick, portable meal or snack.
I love making these whenever I have freshly cooked rice or day-old rice in the fridge that I can quickly reheat and turn into a filling meal. It's cheaper and tastier than store-bought onigiri, which doesn't taste as fresh.
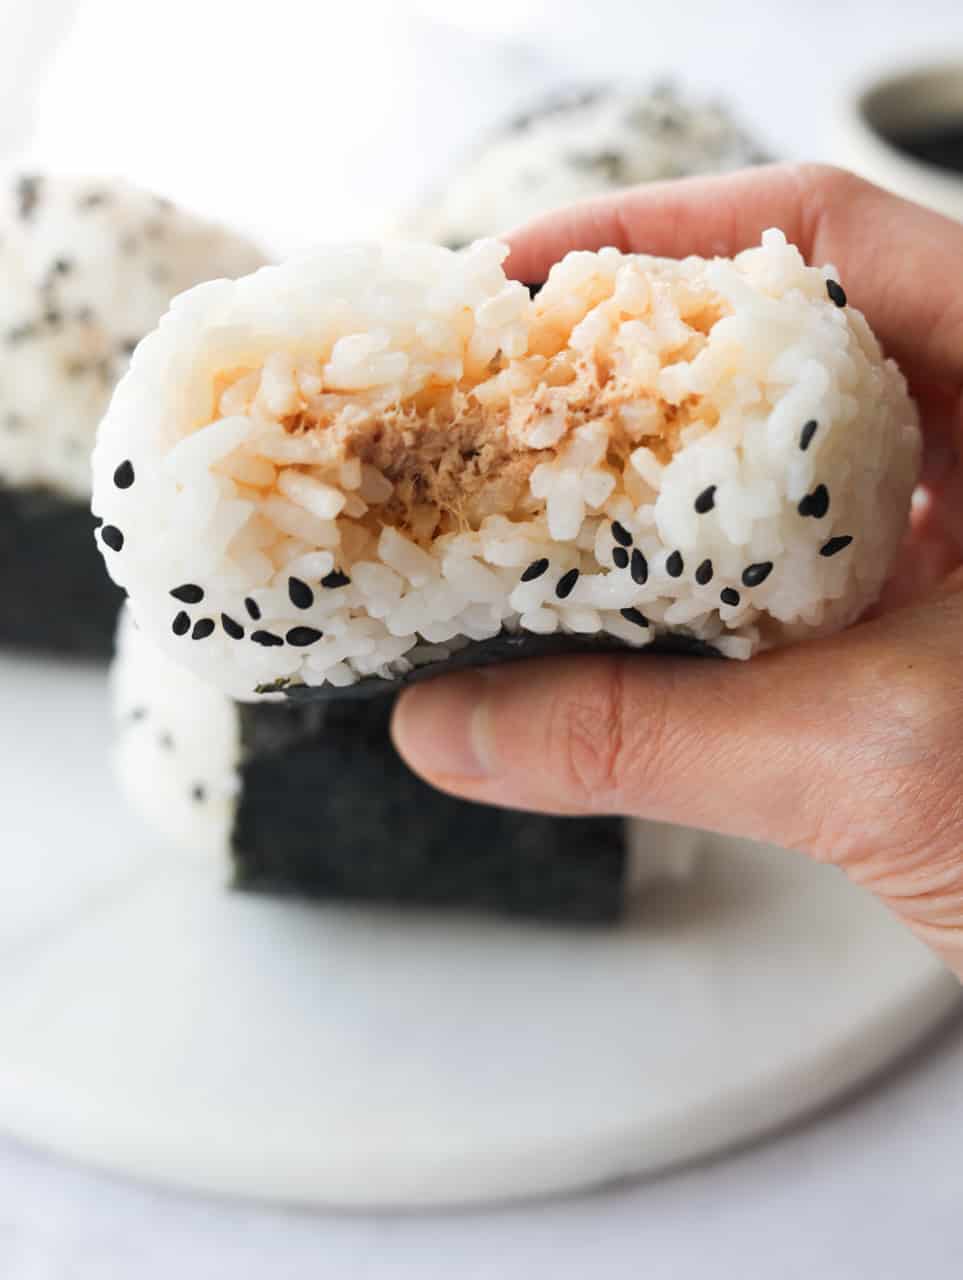
I've made this countless times whenever I'm looking for something quick to eat. Freshly cooked rice gives the best results because its moisture and stickiness help the onigiri hold together without falling apart. But cold, day-old rice stored in an airtight container also works well when covered and microwaved until hot.
You also don't need an onigiri mold for my recipe, simply some plastic wrap or cling film to help shape the onigiri. But if you prefer using a mold, then feel free to.
Ingredients & Substitutes
Exact ingredient amounts are listed in the recipe card at the bottom of this page.
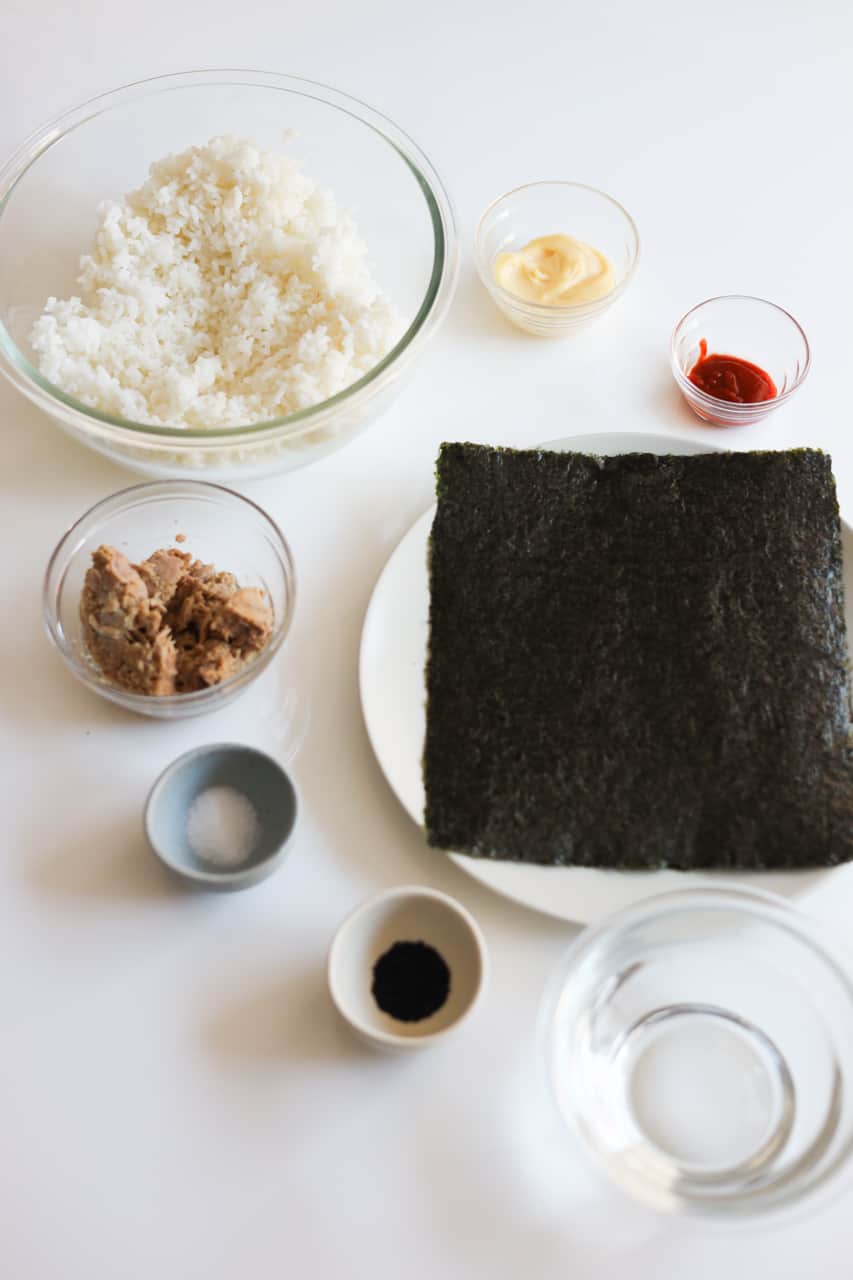
- Cooked Short-Grain Rice: Also known as sushi rice or Calrose rice. Avoid medium- or long-grain rice because it isn't sticky enough to hold the onigiri together. Do not use glutinous rice, which is too sticky.
- Nori: Use dry roasted seaweed sheets sold at most Asian grocery stores, typically for making sushi. I like to freeze the opened package in a freezer-safe bag to help preserve its crisp texture.
- Salt
- Black Sesame Seeds: Regular toasted sesame seeds also work. If unavailable, toast raw sesame seeds in a dry pan over medium heat until golden.
- Cold Water: For moistening the rice paddle or silicone spatula to prevent sticking.
Spicy Tuna Filling
- Canned Tuna (Light): I strongly recommend light tuna packed in oil because it has a richer flavor and smoother texture. Tuna packed in water also works; just add another tablespoon of Japanese mayo.
- Japanese Mayo: I prefer Kewpie mayo for its extra-creamy texture and rich taste. Regular mayonnaise also works; just choose a thick one like Hellmann's.
- Sriracha: I prefer Huy Fong for its classic spicy, garlicky flavor.
Note: Japanese mayo and sriracha are typically available at most Asian grocery stores or online.
Expert Tips
- Use fresh rice when possible: It tastes fresher and has more moisture, making it easier to shape.
- Let hot rice cool slightly: Shape it while warm so it doesn't steam and soften the nori.
- Drain the tuna well: Excess liquid can make the filling too wet and cause leaks.
- Don't flatten rice too thin: Leave enough rice to completely enclose the tuna filling.
- Keep the filling centered: This makes the rice easier to seal and prevents the tuna from leaking out.
- Keep the nori sealed: Open the package just before wrapping so the nori stays crisp.
Instructions
Below are step-by-step instructions on how to make spicy tuna onigiri:
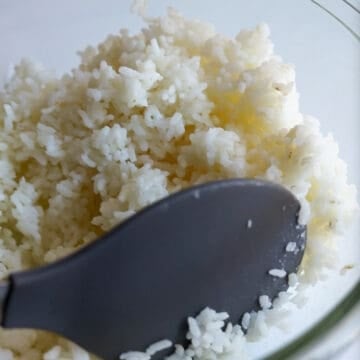
- Prepare the rice: Transfer freshly cooked rice to a large bowl, season with salt, and mix well. Cover with a lid to keep warm, then let it cool slightly until warm before shaping. If using cold, day-old rice, cover and microwave for 2-3 minutes until hot before seasoning, then let it cool until warm.
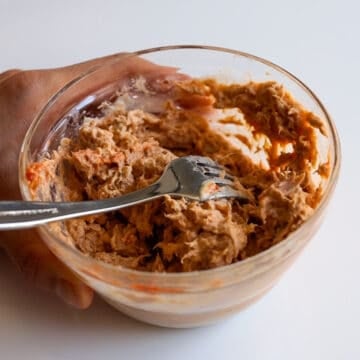
- Make the spicy tuna filling: Drain the canned tuna in a fine-mesh sieve, pressing firmly with a fork to remove as much liquid as possible. Mix the drained tuna with Japanese mayo and sriracha in a small bowl. Set aside.
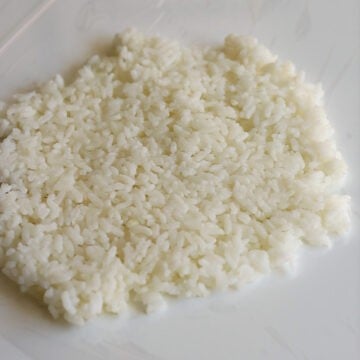
- Prepare and flatten the rice: Spread a large sheet of plastic wrap, about 15 x 12 inches, over a clean work surface. Moisten a rice paddle or silicone spatula with cold water and divide the warm rice into 4 equal portions. Place one portion, about 3⁄4 cup, in the center and spread it into a 1⁄2-inch-thick circle.
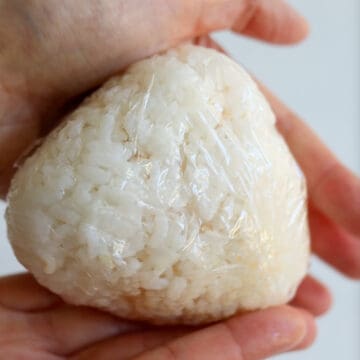
- Fill and shape the onigiri: Place 2 tablespoons of tuna filling in the center of the rice. Lift and twist the plastic wrap around the rice to form a ball, keeping the filling in the center. Flatten to about 2 inches thick, then use the L-shape between your thumb and index finger to form a triangle. Repeat to make 4 onigiri. If using an onigiri mold, fill it halfway with rice, add 2 tablespoons of tuna filling, cover with more rice, then press firmly and remove from the mold.
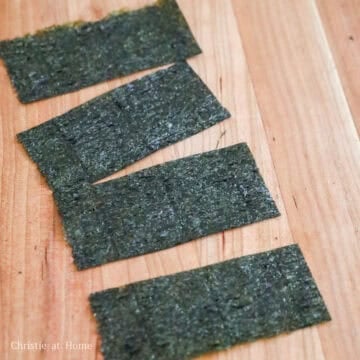
- Cut the nori: Fold one nori sheet in half horizontally and cut along the fold. Cut one half sheet widthwise into 4 equal strips and save the remaining half for another use. If you prefer more nori on each rice ball, use up to half a sheet per onigiri.
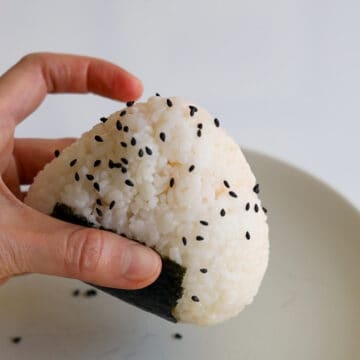
- Wrap and garnish: Remove each onigiri from the plastic wrap and wrap one nori strip, rough-side in, around the base. Garnish with black sesame seeds and enjoy fresh while warm or at room temperature.
Storage
- Enjoy fresh: Spicy tuna onigiri is best enjoyed freshly made. Don't leave it at room temperature for more than 2 hours for food safety.
- Make ahead: Prepare the seasoned rice and spicy tuna filling up to 1 day ahead and store them separately in airtight containers in the fridge. Cool and refrigerate the rice promptly after cooking. Reheat the rice until hot, let it cool until warm, then assemble with the filling and fresh nori.
- Freezer: I don't recommend freezing assembled onigiri because the rice, filling, and nori won't have the same texture once thawed.
Pairing Suggestions
Serve spicy tuna onigiri with:
- Miso Soup: Warm, savory broth balances the creamy tuna.
- Japanese Crab Corn Salad: Adds a cool, crisp contrast.
- Chicken Katsu: Adds crispy texture and extra protein.
FAQ
Yes. Omit the sriracha and replace it with an equal amount of Japanese mayo for a creamy, non-spicy tuna filling.
The rice may be too cold, dry, or not sticky enough. Use warm short-grain rice and make sure the filling is completely enclosed before shaping.
No, but I recommend seasoning the warm rice with salt for better flavor. Unlike sushi rice, you don't need to season it with vinegar or sugar.
More Like This
📖 Recipe

Easy Spicy Tuna Onigiri

Ingredients
- 3 cups cooked short grain rice
- 1 sheet nori or use 2 sheets if you prefer more
- ½ teaspoon salt
- ½ teaspoon black sesame seeds
Spicy Tuna Filling
- 5.29 oz canned tuna packed in oil
- 2 tablespoon mayonnaise
- 1 tablespoon sriracha
Instructions
- Transfer freshly cooked rice to a large bowl, season with salt, and mix well. Cover with a lid to keep warm, then let it cool slightly until warm before shaping. If using cold, day-old rice, cover and microwave for 2-3 minutes until hot before seasoning, then let it cool until warm.
- Drain the canned tuna in a fine-mesh sieve, pressing firmly with a fork to remove as much liquid as possible. Mix the drained tuna with Japanese mayo and sriracha in a small bowl. Set aside.
- Spread a large sheet of plastic wrap, about 15 x 12 inches, over a clean work surface. Moisten a rice paddle or silicone spatula with cold water and divide the warm rice into 4 equal portions. Place one portion, about 3⁄4 cup, in the center and spread it into a 1⁄2-inch-thick circle.
- Place 2 tablespoons of tuna filling in the center of the rice. Lift and twist the plastic wrap around the rice to form a ball, keeping the filling in the center. Flatten to about 2 inches thick, then use the L-shape between your thumb and index finger to form a triangle. Repeat to make 4 onigiri. If using an onigiri mold, fill it halfway with rice, add 2 tablespoons of tuna filling, cover with more rice, then press firmly and remove from the mold.
- Fold one nori sheet in half horizontally and cut along the fold. Cut one half sheet widthwise into 4 equal strips and save the remaining half for another use. If you prefer more nori on each rice ball, use up to half a sheet per onigiri.
- Remove each onigiri from the plastic wrap and wrap one nori strip, rough-side in, around the base. Garnish with black sesame seeds and enjoy fresh while warm or at room temperature.
Kayla Marginean
Very easy to make and delicious!!
Christie Lai
Thanks so much for making my recipe and for the positive review, Kayla! Glad you enjoyed it!
Marilyn
I really loved it. Easy to follow recipe. I wonder if I can use yellow fin tuna (which I already have in my freezer), and cook it and mash it up, instead of using canned tuna?
Christie Lai
Hi Marilyn, so happy to read that you enjoyed my recipe and thanks for making it!
I haven't personally tried it with yellow fin tuna from the freezer, but if it tastes close enough to the canned kind I don't see why it wouldn't work. Let me know if it does!
Millie
This was so yummy! Will be making it again.
Barbara
I had been looking for a spicy tuna recipe and yours is the best. Thank you. I make onigiri for my Granddaughters school lunches. I have another Granddaughter at University in Japan and she is the one that taught me how to make Onigiri. Thank you and keep up the good work.
christieathome
Thank you so much Barbara for this very kind comment! I am so happy to hear this. It's so sweet that you make them onigiri for their lunches and your granddaughter taught you how to make it! 🙂 Have a lovely day!
Mark
This was so simple and delicious. Even easier because I had leftover sushi rice in the fridge.