

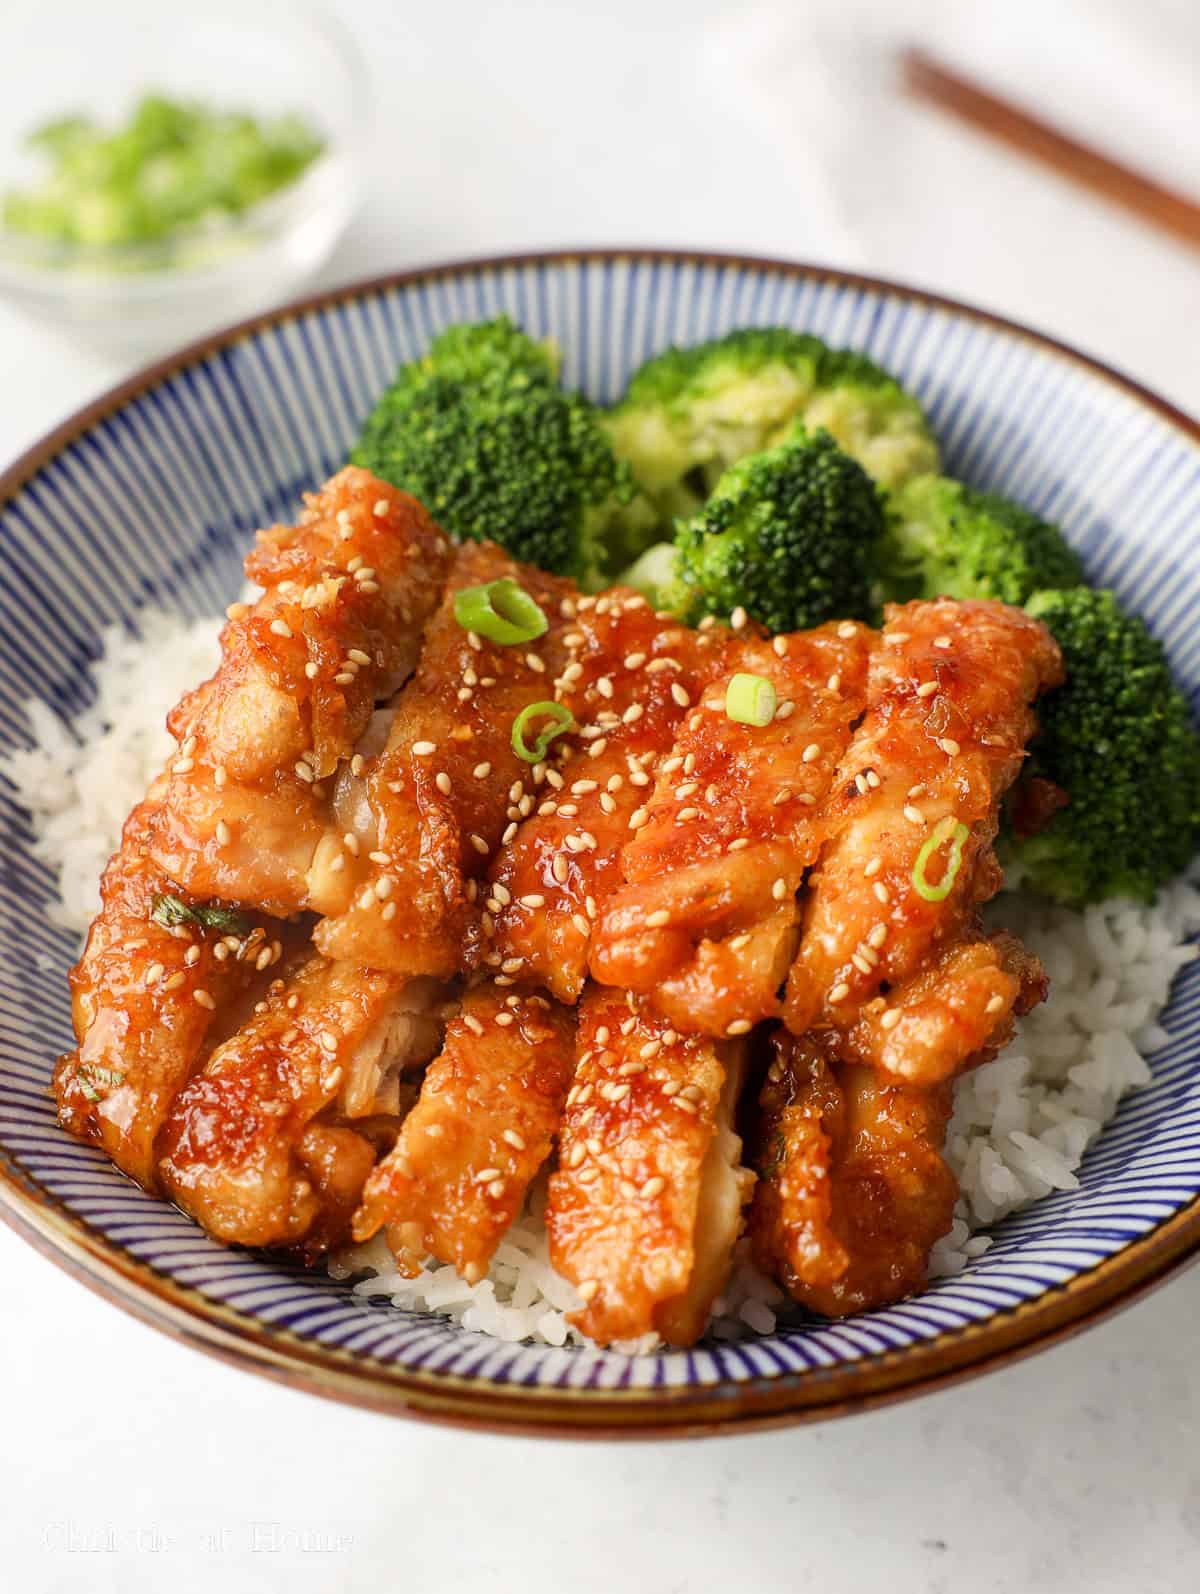
Crispy, juicy chicken thighs are coated in a sweet and savory sticky teriyaki sauce. This easy teriyaki chicken is made in one pan in just 30 minutes. I sear the chicken skin-side down until golden and crisp before briefly coating it in the sauce so the skin doesn't turn soggy.
Jump to:
Teriyaki chicken is a popular Japanese dish featuring pan-fried chicken glazed in a sweet and savory soy-based sauce. It's commonly served with steamed rice and cabbage at Japanese restaurants or packed into bento boxes for lunch or dinner.
I absolutely adore teriyaki chicken because of the contrast between the crispy chicken skin and sticky sauce. The best part about this dish is that you can easily make it at home and the results are just as tasty, if not better!
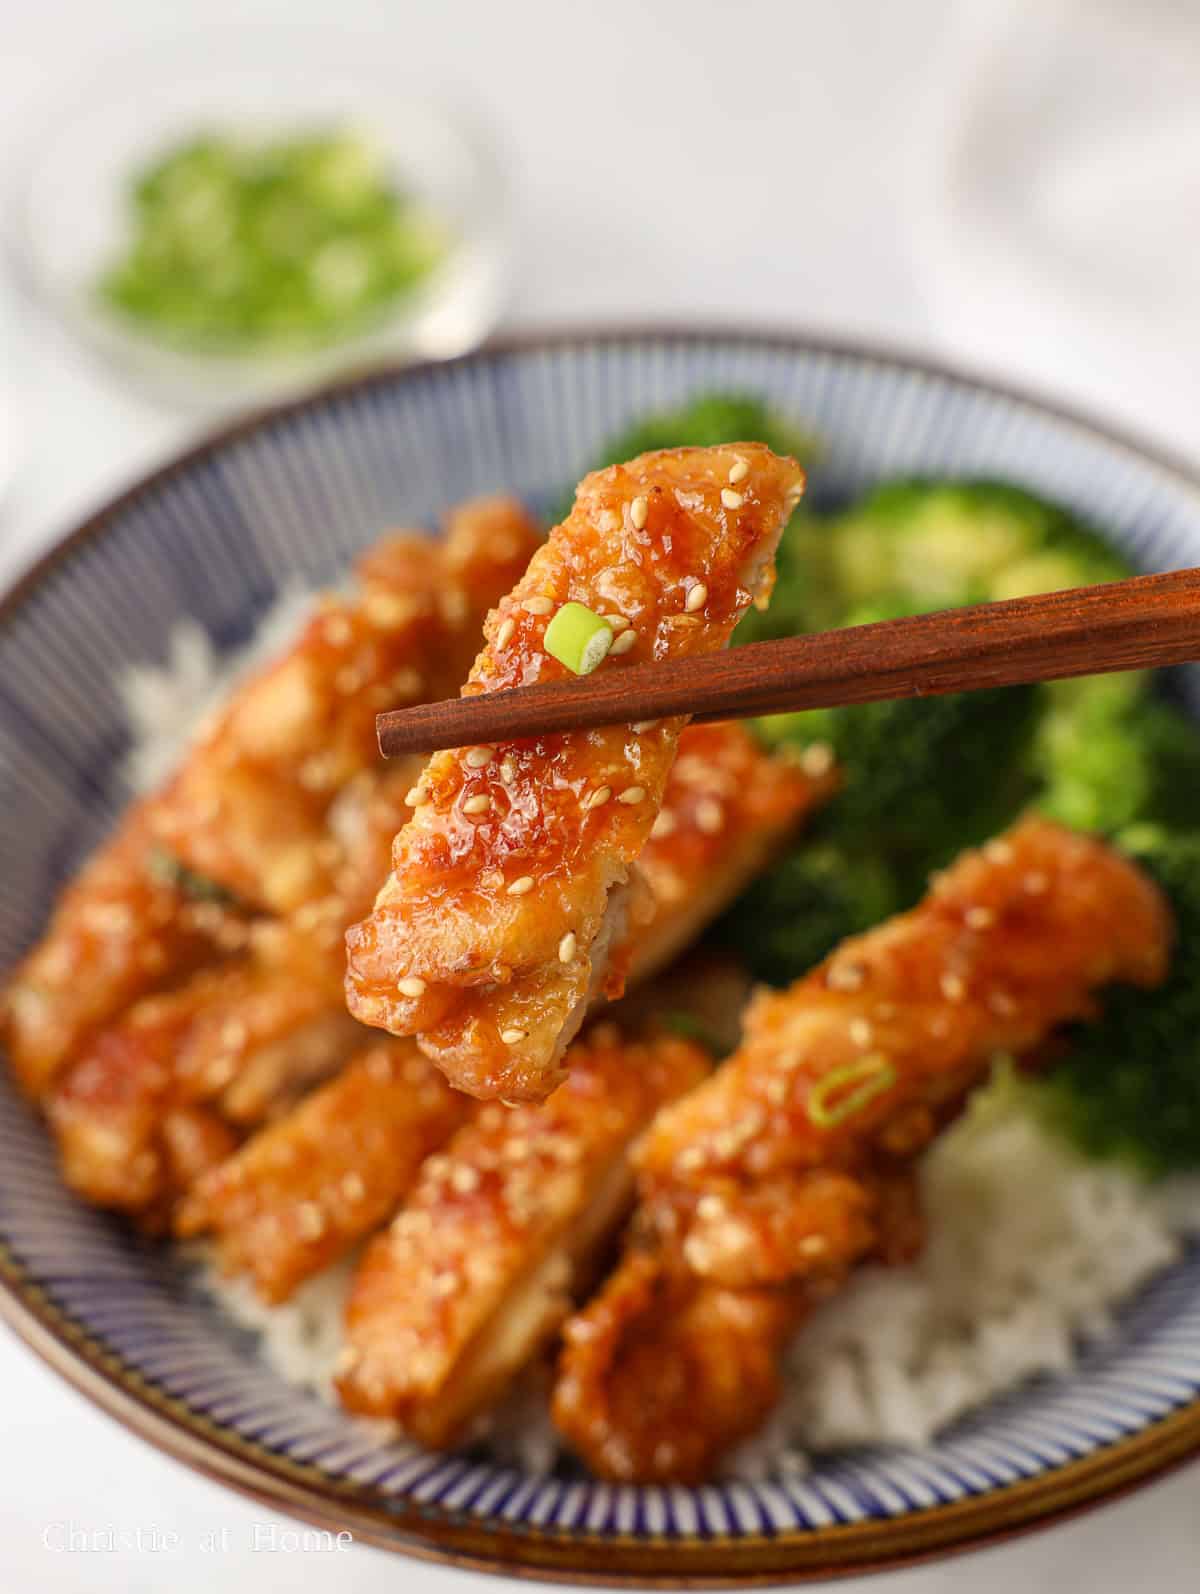
I found that lightly coating the chicken in cornstarch before pan-frying helps create a crispier exterior that holds up better under the sticky teriyaki sauce.
Ingredients & Substitutes
Exact ingredient amounts are listed in the recipe card at the bottom of this page.
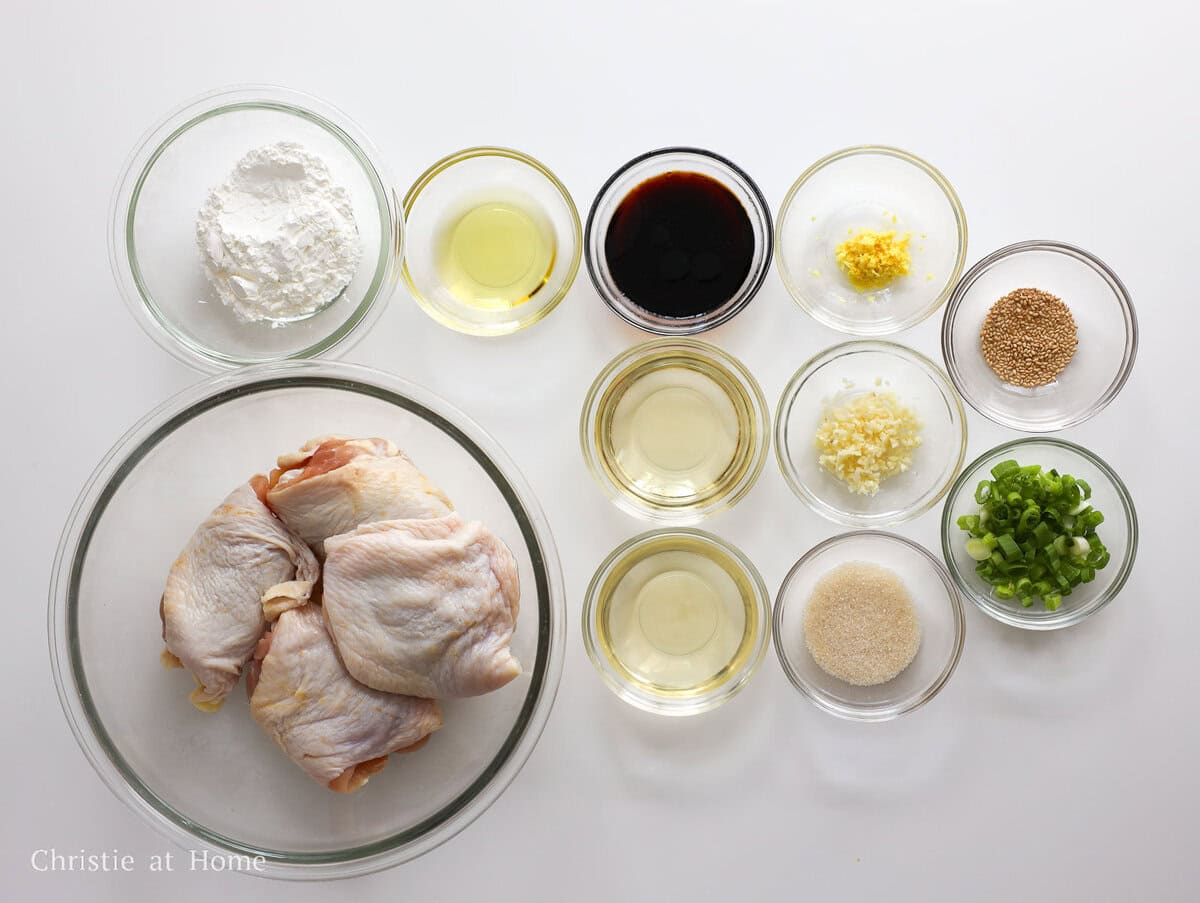
- Skin-on Bone-in Chicken Thighs: Skin-on thighs become crispy while the dark meat stays juicy during pan-frying. Skin-on boneless thighs make prep easier by eliminating the deboning step. I don't recommend skinless thighs or chicken breast because they can dry out faster.
- Cornstarch: Creates a light coating that helps the chicken develop a crisp exterior during pan-frying. Potato starch also works.
- Vegetable Oil: Or use any neutral cooking oil with a high smoke point, such as canola, refined avocado, or peanut oil.
- Green Onion: Finely chop for garnishing.
- Toasted Sesame Seeds: If unavailable, substitute with black sesame seeds or toast raw sesame seeds in a dry pan over medium heat until golden.
Homemade Teriyaki Sauce
- Sake: Adds savory depth to the teriyaki sauce and balances the sweeter mirin and sugar. Dry sherry or chicken stock also works.
- Mirin: A sweet Japanese rice wine that gives the teriyaki sauce sweetness and its characteristic glossy finish. Non-alcoholic mirin also works as a substitute.
- Regular Soy Sauce: Provides the salty, savory base of the teriyaki sauce. Light or low-sodium soy sauce also works.
- White Granulated Sugar: Sweetens the sauce and helps it reduce into a sticky glaze. Cane sugar also works.
- Garlic: Use fresh garlic cloves for the best flavor.
- Ginger: Adds a warm, aromatic flavor that balances the sweet and savory sauce.
Note: Asian ingredients are typically available at most Asian grocery stores or online.
Expert Tips
- Prepare the ingredients in advance: The cooking process moves quickly once the chicken hits the pan.
- Pat the chicken very dry: Excess surface moisture causes the chicken to steam instead of developing crispy skin.
- Preheat the pan: Let the pan and oil heat up before adding the chicken for better browning.
- Press and leave the chicken: Press the skin against the pan for even contact, then leave it undisturbed to develop a golden crust.
- Keep the browned bits: Scrape them into the teriyaki sauce for extra savory flavor.
Instructions
Below are step-by-step instructions on how to make teriyaki chicken:
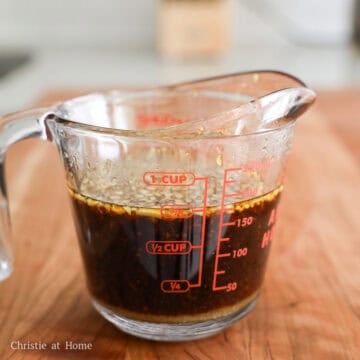
- Make the teriyaki sauce: In a small bowl or measuring cup, combine the teriyaki sauce ingredients. Whisk until the sugar fully dissolves. Set aside.
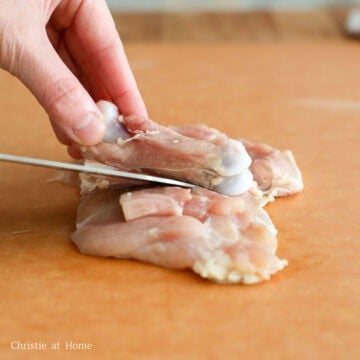
- Debone and dry the chicken: Place the chicken thighs skin-side down on a cutting board. Using the tip of a sharp knife, make small slits around the bone until the bone can be removed. Pat the chicken very dry on both sides with paper towels, especially the skin.
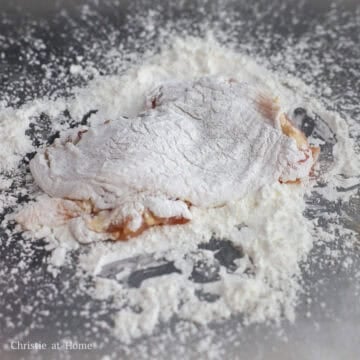
- Coat the chicken: Add cornstarch to a large plate or baking sheet, then coat both sides of the chicken thighs, shaking off any excess. Transfer the coated chicken to a parchment-lined plate.
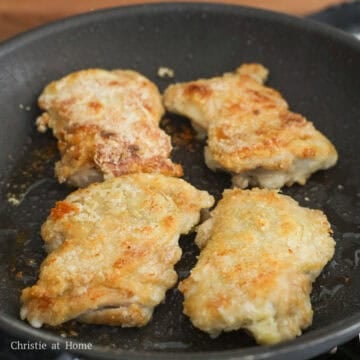
- Sear the chicken: Heat vegetable oil in a large pan over medium heat. Add the chicken skin-side down in a single layer and sear for 4-6 minutes until the skin is golden and crispy. Gently press down on the thighs for even contact with the pan, then leave them undisturbed until golden and crispy. Flip and cook for another 3-5 minutes, or until the chicken reaches an internal temperature of 165°F. Remove and set aside.
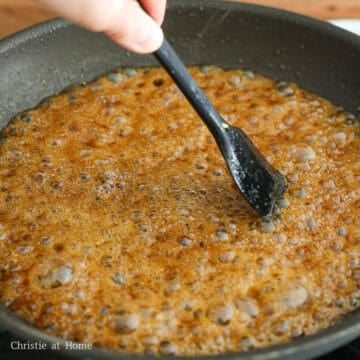
- Reduce the teriyaki sauce: Pour the prepared sauce into the same pan and scrape up the browned bits from the bottom. Simmer for about 2 minutes, stirring occasionally, until slightly thickened and glossy.
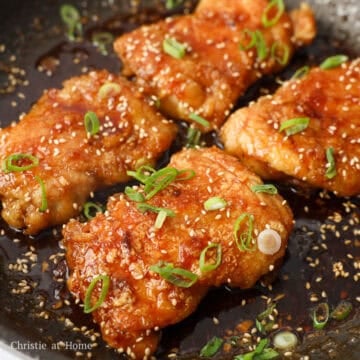
- Glaze the chicken: Return the chicken to the pan skin-side down for 5 seconds and quickly flip to coat the other side for another 5 seconds, without letting it simmer in the sauce. Remove from the heat and garnish with green onions and toasted sesame seeds. Serve whole or rest for 5 minutes before slicing into strips.
Storage & Reheating
- Refrigerator: Store leftover teriyaki chicken in an airtight container in the refrigerator for up to 4 days.
- Freezer: Arrange cooled chicken in a single layer in a freezer bag and freeze for up to 3 months. Thaw overnight in the refrigerator before reheating.
- Reheating: Reheat the chicken in a pan over medium-low heat until hot throughout. You can also microwave it for 1-2 minutes, but the skin will be softer.
Pairing Suggestions
Serve Japanese teriyaki chicken with:
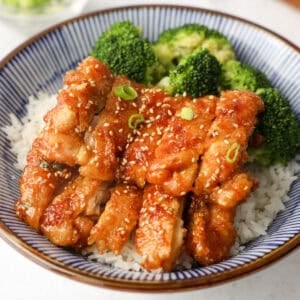
- Steamed Rice: Serve with Japanese short-grain or jasmine rice.
- Vegetables: Pair with steamed broccoli, cabbage, or bok choy.
- Miso Soup: Serve with miso soup for a complete meal.
FAQ
Pat the chicken very dry before coating it with cornstarch and make sure the pan is hot before adding it. Sear the chicken skin-side down without moving it until golden and crispy, then coat it briefly in the teriyaki sauce to prevent the skin from becoming soggy.
Let the sauce simmer for a little longer, stirring occasionally, until it reduces and thickens.
Yes. Use gluten-free cooking sake, gluten-free mirin, and tamari or gluten-free soy sauce. Also check that any ingredient substitutions you use are labeled gluten-free if needed.
More Like This
Check out my other Japanese recipes:
📖 Recipe
Easy Teriyaki Chicken (30 Minutes)

Ingredients
- 1.5 lbs skin-on bone-in chicken thighs (4 large thighs)
- ¼ cup cornstarch
- 1.5 tablespoon vegetable oil or any neutral oil
- 1 green onion finely chopped
- ½ teaspoon sesame seeds toasted kind
Teriyaki Sauce
- ¼ cup sake
- ¼ cup mirin
- 3 tablespoon regular soy sauce or light soy sauce
- 1 tablespoon white granulated sugar
- 2 garlic cloves minced
- 1 teaspoon ginger grated
Instructions
- In a small bowl or measuring cup, combine the teriyaki sauce ingredients. Whisk until the sugar fully dissolves. Set aside.
- Place the chicken thighs skin-side down on a cutting board. Using the tip of a sharp knife, make small slits around the bone until the bone can be removed. Pat the chicken very dry on both sides with paper towels, especially the skin.
- Add cornstarch to a large plate or baking sheet, then coat both sides of the chicken thighs, shaking off any excess. Transfer the coated chicken to a parchment-lined plate.
- Heat vegetable oil in a large pan over medium heat. Add the chicken skin-side down in a single layer and sear for 4-6 minutes until the skin is golden and crispy. Gently press down on the thighs for even contact with the pan, then leave them undisturbed until golden and crispy. Flip and cook for another 3-5 minutes, or until the chicken reaches an internal temperature of 165°F. Remove and set aside.
- Pour the prepared sauce into the same pan and scrape up the browned bits from the bottom. Simmer for about 2 minutes, stirring occasionally, until slightly thickened and glossy.
- Return the chicken to the pan skin-side down for 5 seconds and quickly flip to coat the other side for another 5 seconds, without letting it simmer in the sauce. Remove from the heat and garnish with green onions and toasted sesame seeds. Serve whole or rest for 5 minutes before slicing into strips.
Kay
Love this recipe! How long to cook for boneless skinless thighs?
Christie Lai
Thank you! I would recommend reducing the cooking time to 4-5 minutes in total or until you reach an internal temperature of 165 with a digital instant read thermometer.
Dodzi
Wonderful recipe. Keep going. Will be staying around...
Christie Lai
Thank you so much for making my recipe! Glad you enjoyed it!
Susie
This was a delicious recipe and so easy to follow and make! Teryiaki chicken is my go to when I'm out, so I'm so happy I can make it as good myself at home!
I doubled the sugar, because I must like mine sweeter, but otherwise everything else is the same
Christie Lai
Thank you so much for making my recipe and so glad you liked it with the extra sugar!
Jeremy
Great recipe. Wonderful instructions. Tasty meal. And, I learned a new cooking technique (brushing chicken with cornstarch). And, my wife loves it.
Awesome!
Christie Lai
Thank you so much for making my recipe, Jeremy! So glad it turned out well and that your wife loves it too!
Stella
I don't have sake. Can I substitute it with something else?
Christie Lai
Feel free to substitute with dry sherry wine, shaoxing wine, or chicken stock. You can also find substitutes listed in the blog post (under Ingredients & Substitutes).
Jeremy M Pease
Still my go to recipe! Love it!
Christie Lai
Thank you so much for sharing your positive review here! Glad you still love it, Jeremy!
Jada
Hi Christie, If I make extra sauce for future use, how long can I keep in refrigerator? Hopefully for more than a week. I don't like to freeze sauces. thx much !!
Christie Lai
Hi Jada! If you make extra teriyaki sauce for the future, it'll last up to 2 weeks stored in an airtight container in the fridge as long as you use a clean spoon to scoop out what you need. Hope this helps!
Taryn
So so so good! Thank you!!! Will be making again and again.
christieathome
Thank you so much for making my recipe, Taryn! Happy you enjoyed it 🙂