

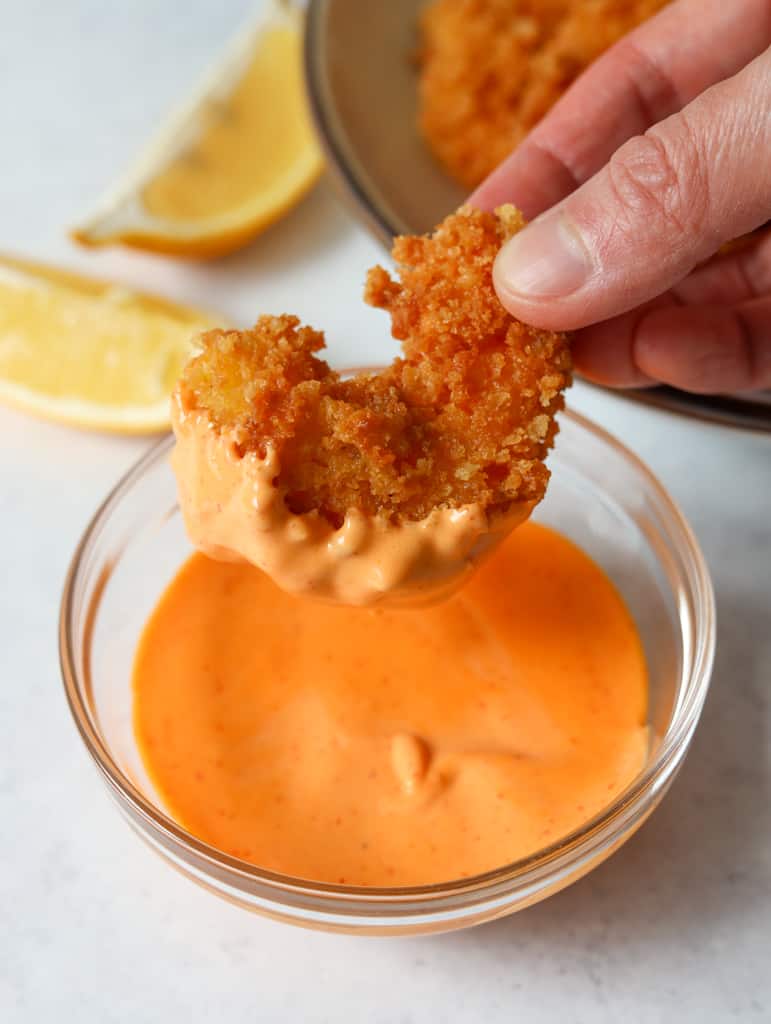
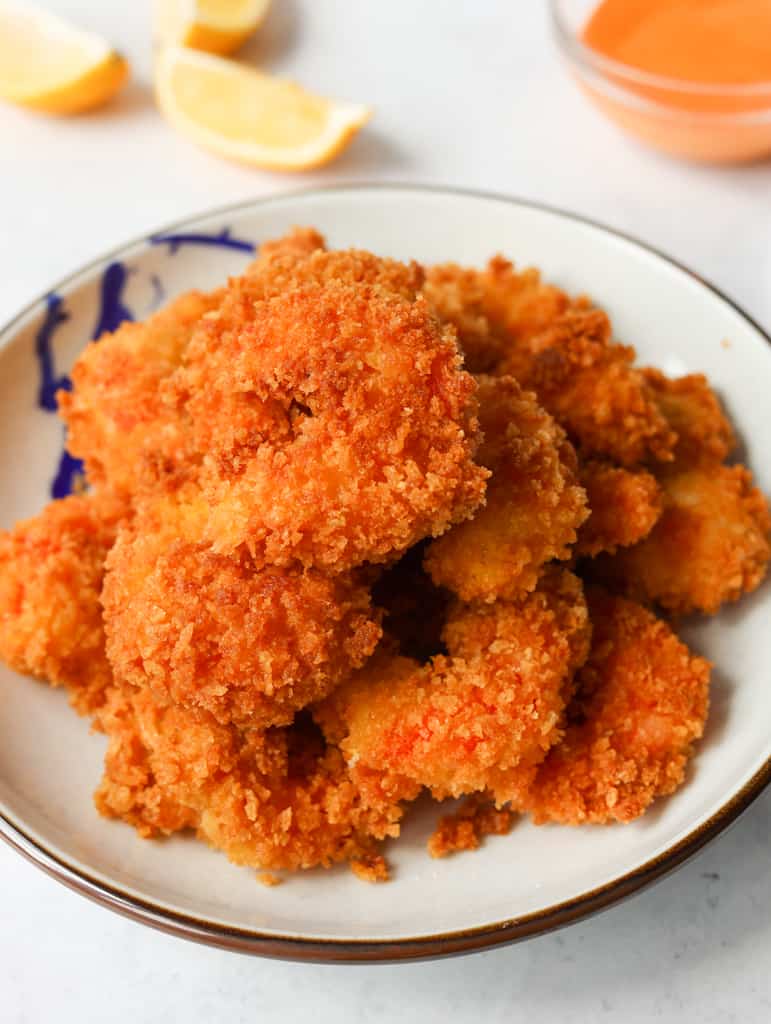
Juicy shrimp are coated in crispy panko breadcrumbs and served with a creamy spicy dipping sauce. This easy panko shrimp recipe is ready in just 20 minutes. The light, crunchy coating makes every bite crisp without feeling heavy.
Jump to:
Panko shrimp, also known as ebi fry, is a Japanese-style fried shrimp dish coated in light, crispy panko breadcrumbs. I love ordering it at Japanese restaurants before my main. I mean, who doesn't love deep-fried shrimp? But I wanted to create a simple version without the hassle of making the shrimp straight because honestly, I don't have time for that.
After testing this recipe many times, I found that patting the shrimp completely dry before breading helps the coating stick instead of slipping off during frying.
Why It Works
- Layered breading: The flour-cornstarch mixture, egg, and panko create a light, crispy crust without a heavy wet batter.
- Steady frying heat: A heavy-bottomed pan helps maintain the oil at 325-350°F so the panko stays crisp instead of soggy.
- Small batches: Frying just 5-6 shrimp at a time prevents crowding so each piece cooks evenly and turns golden.
Ingredients & Substitutes
Exact ingredient amounts are listed in the recipe card at the bottom of this page.
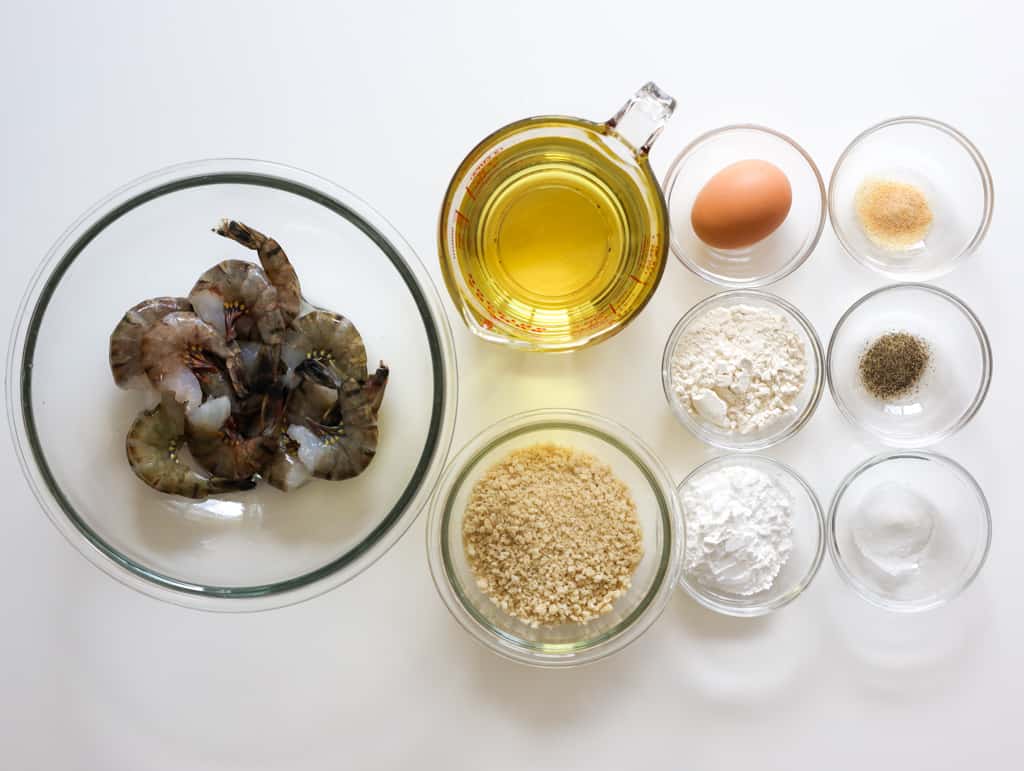
- Raw Jumbo Shrimp: Use jumbo shrimp (16-20 count); fresh or frozen both work, but thaw if frozen. Extra-large shrimp (21-25 count) also work. Get the easy-peel, deveined kind for convenience. I prefer black tiger shrimp for a meatier bite, but white shrimp also works. Avoid pre-cooked shrimp.
- Panko Breadcrumbs: Use unseasoned Japanese-style panko breadcrumbs for a light, crispy coating.
- Large Egg
- Vegetable Oil: Use a neutral, high-smoke-point oil for frying. Canola or refined avocado oil also works.
Flour Mixture
- All-Purpose Flour
- Cornstarch: Potato starch also works.
- Garlic Powder: Avoid fresh minced garlic because it can burn during frying.
- Salt & Black Pepper
Dipping Sauce
- Japanese Mayo: I prefer Kewpie mayo for its extra-creamy texture. Regular mayonnaise also works, or mix it with a pinch of sugar and rice vinegar for a closer substitute.
- Sriracha: I prefer Huy Fong for that classic sriracha flavor.
Note: Asian ingredients are typically available at most Asian grocery stores or online.
Expert Tips
- Use a dry and wet hand. Use 1 hand for dry ingredients and 1 for the egg to prevent the panko from clumping.
- Track the oil temperature. Check the oil before each batch and let it return to 350°F before frying more shrimp.
- Don't stack the shrimp. Drain fried shrimp in a single layer on a wire rack so trapped steam doesn't soften the coating.
Instructions
Below are step-by-step instructions on how to make panko shrimp:
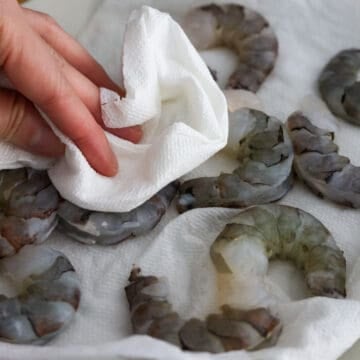
- Prepare the shrimp: Peel and devein the jumbo shrimp. Rinse under cold water to remove any tiny shell fragments, then pat completely dry with paper towels.
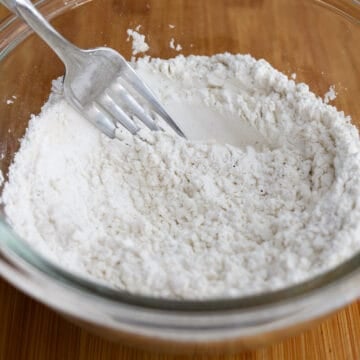
- Set up dredging stations: Arrange 3 shallow plates. In the first, whisk together all the listed flour-mixture ingredients. In the second, beat the egg. In the third, evenly spread the panko breadcrumbs.
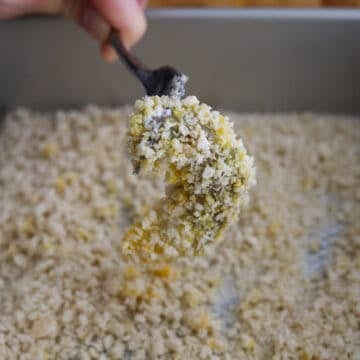
- Coat the shrimp: Working one shrimp at a time, evenly coat each piece in the flour mixture and shake off the excess. Coat in beaten egg, then firmly press into the panko for an even coating. Set aside on a parchment-lined baking sheet.
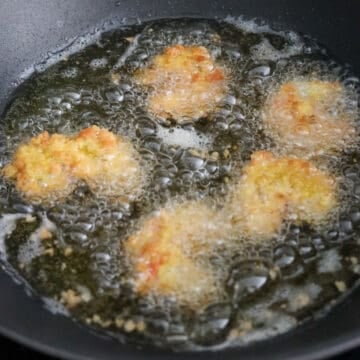
- Fry in batches: Heat the oil to 350°F (175°C) in a heavy-bottomed pan, adjusting the heat as needed. Fry 5-6 shrimp at a time for 2-3 minutes, flipping halfway through, until golden and the shrimp form a C-curl. Cooked shrimp should reach an internal temperature of 145°F. Remove the shrimp with tongs or a slotted spoon. Let the oil return to 350°F between batches, removing any browned bits from the oil as needed.
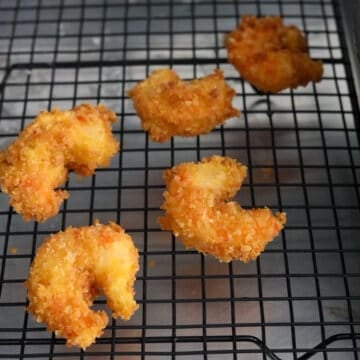
- Drain the shrimp: Transfer the fried shrimp to a wire rack to drain in a single layer.
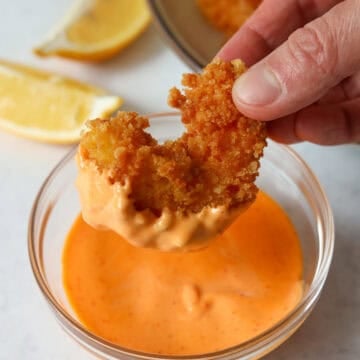
- Mix the sauce: Stir the Japanese mayo and sriracha together in a small bowl. Serve immediately as a dipping sauce with the hot shrimp.
Storage & Reheating
Panko shrimp is best served immediately while the coating is hot and crispy.
- Refrigerator: Store cooled leftovers in an airtight container in the fridge for up to 4 days.
- Freezer: Freeze cooled shrimp in a freezer-safe bag for up to 3 months. They can be reheated directly from frozen.
- Reheating: Air fry or bake refrigerated shrimp at 375°F (190°C) for 5-7 minutes until hot and crispy. For frozen shrimp, air fry or bake at 375°F (190°C) for 10-15 minutes until hot and crispy.
Variations
- Gluten-Free: Use gluten-free panko breadcrumbs and 1:1 gluten-free baking flour. Check the Japanese mayo and sriracha labels to confirm they're gluten-free.
- Air Fryer Panko Shrimp: Spray the air fryer basket and breaded shrimp generously with cooking spray. Air fry in a single layer at 400°F (204°C) for 6-8 minutes, flipping halfway through, until golden and the shrimp reach 145°F internally.
Pairing Suggestions
Serve crispy panko shrimp with:
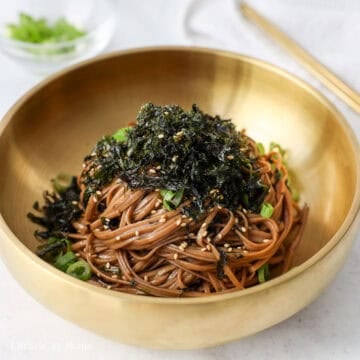
- Yaki Udon: Savory stir-fried noodles turn the shrimp into a more filling meal.
- Teriyaki Chicken: Sweet and savory chicken adds a complementary protein.
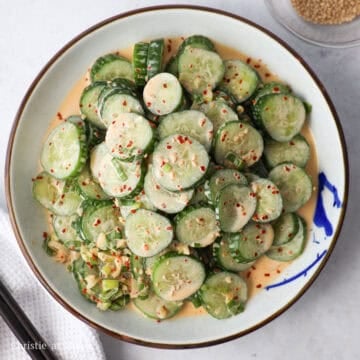
- Japanese Cucumber Salad: Crisp, tangy cucumbers balance the richness of the fried shrimp.
FAQ
Excess moisture can prevent the breading from sticking. Pat the shrimp completely dry, shake off excess flour mixture, and firmly press the panko onto the shrimp before frying.
The oil may be too cool or overcrowded. Keep the oil at 325-350°F, fry only 5-6 shrimp at a time, and let the oil return to 350°F between batches.
More Like This
Check out my other seafood recipes:
📖 Recipe

Easy Crispy Panko Shrimp (20 Minutes)

Ingredients
- ½ lb shrimp raw, jumbo size
- 2 cups vegetable oil or any neutral oil
- 1 large egg
- 1 ¼ cup panko breadcrumbs or as needed
Flour Mixture:
- 2 tablespoon all purpose flour
- 2 tablespoon cornstarch or potato starch
- ¼ teaspoon salt
- ¼ teaspoon black pepper
- ¼ teaspoon garlic powder
Dipping Sauce:
- ¼ cup Japanese mayonnaise
- 2 tablespoon sriracha
Instructions
- Peel and devein the jumbo shrimp. Rinse under cold water to remove any tiny shell fragments, then pat completely dry with paper towels.
- Arrange 3 shallow plates. In the first, whisk together all the listed flour-mixture ingredients. In the second, beat the egg. In the third, evenly spread the panko breadcrumbs.
- Working one shrimp at a time, evenly coat each piece in the flour mixture and shake off the excess. Coat in beaten egg, then firmly press into the panko for an even coating. Set aside on a parchment-lined baking sheet.
- Heat the oil to 350°F (175°C) in a heavy-bottomed pan, adjusting the heat as needed. Fry 5-6 shrimp at a time for 2-3 minutes, flipping halfway through, until golden and the shrimp form a C-curl. Cooked shrimp should reach an internal temperature of 145°F. Remove the shrimp with tongs or a slotted spoon. Let the oil return to 350°F between batches, removing any browned bits from the oil as needed.
- Transfer the fried shrimp to a wire rack to drain in a single layer.
- Stir the Japanese mayo and sriracha together in a small bowl. Serve immediately as a dipping sauce with the hot shrimp.
Tillie
EXCELLENT recipe! No modifications needed. Perfect texture and taste!!
Christie Lai
Thank you so much for making my recipe and so glad you liked it!
Sara
Oops forgot to rate it. 5 stars all the way!
Christie Lai
I am so grateful for the 5-star review! Thank you Sara!!!
Sara
Great recipe! Family loved it and very easy. Thanks for posting.
Christie Lai
Thanks so much for making my recipe for your family, Sara! So happy you loved it!
Molly
Loved it! This was so crispy and delicious especially with the dipping sauce! So easy to make too.
christieathome
Thank you so much for making it Molly! I'm so glad it worked out!