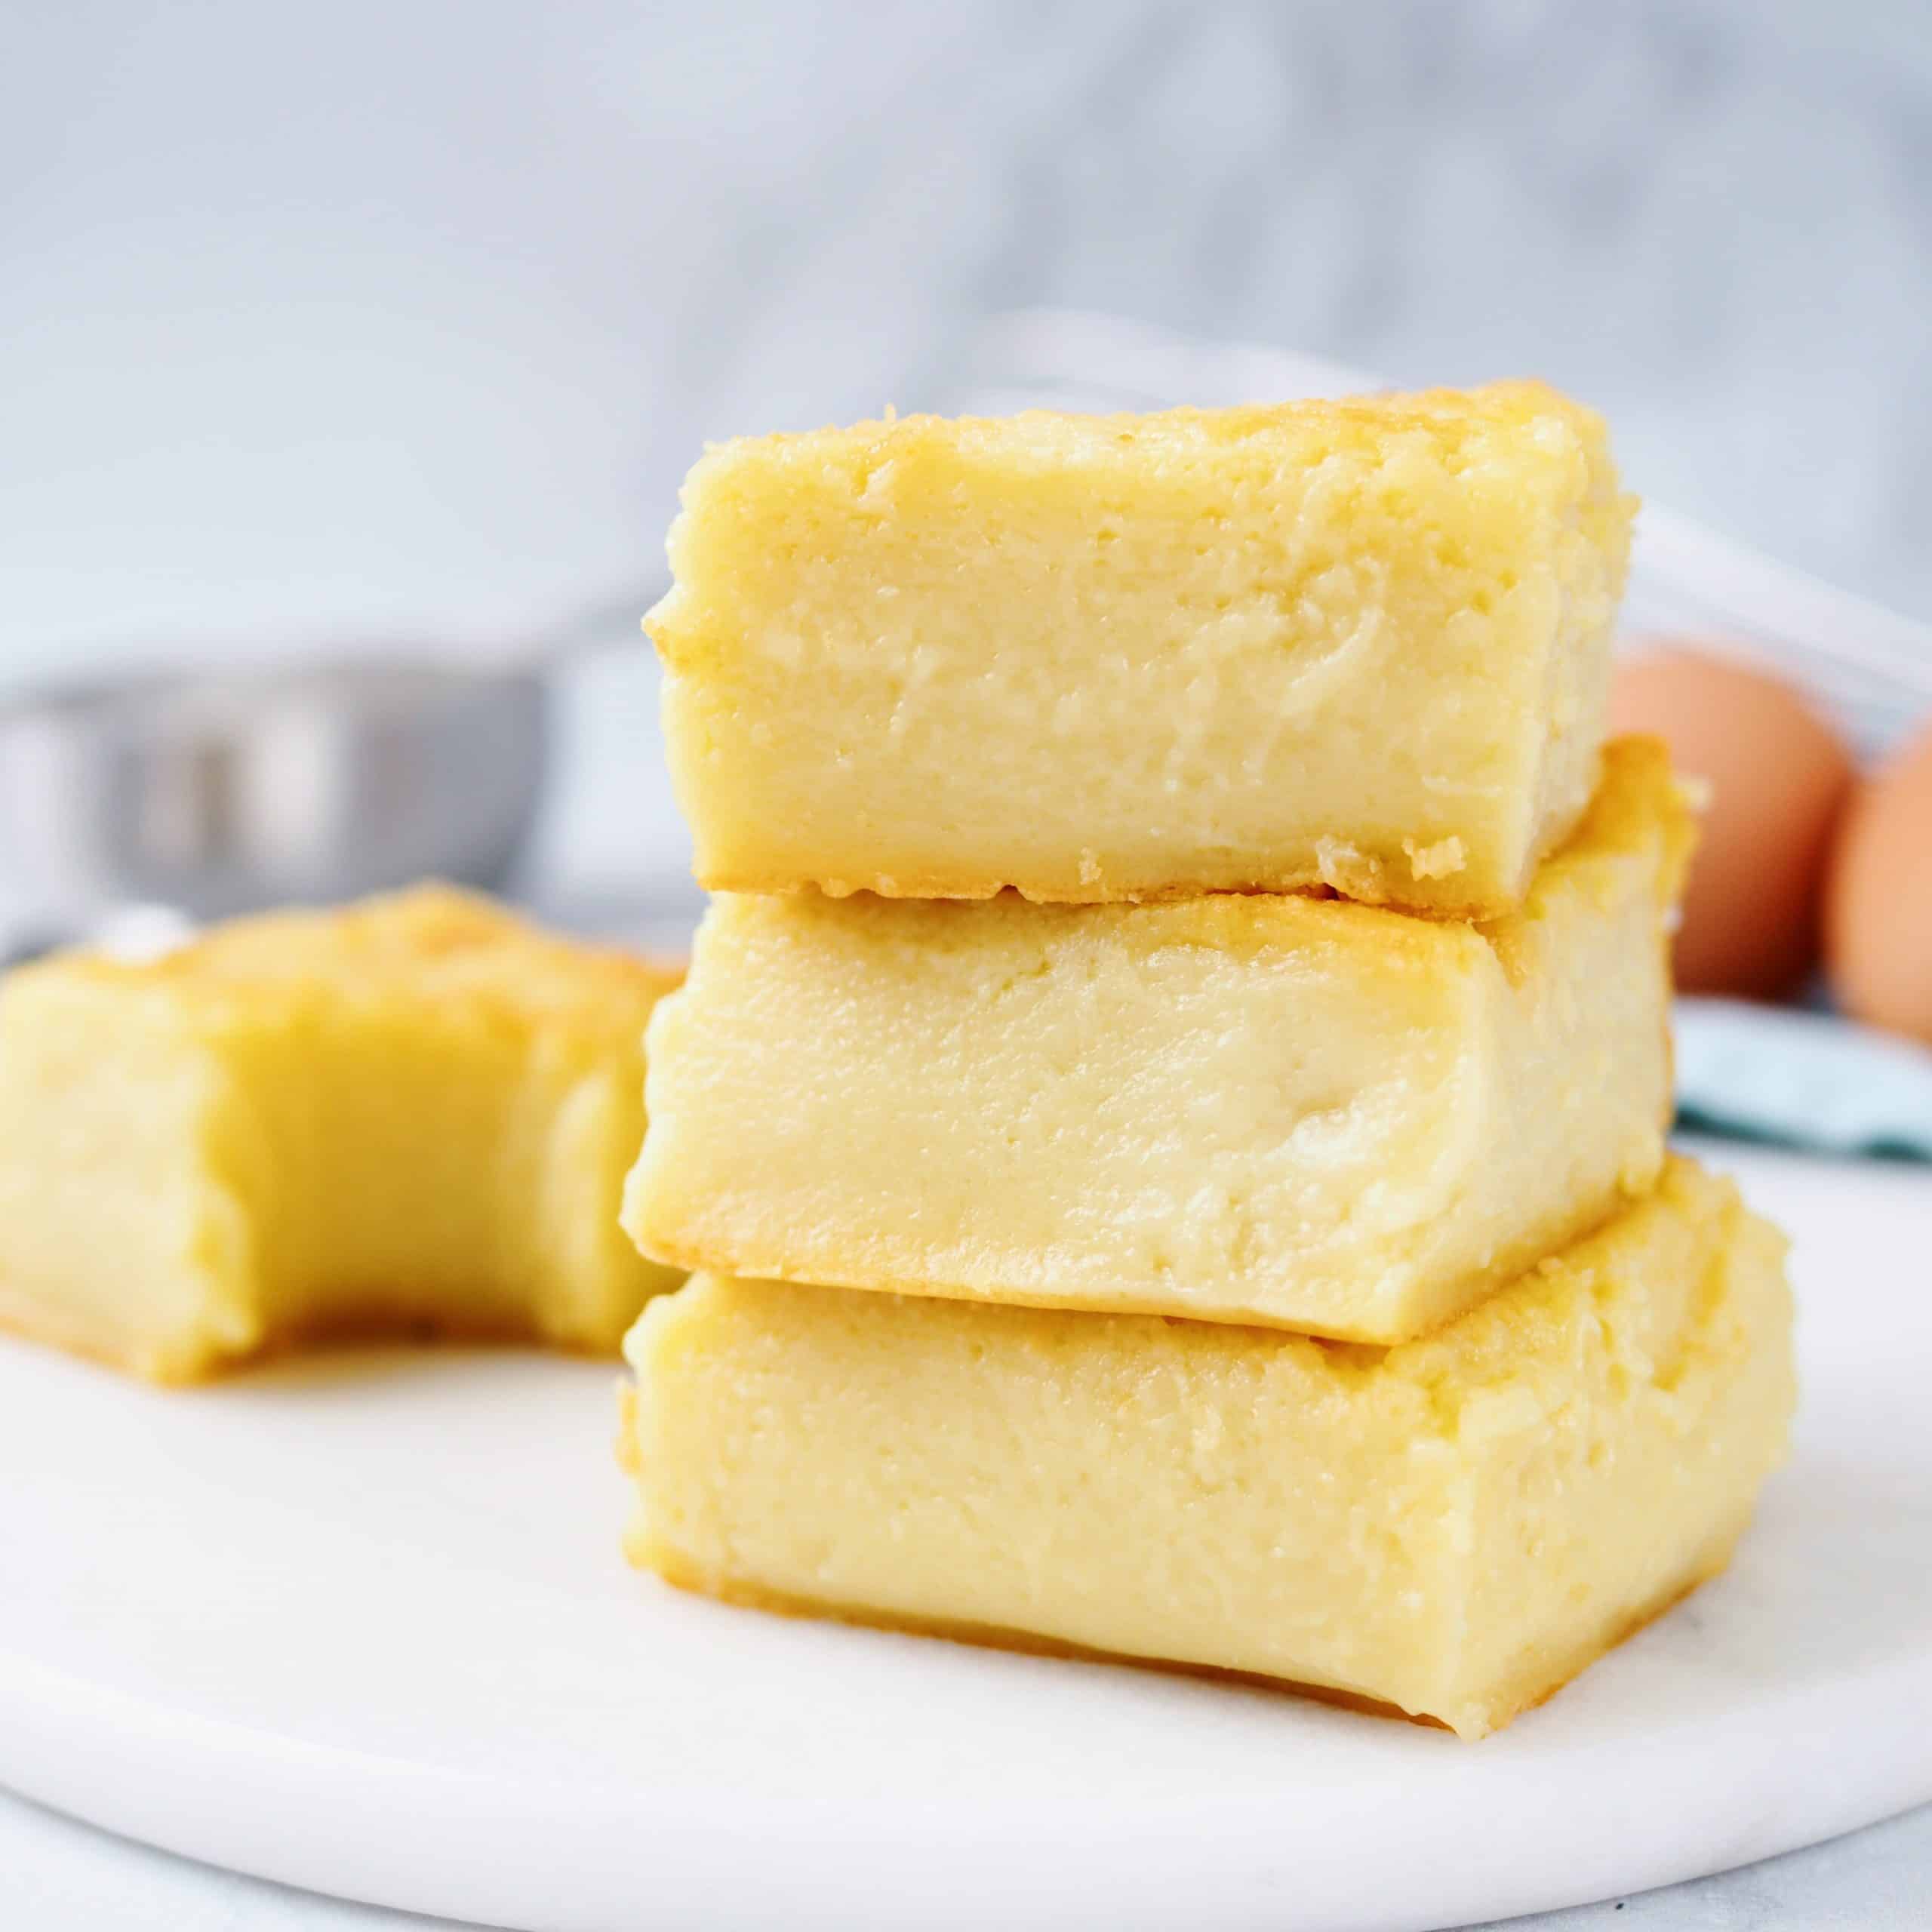
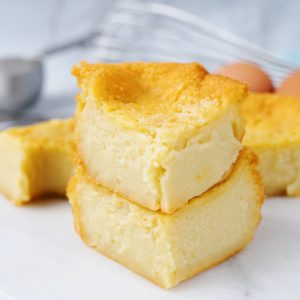
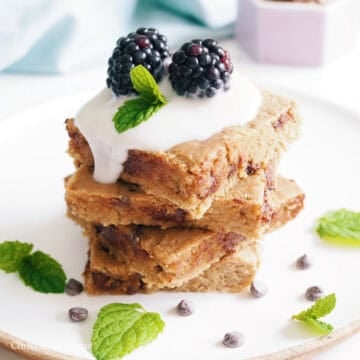
Hawaiian Butter Mochi. A soft, delicious butter mochi cake with a chewy texture with crunchy edges. A classic Hawaiian dessert that is very easy to make with minimal and simple ingredients! This is gluten-free and dairy-free adaptable.
Jump to:
What is Butter Mochi?
Hawaiian Butter Mochi is a chewy, soft, bouncy mochi cake. The main ingredients of this dessert are coconut milk, sweet glutinous rice flour and of course, butter! I also share how to make this dairy-free as well.
This dessert is very popular in Hawaii. A lot of people on the island love this local treat for it's heavenly texture. It is believed that this cake was derived from a Filipino cake called bibingka, which contains similar ingredients.
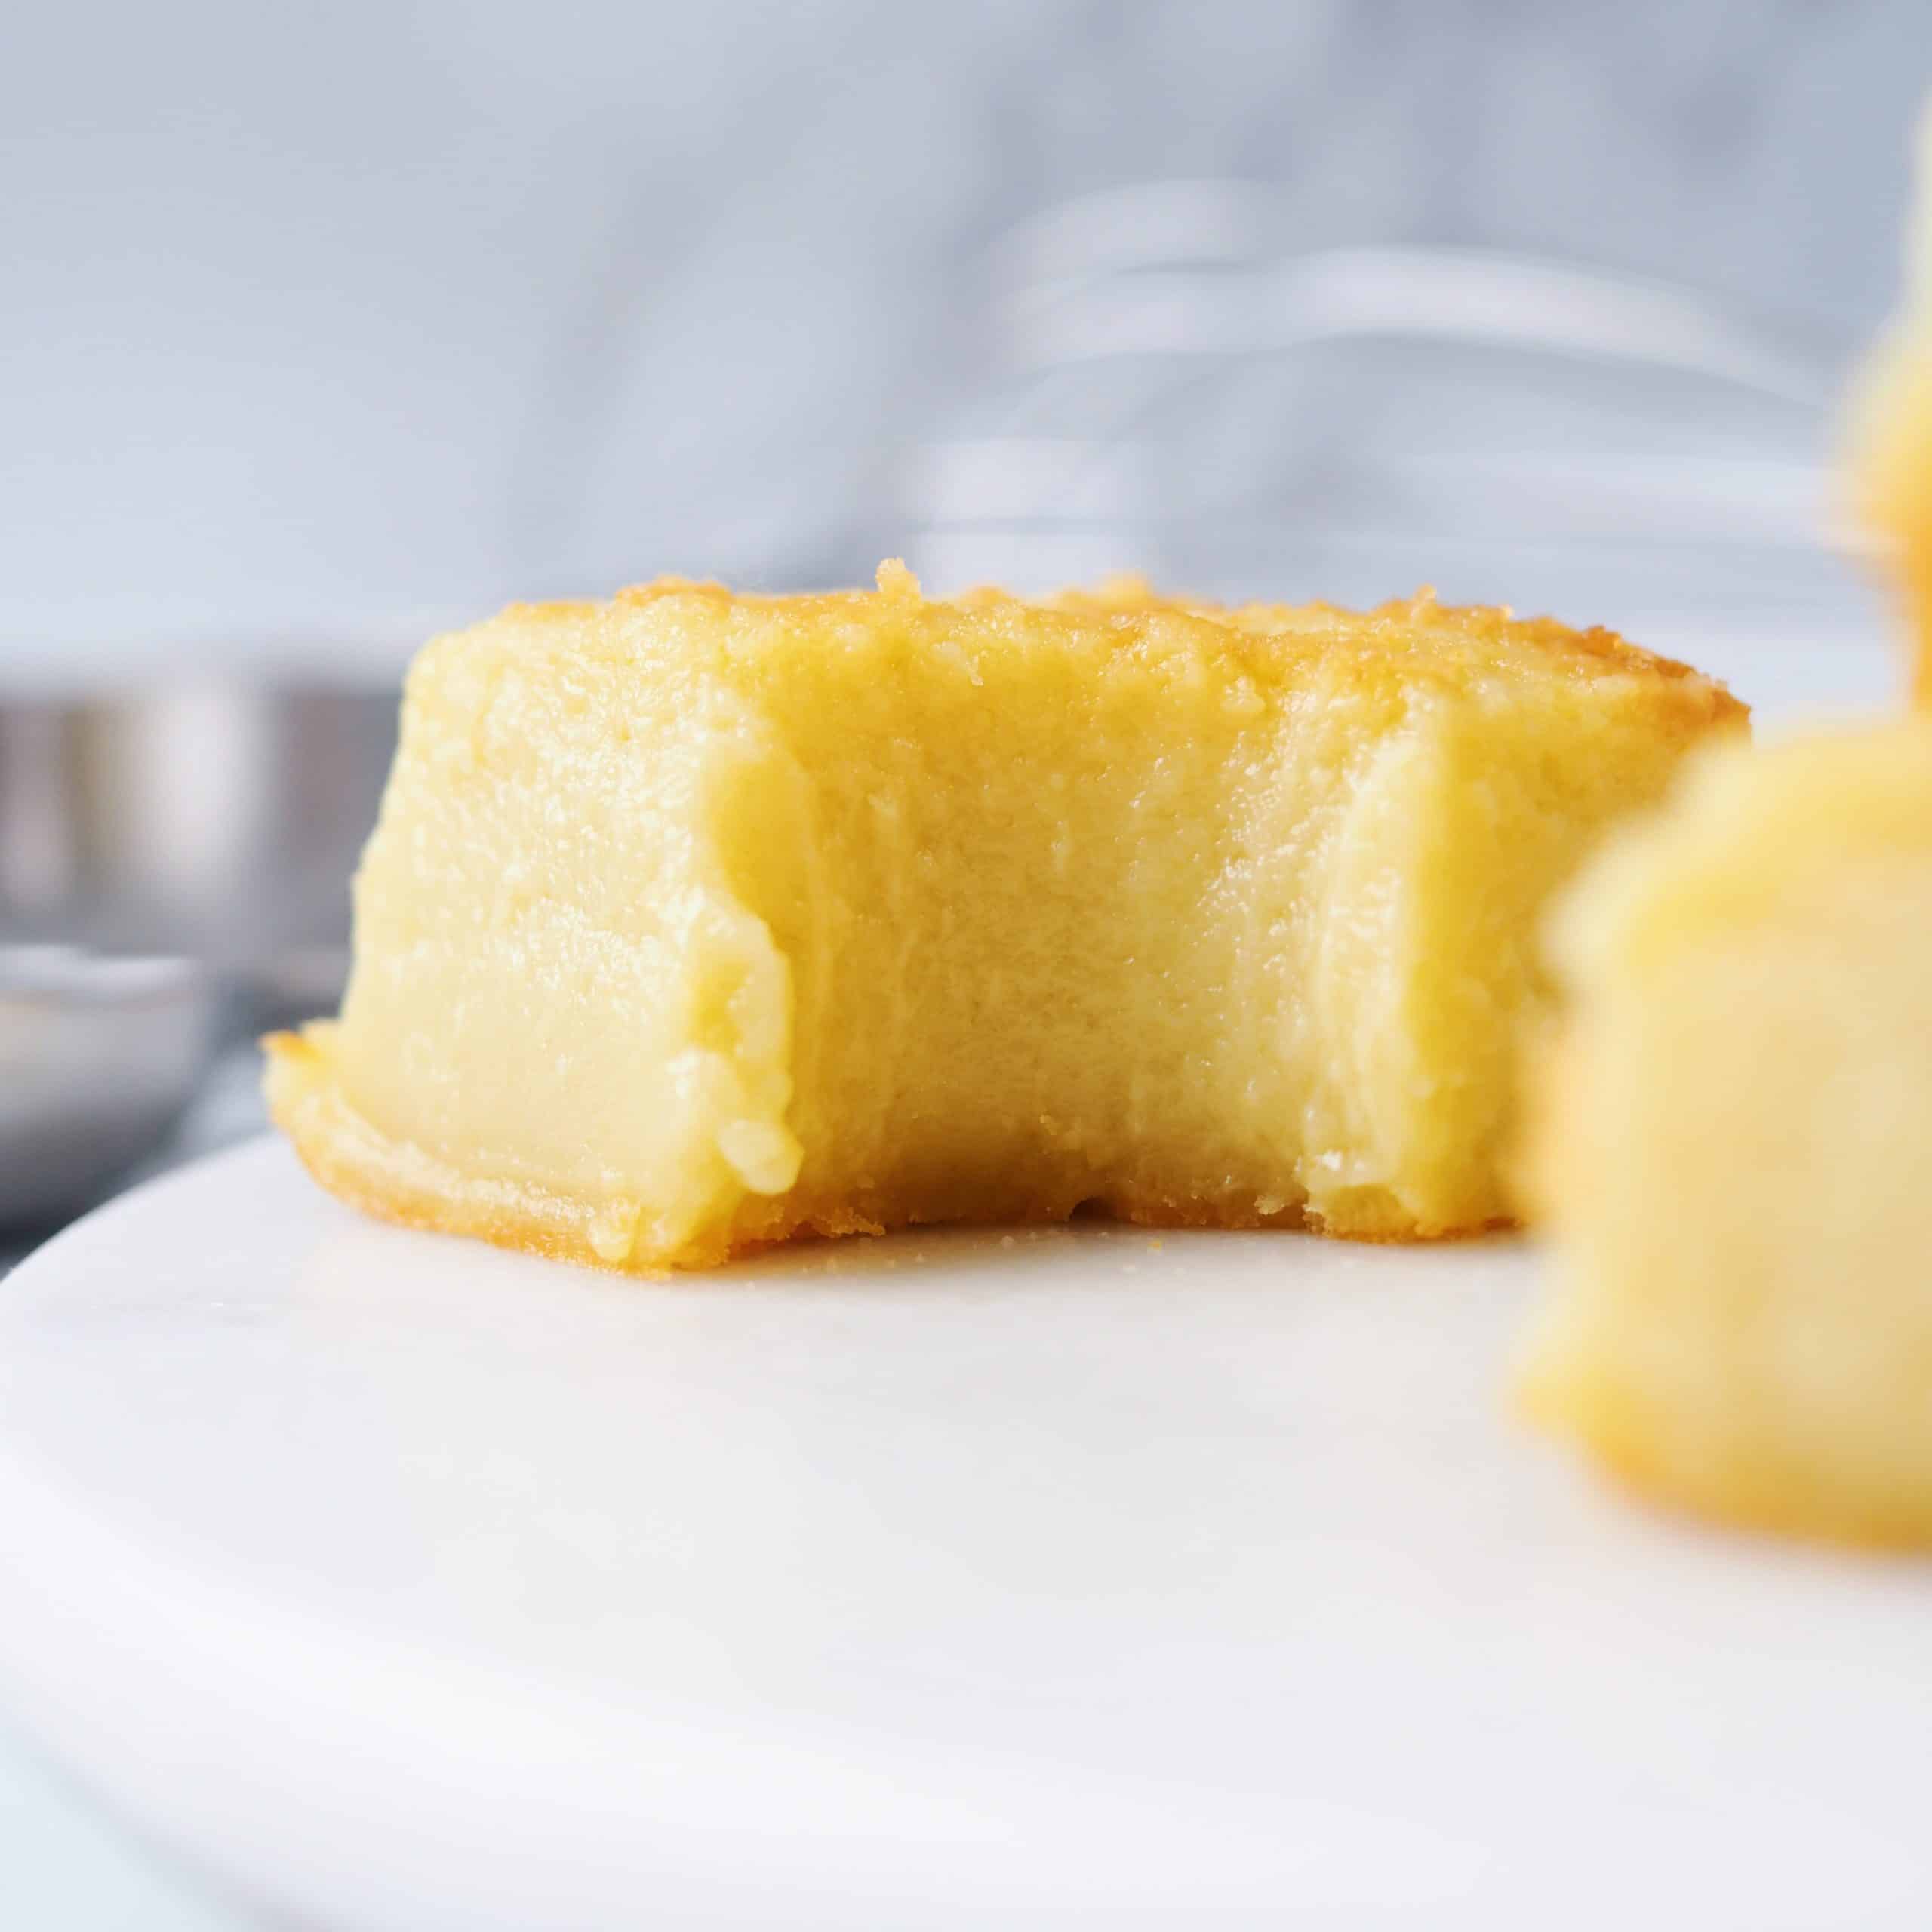
If you've never tried butter mochi then you're in for a treat! The first time I had these mochi bars, my eyes rolled to the back of my eye it was so good! Little tip: the corner pieces are the best part because you get those crispy edges.
If you enjoy soft chewy desserts, this has the best texture! It's very similar to a baked custard cake but bouncier in chew.
Ingredients & Substitutes
Dry Ingredients
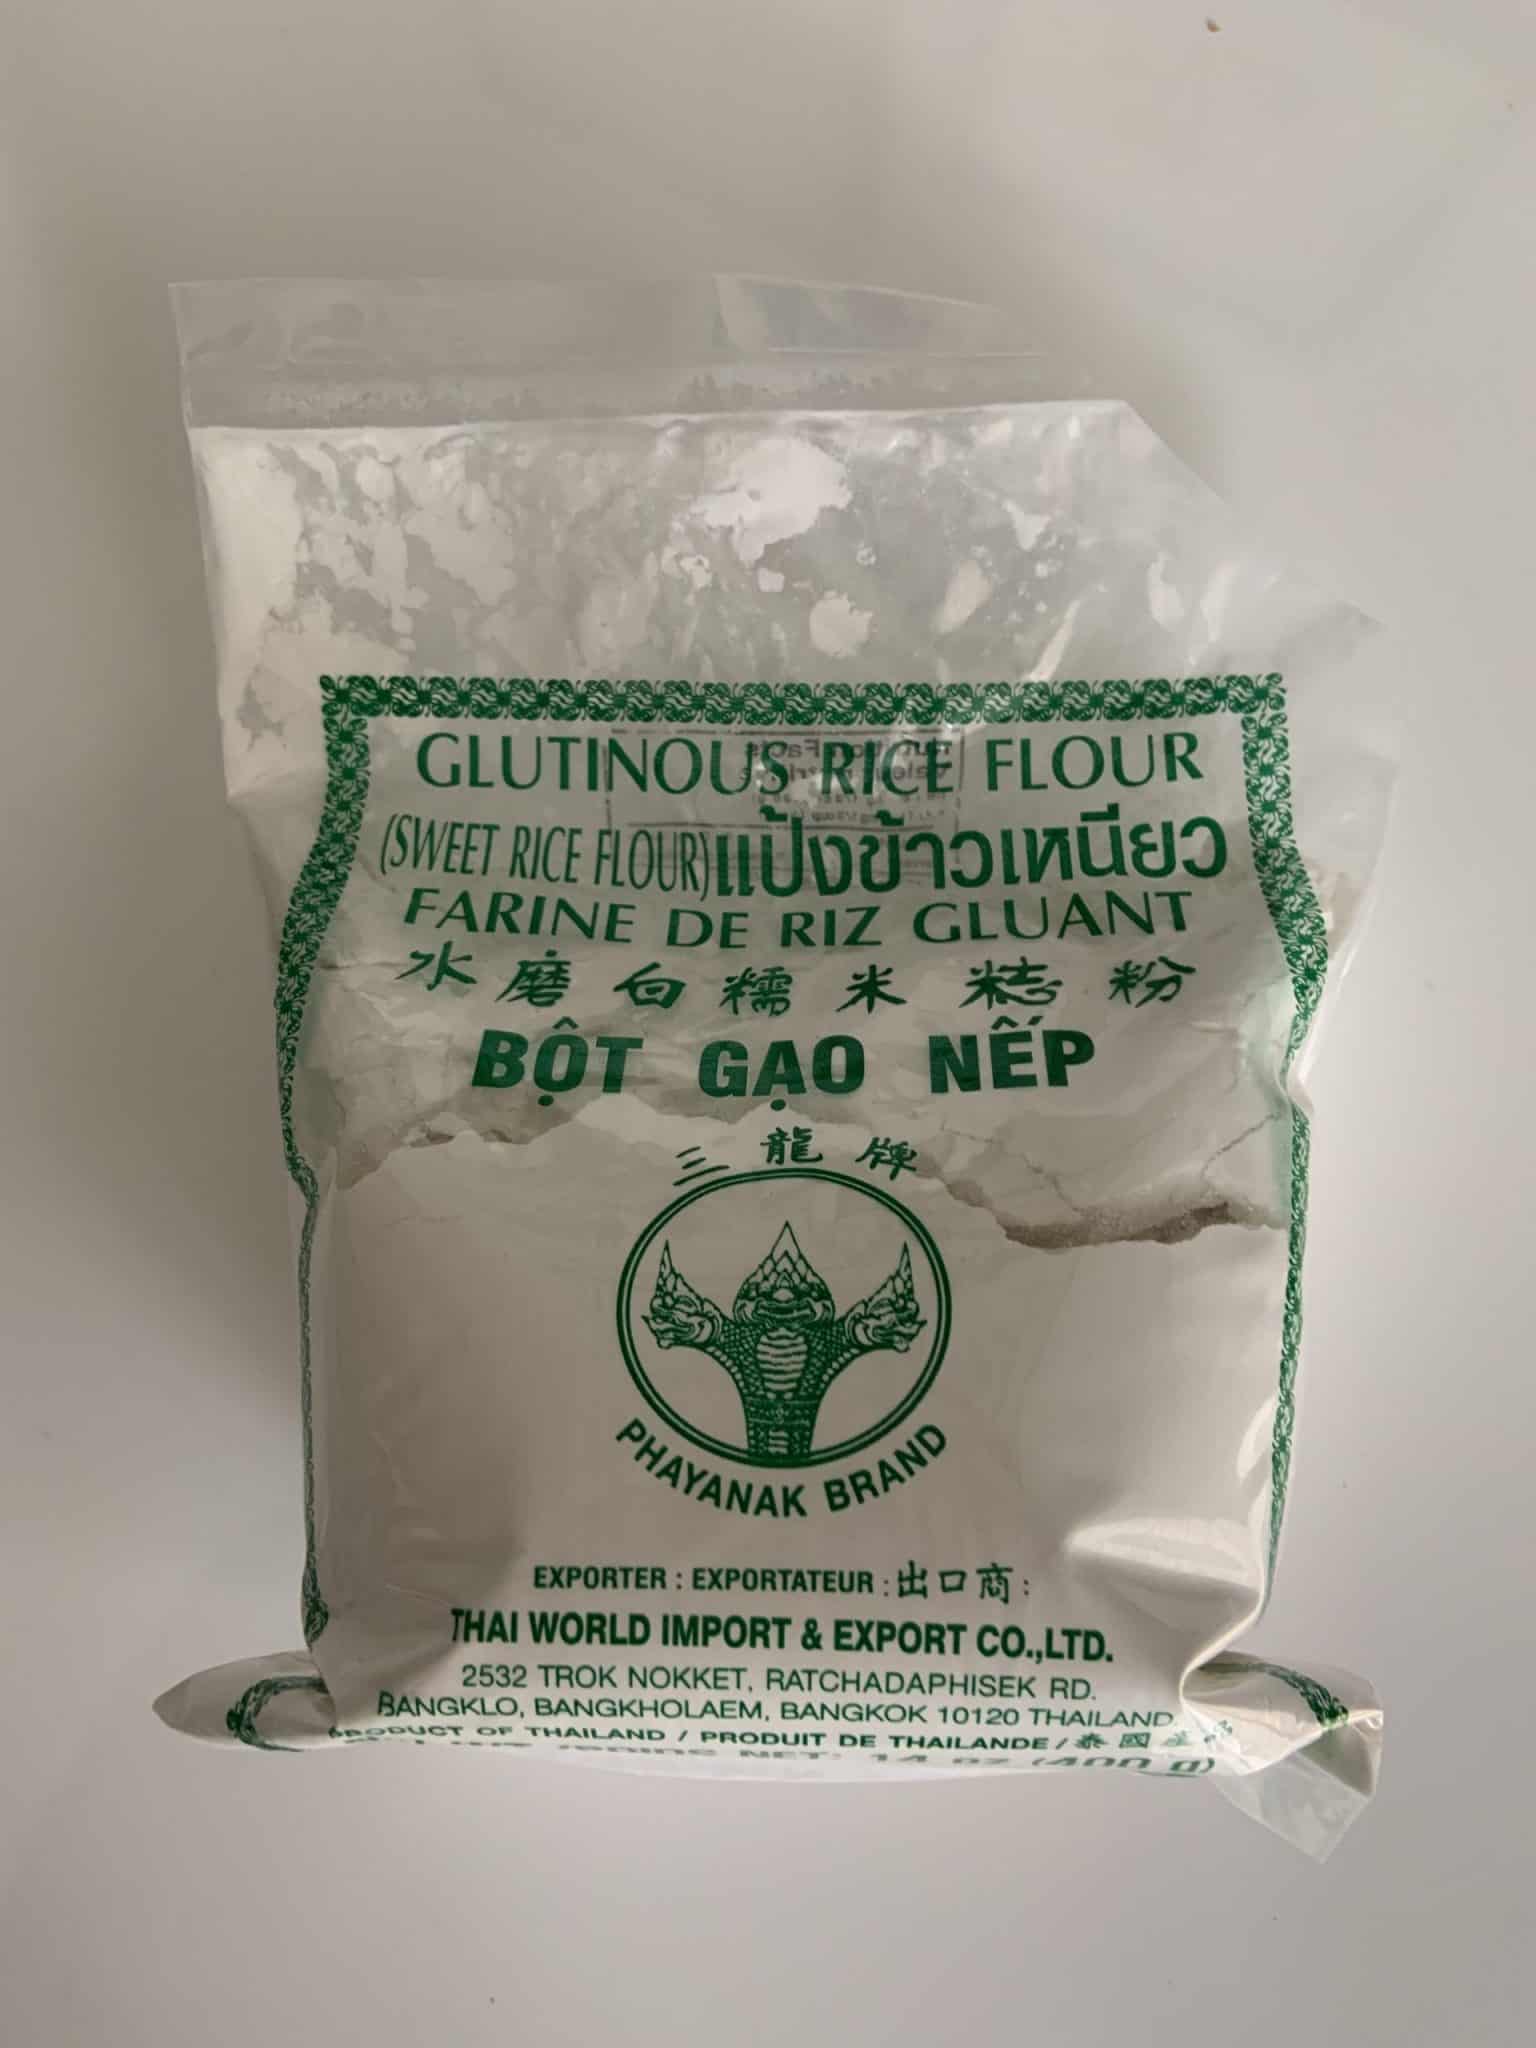
- Glutinous rice flour (aka Mochiko sweet rice flour): it's a powder made from ground glutinous rice. Many Asian grocery stores will carry this ingredient. There are many brands of sweet rice flour but I like the one that comes in a clear package with green lettering and Asian characters like the image below. Please note this is not the same as plain rice flour!
- White granulated sugar
- Baking powder: to help the cake rise just a bit!
- Salt
Wet Ingredients
- Whole Fat or Light Coconut milk: from the can
- Water
- Unsalted butter: If you're dairy-free: substitute with melted vegan butter or a neutral tasting oil.
- Large eggs
- Vanilla extract
Expert Tips
- Sift your dry ingredients. This ensures a smooth batter without any clumps!
- Line your baking dish or muffin cups with parchment paper or grease it with butter. This allows for them to come out smoothly like butter!
- Make sure to mix the dry ingredients in a large bowl first before adding the wet ingredients. This ensures a well incorporated batter.
- Wait for butter to cool after melting. You don't want the hot butter to cook your eggs.
- Pour the wet batter into the dry and mix until smooth. Do not over mix.
- To get rid of air bubbles: After pouring your finished batter into the baking pan or muffin tray, gently tap the whole tray on your working surface to pop the bubbles.
- To slice your mochi cake into bars, wait for it to become cool. If you slice it while hot, it'll be a very sticky mess.
- Wet your knife before slicing and use a sharp knife. This moisture from the water helps the knife glide through the sticky cake.
Instructions
Below are step-by-step instructions on how to make Hawaiian butter mochi:
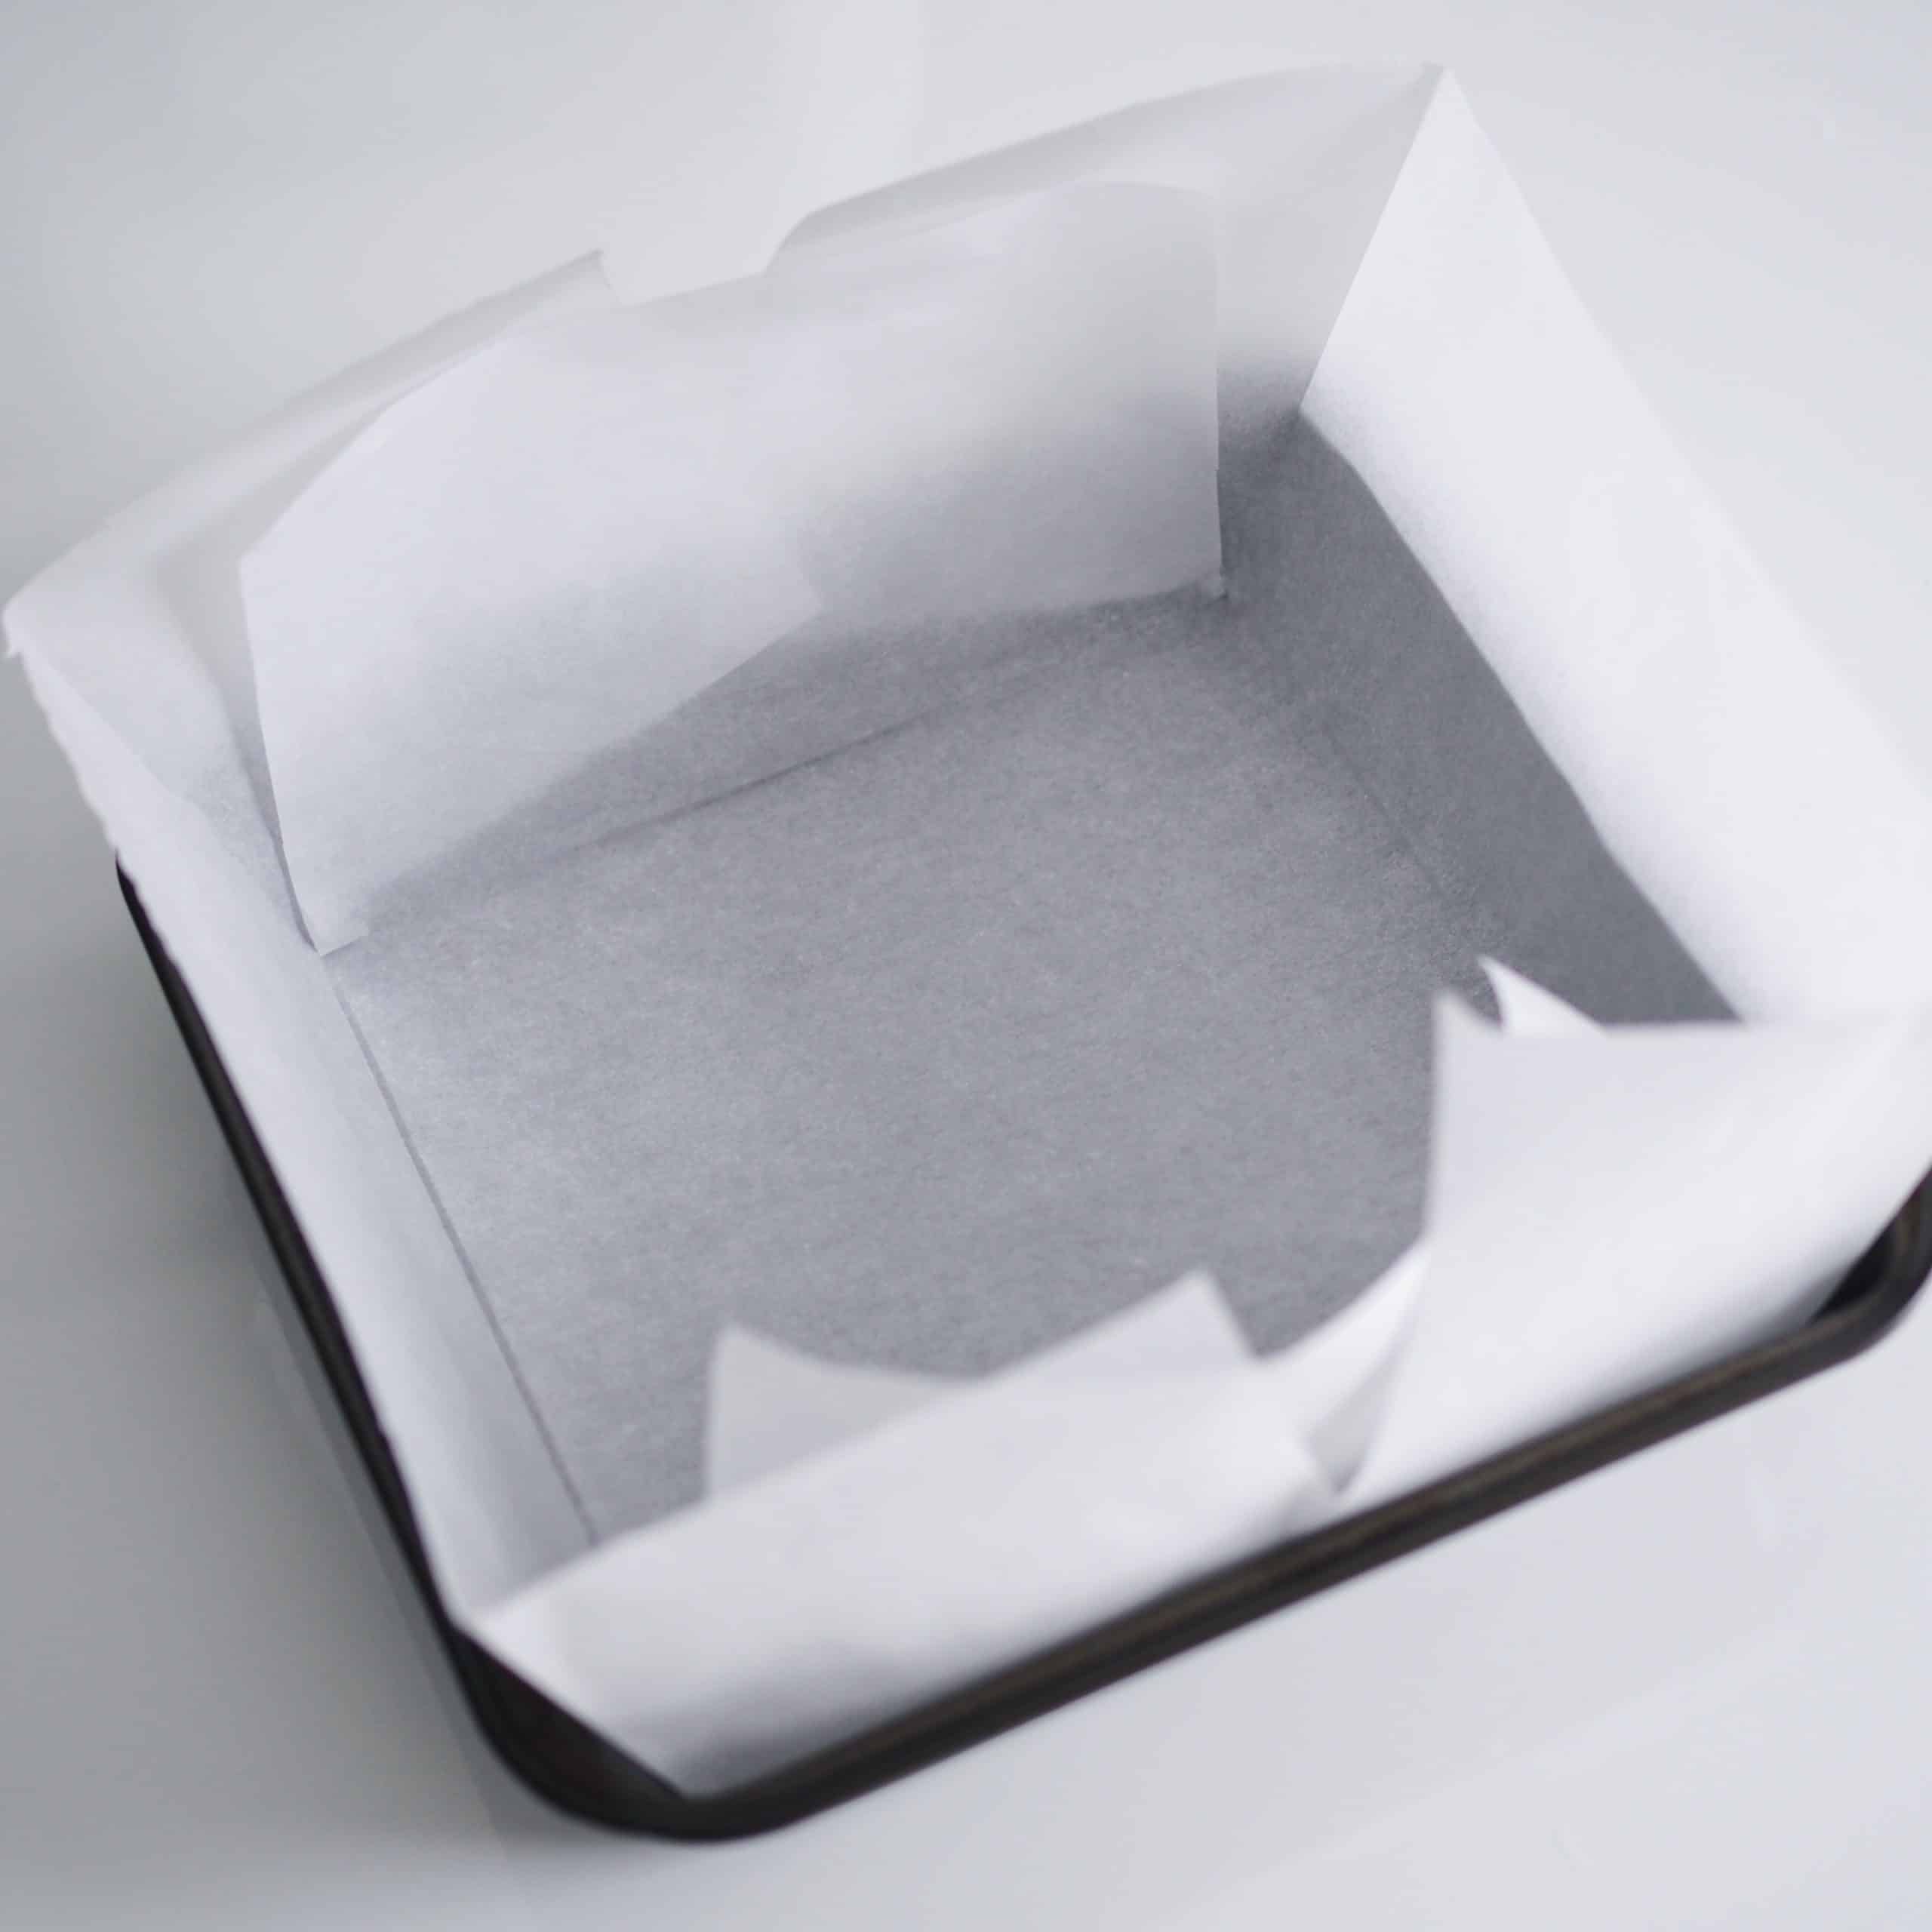
Prepare baking pan
Preheat the oven to 375 degrees F. Grease or line a deep 9 x 9 seamless baking pan with parchment paper. If you're using a muffin pan, grease it or line it with muffin cups.
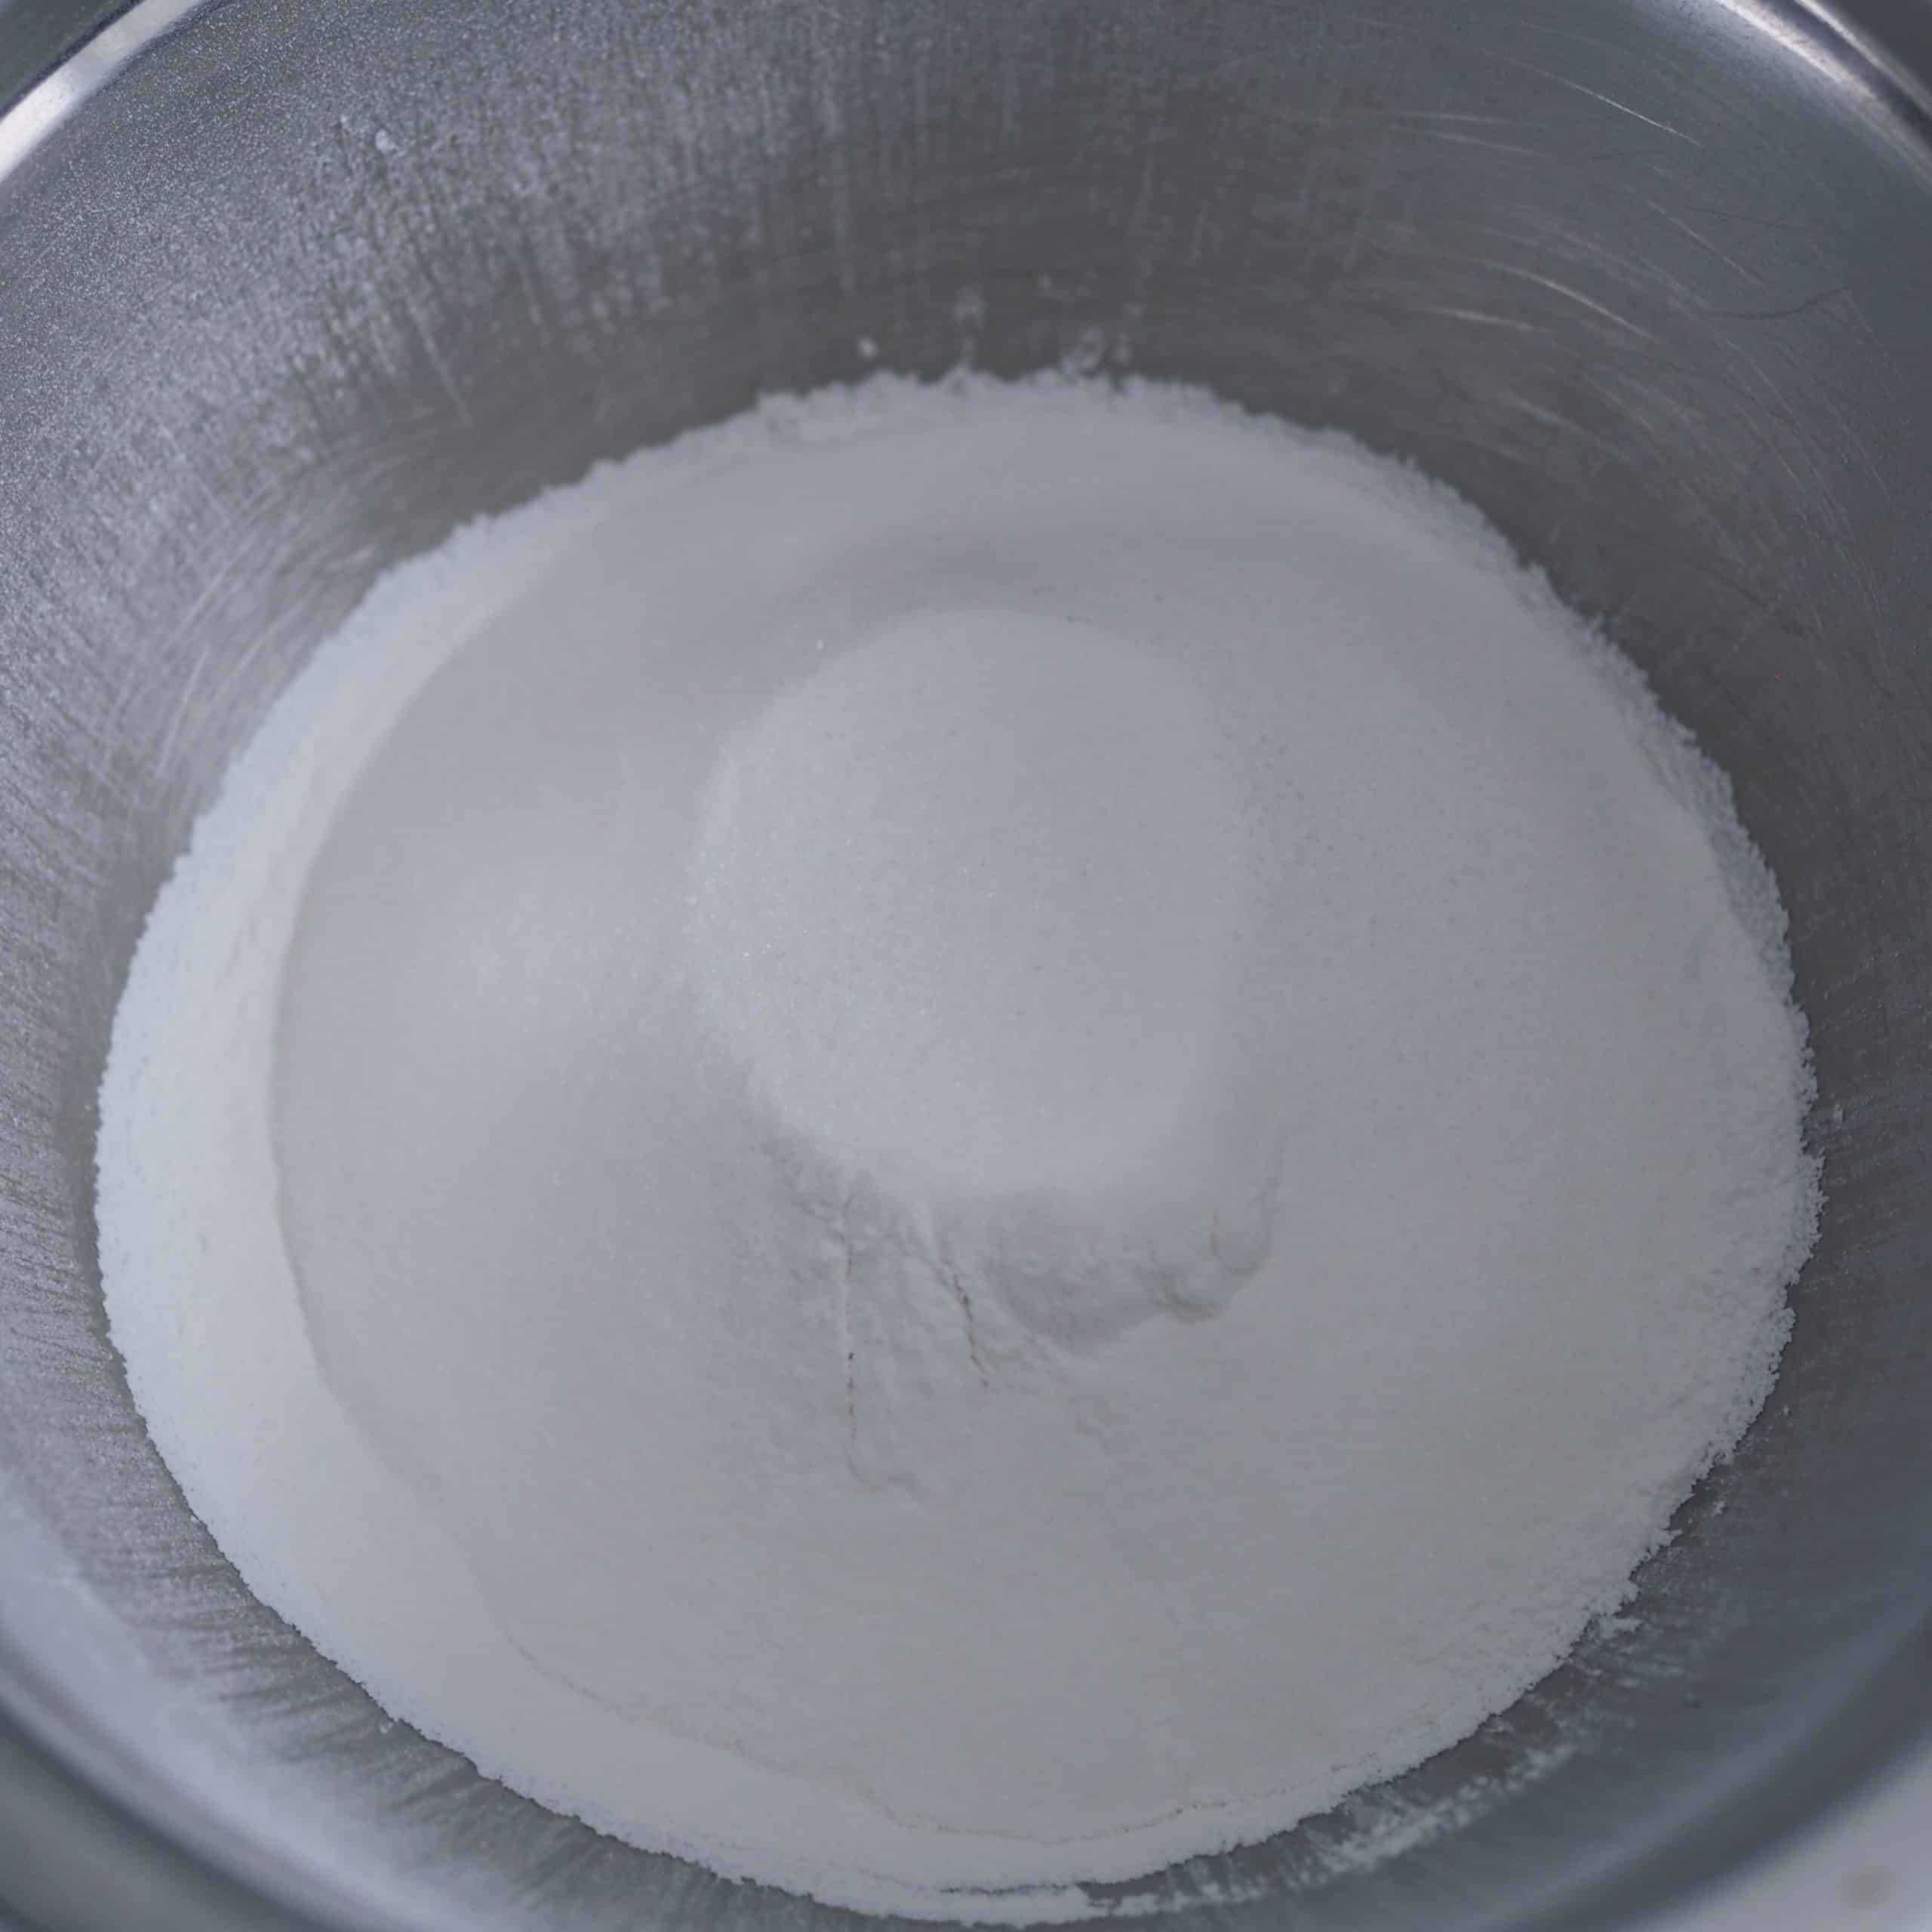
Whisk Dry Ingredients
In a large mixing bowl, sift your dry ingredients and whisk until combined.
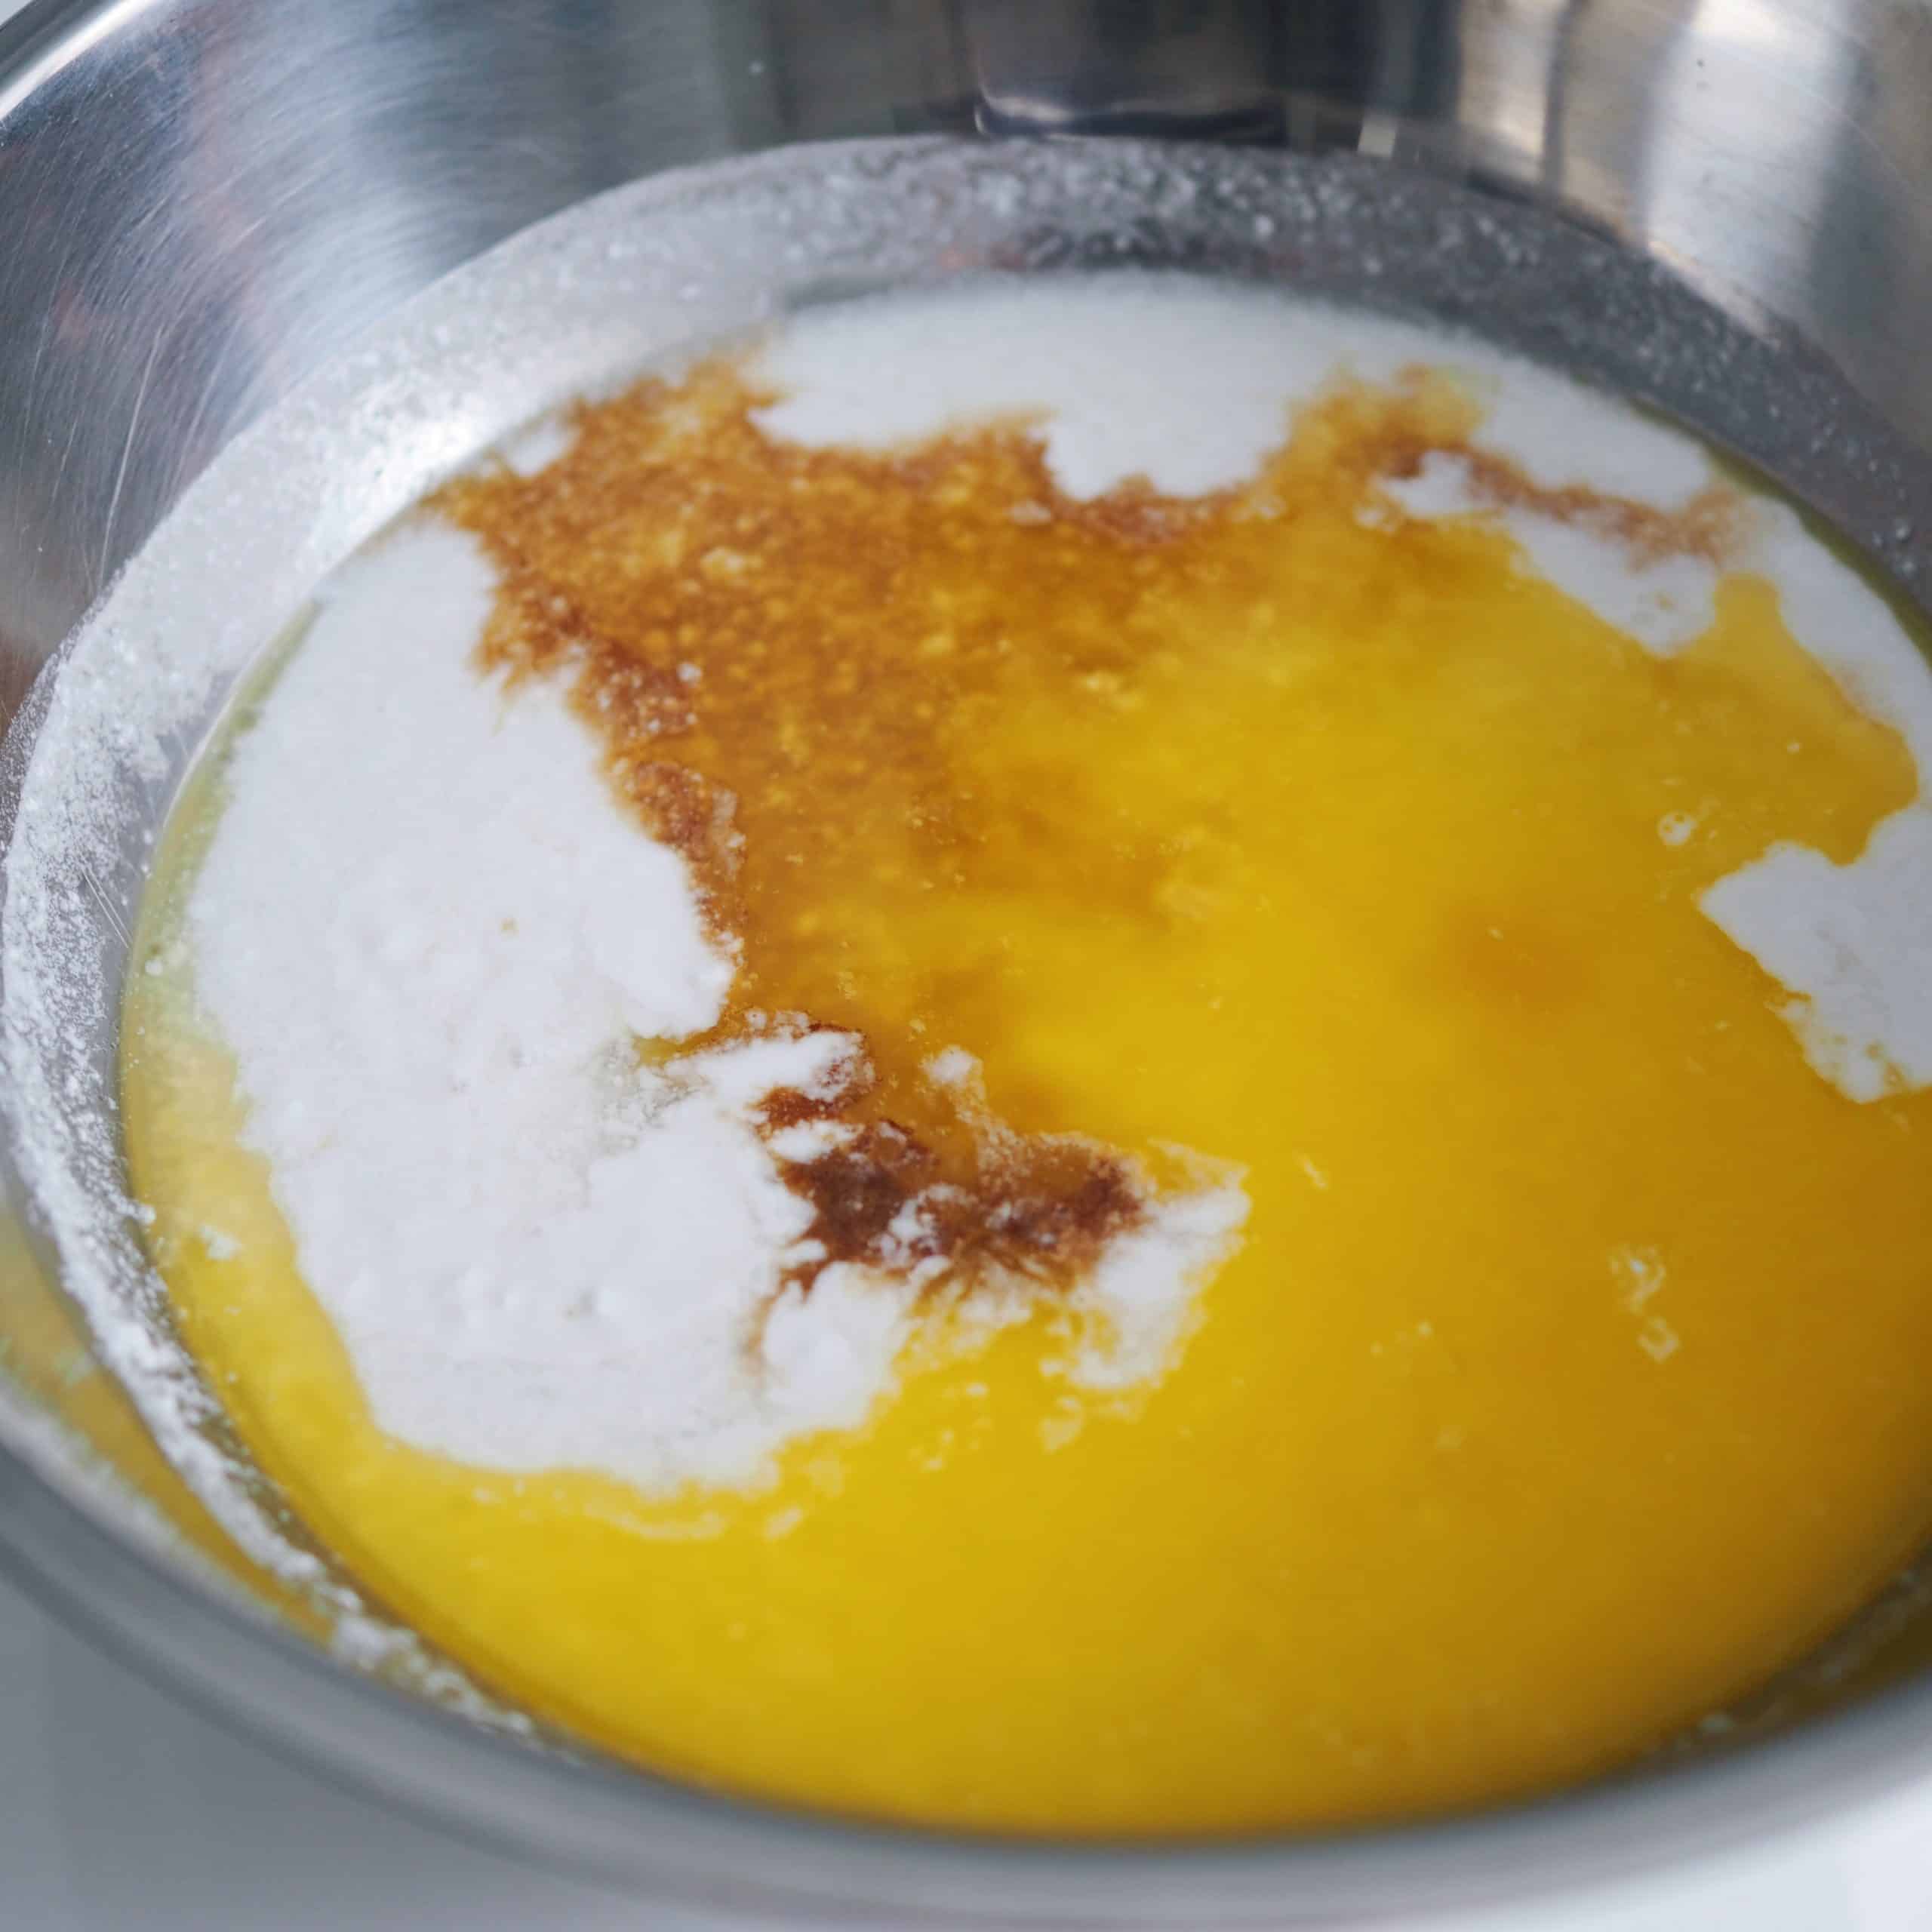
Mix Wet Ingredients
In another bowl, mix your wet ingredients mixing in the egg lasts so the butter does not cook the eggs. Alternatively, you can wait for the butter to cool down.
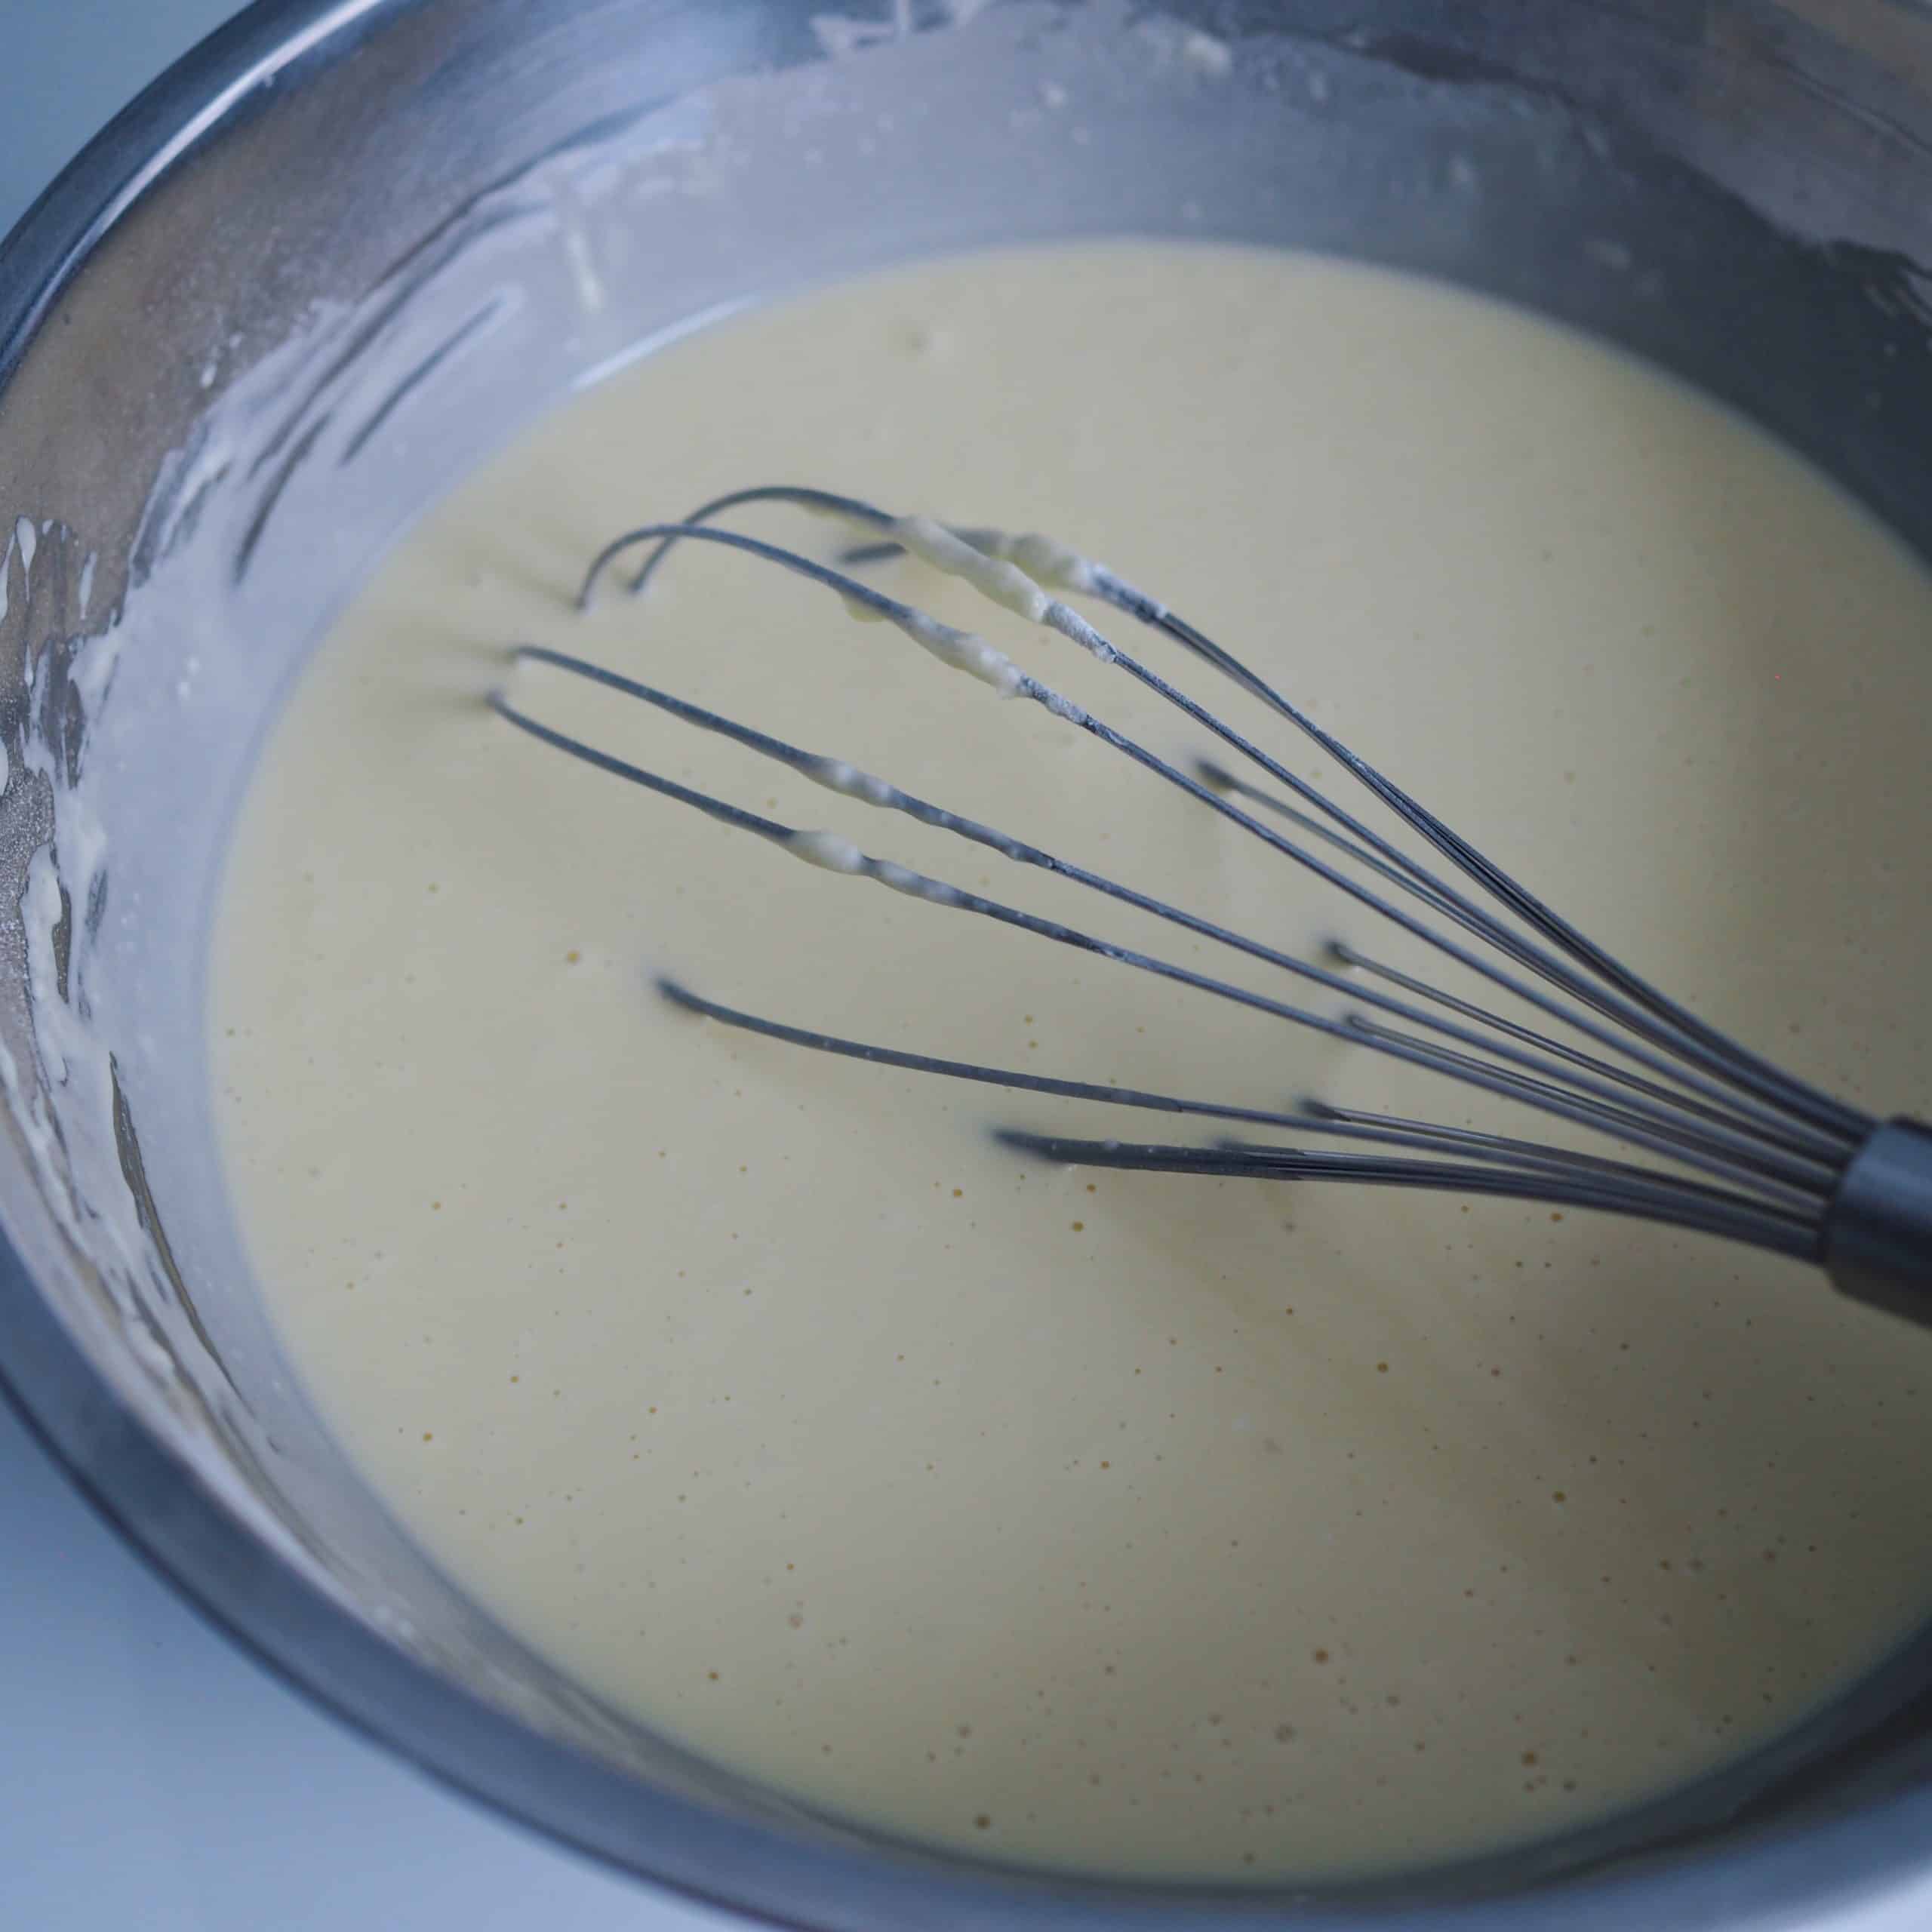
Add Wet into Dry Ingredients
Pour the wet ingredients into the dry ingredients and whisk until you have a smooth batter.
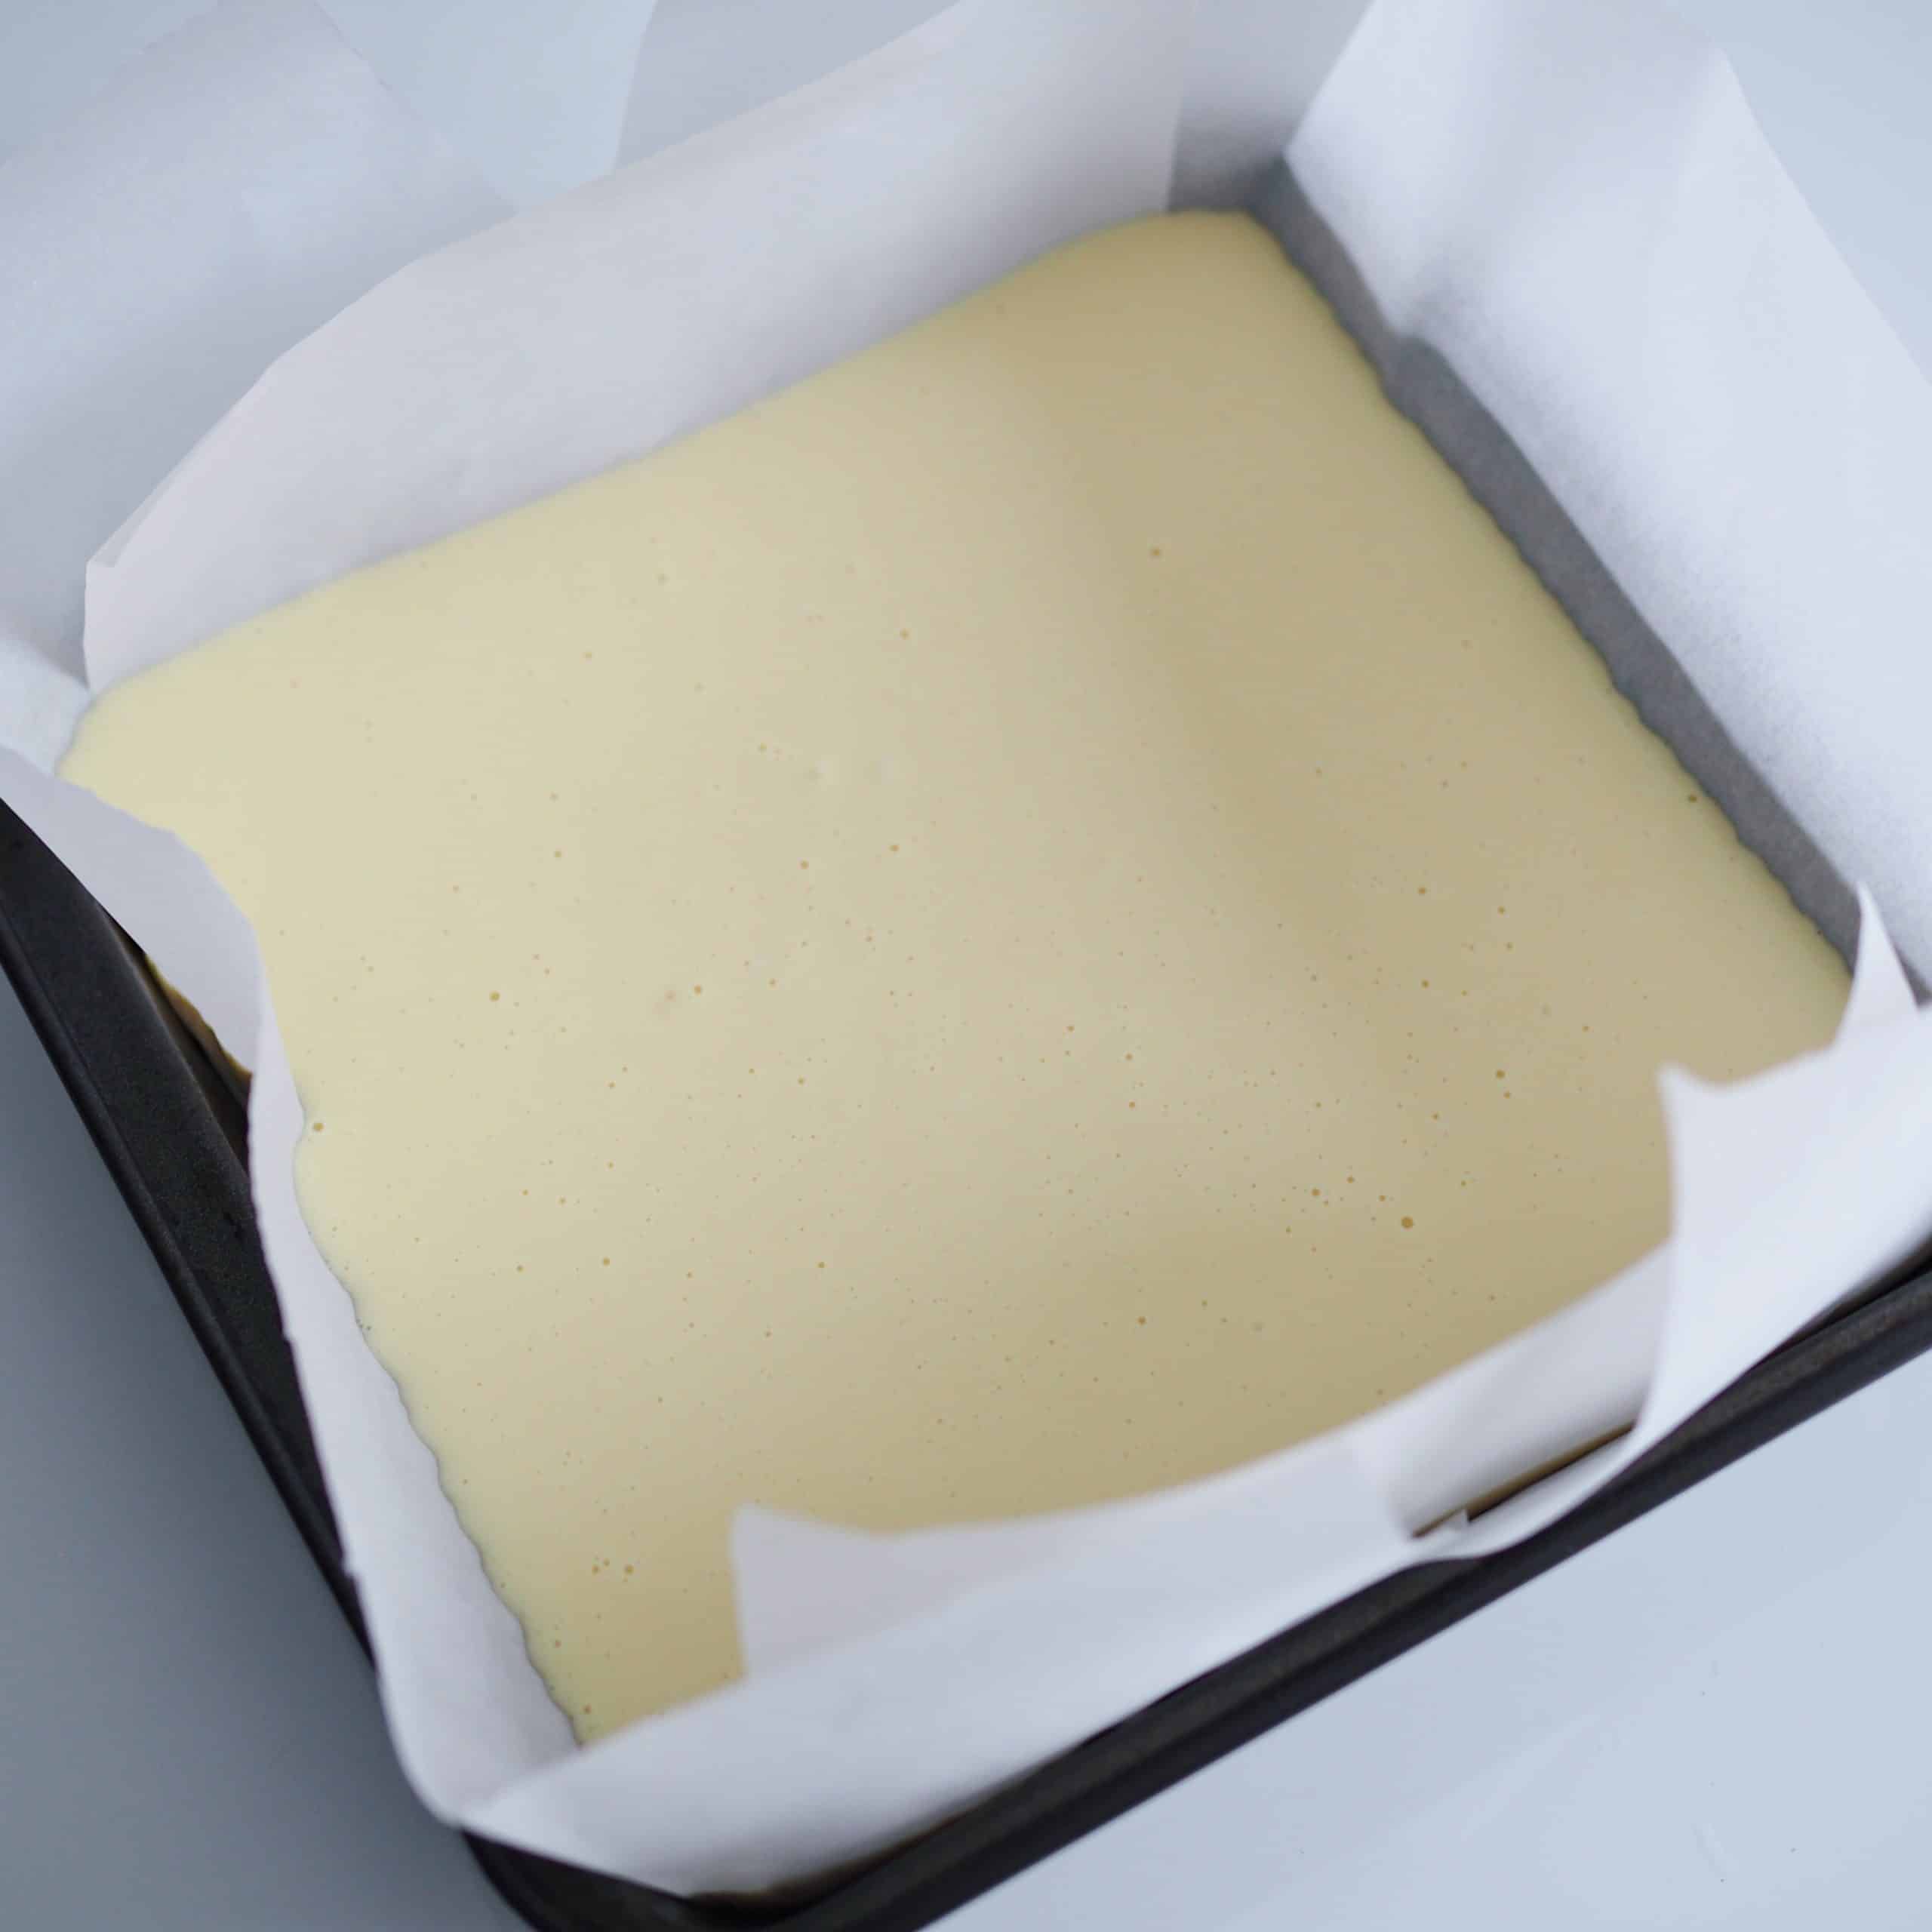
Add Batter into Baking Pan
Pour the batter into the baking dish or muffin tin.
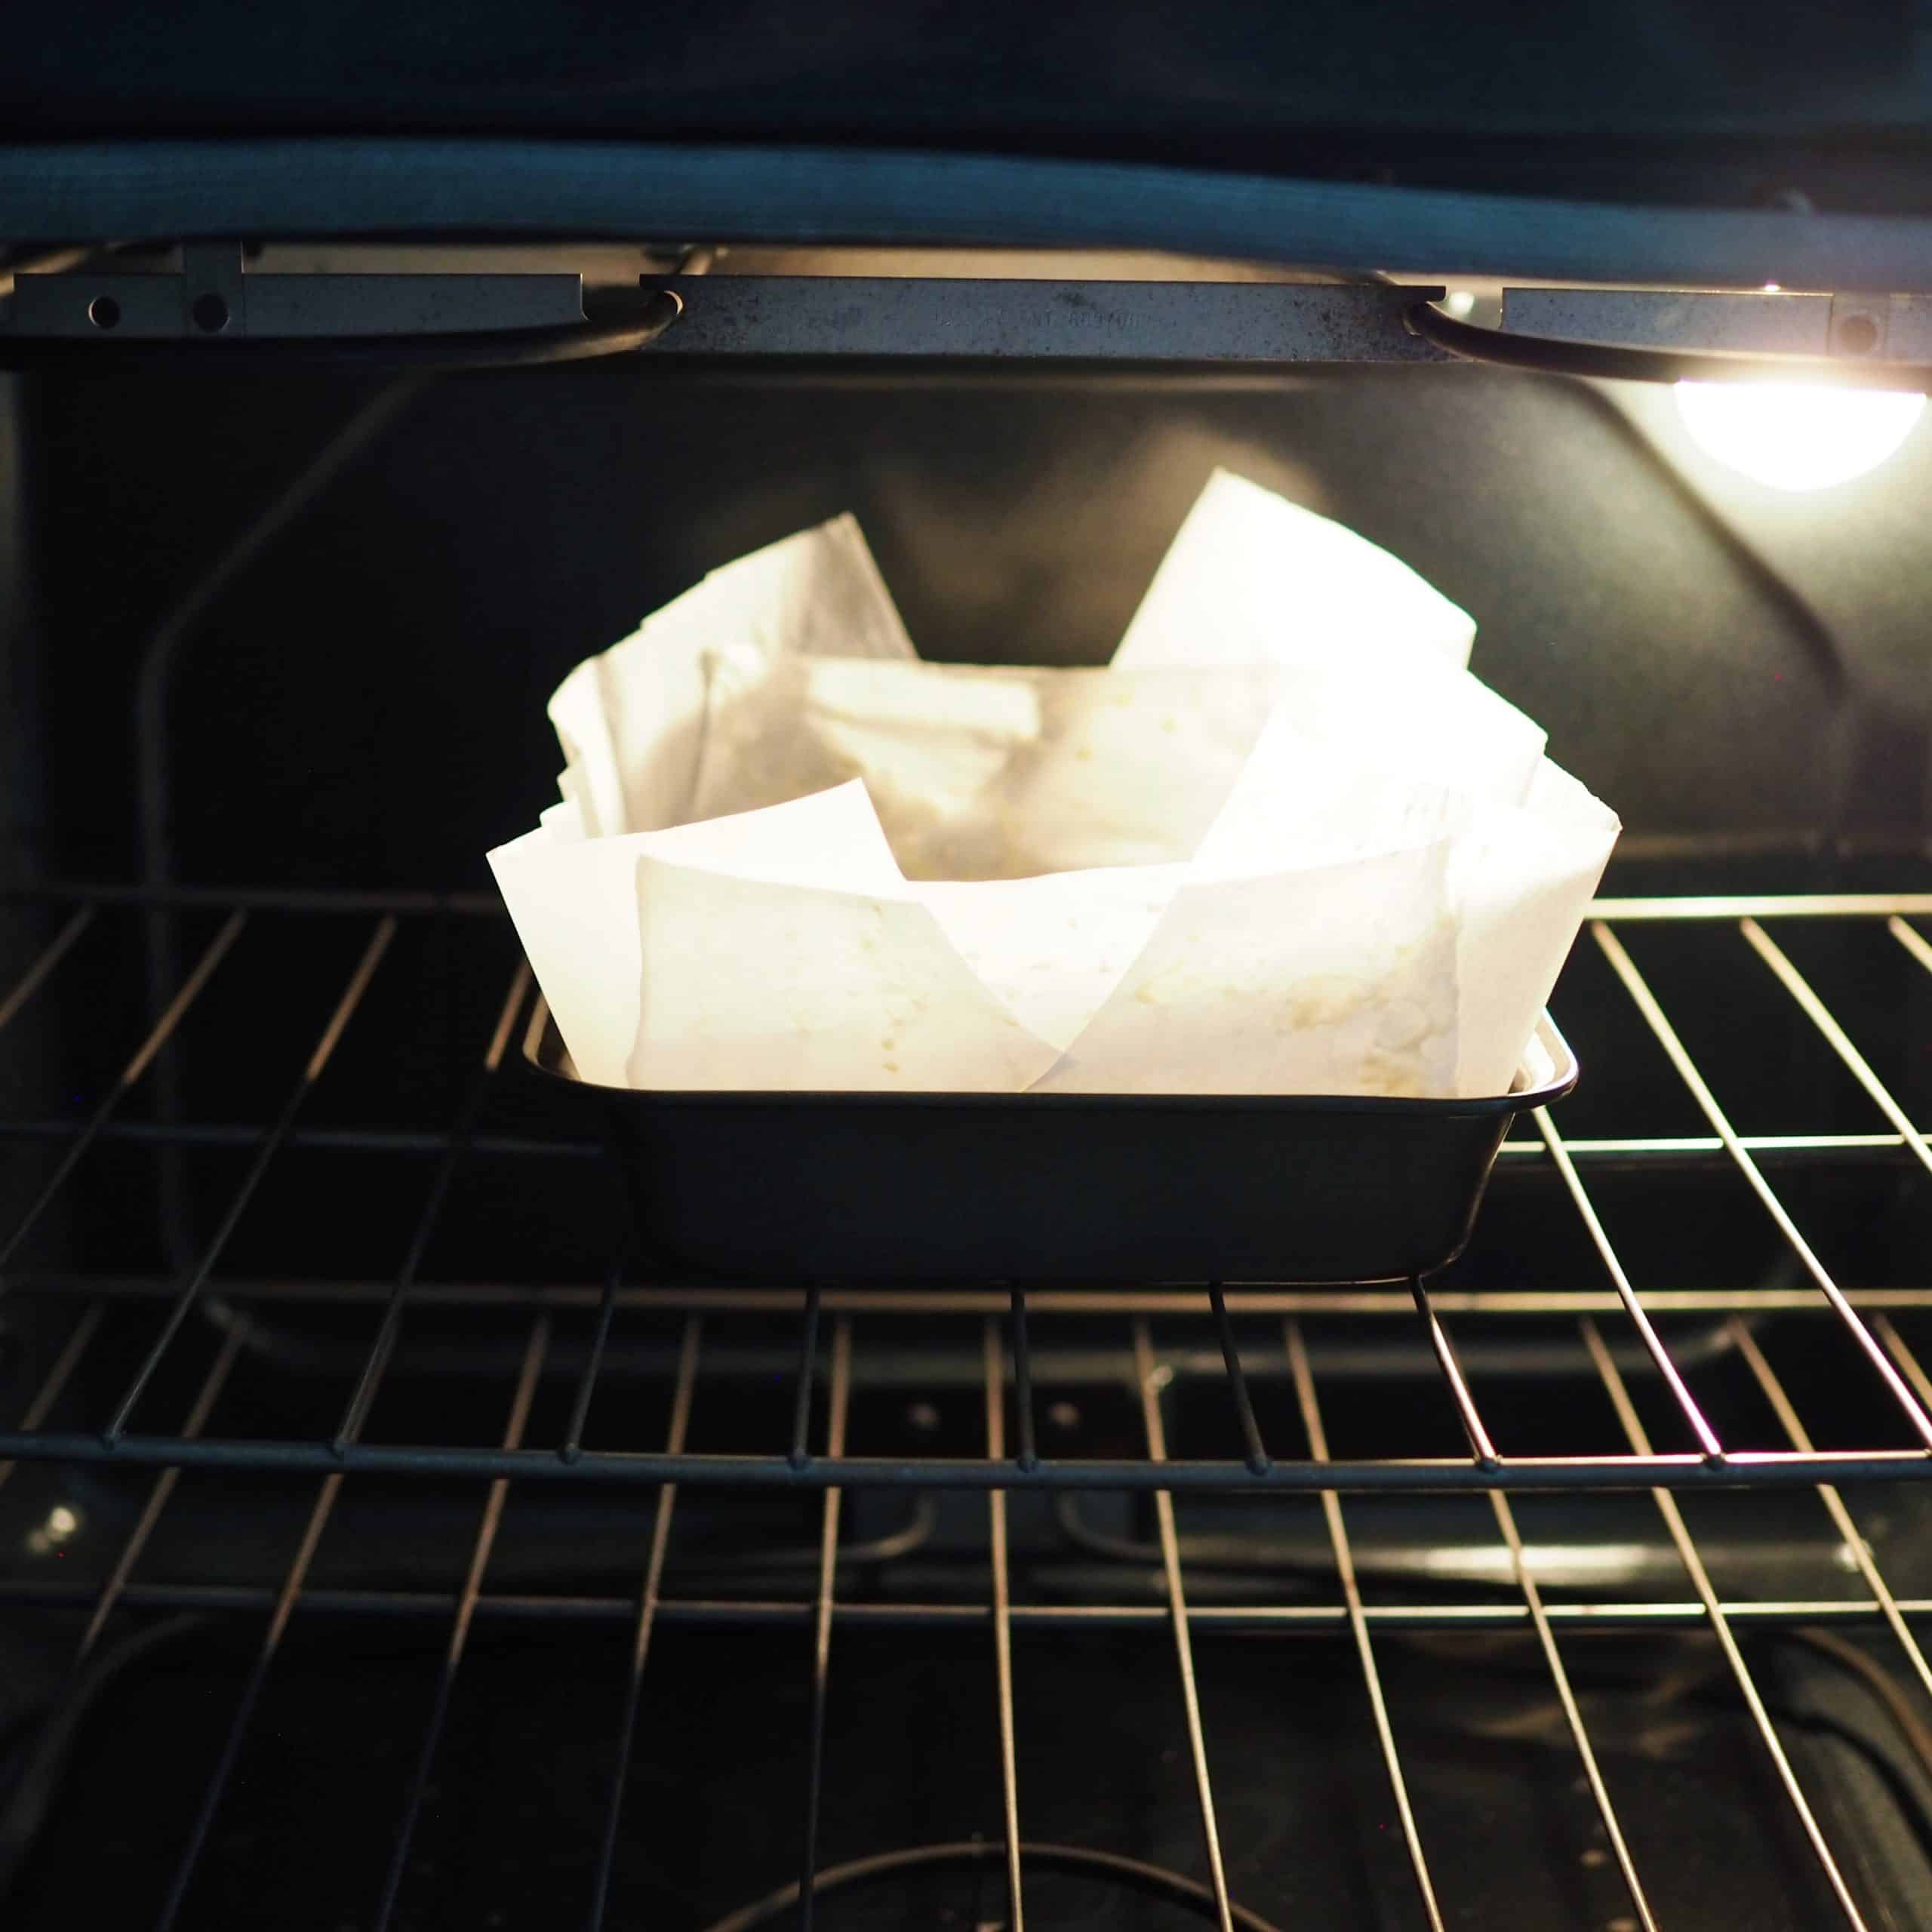
Bake in the Oven
If using a baking pan, bake for 60-65 minutes on the middle rack. If using a muffin tin, bake for 40-45 minutes until a toothpick inserted in the center comes out clean.
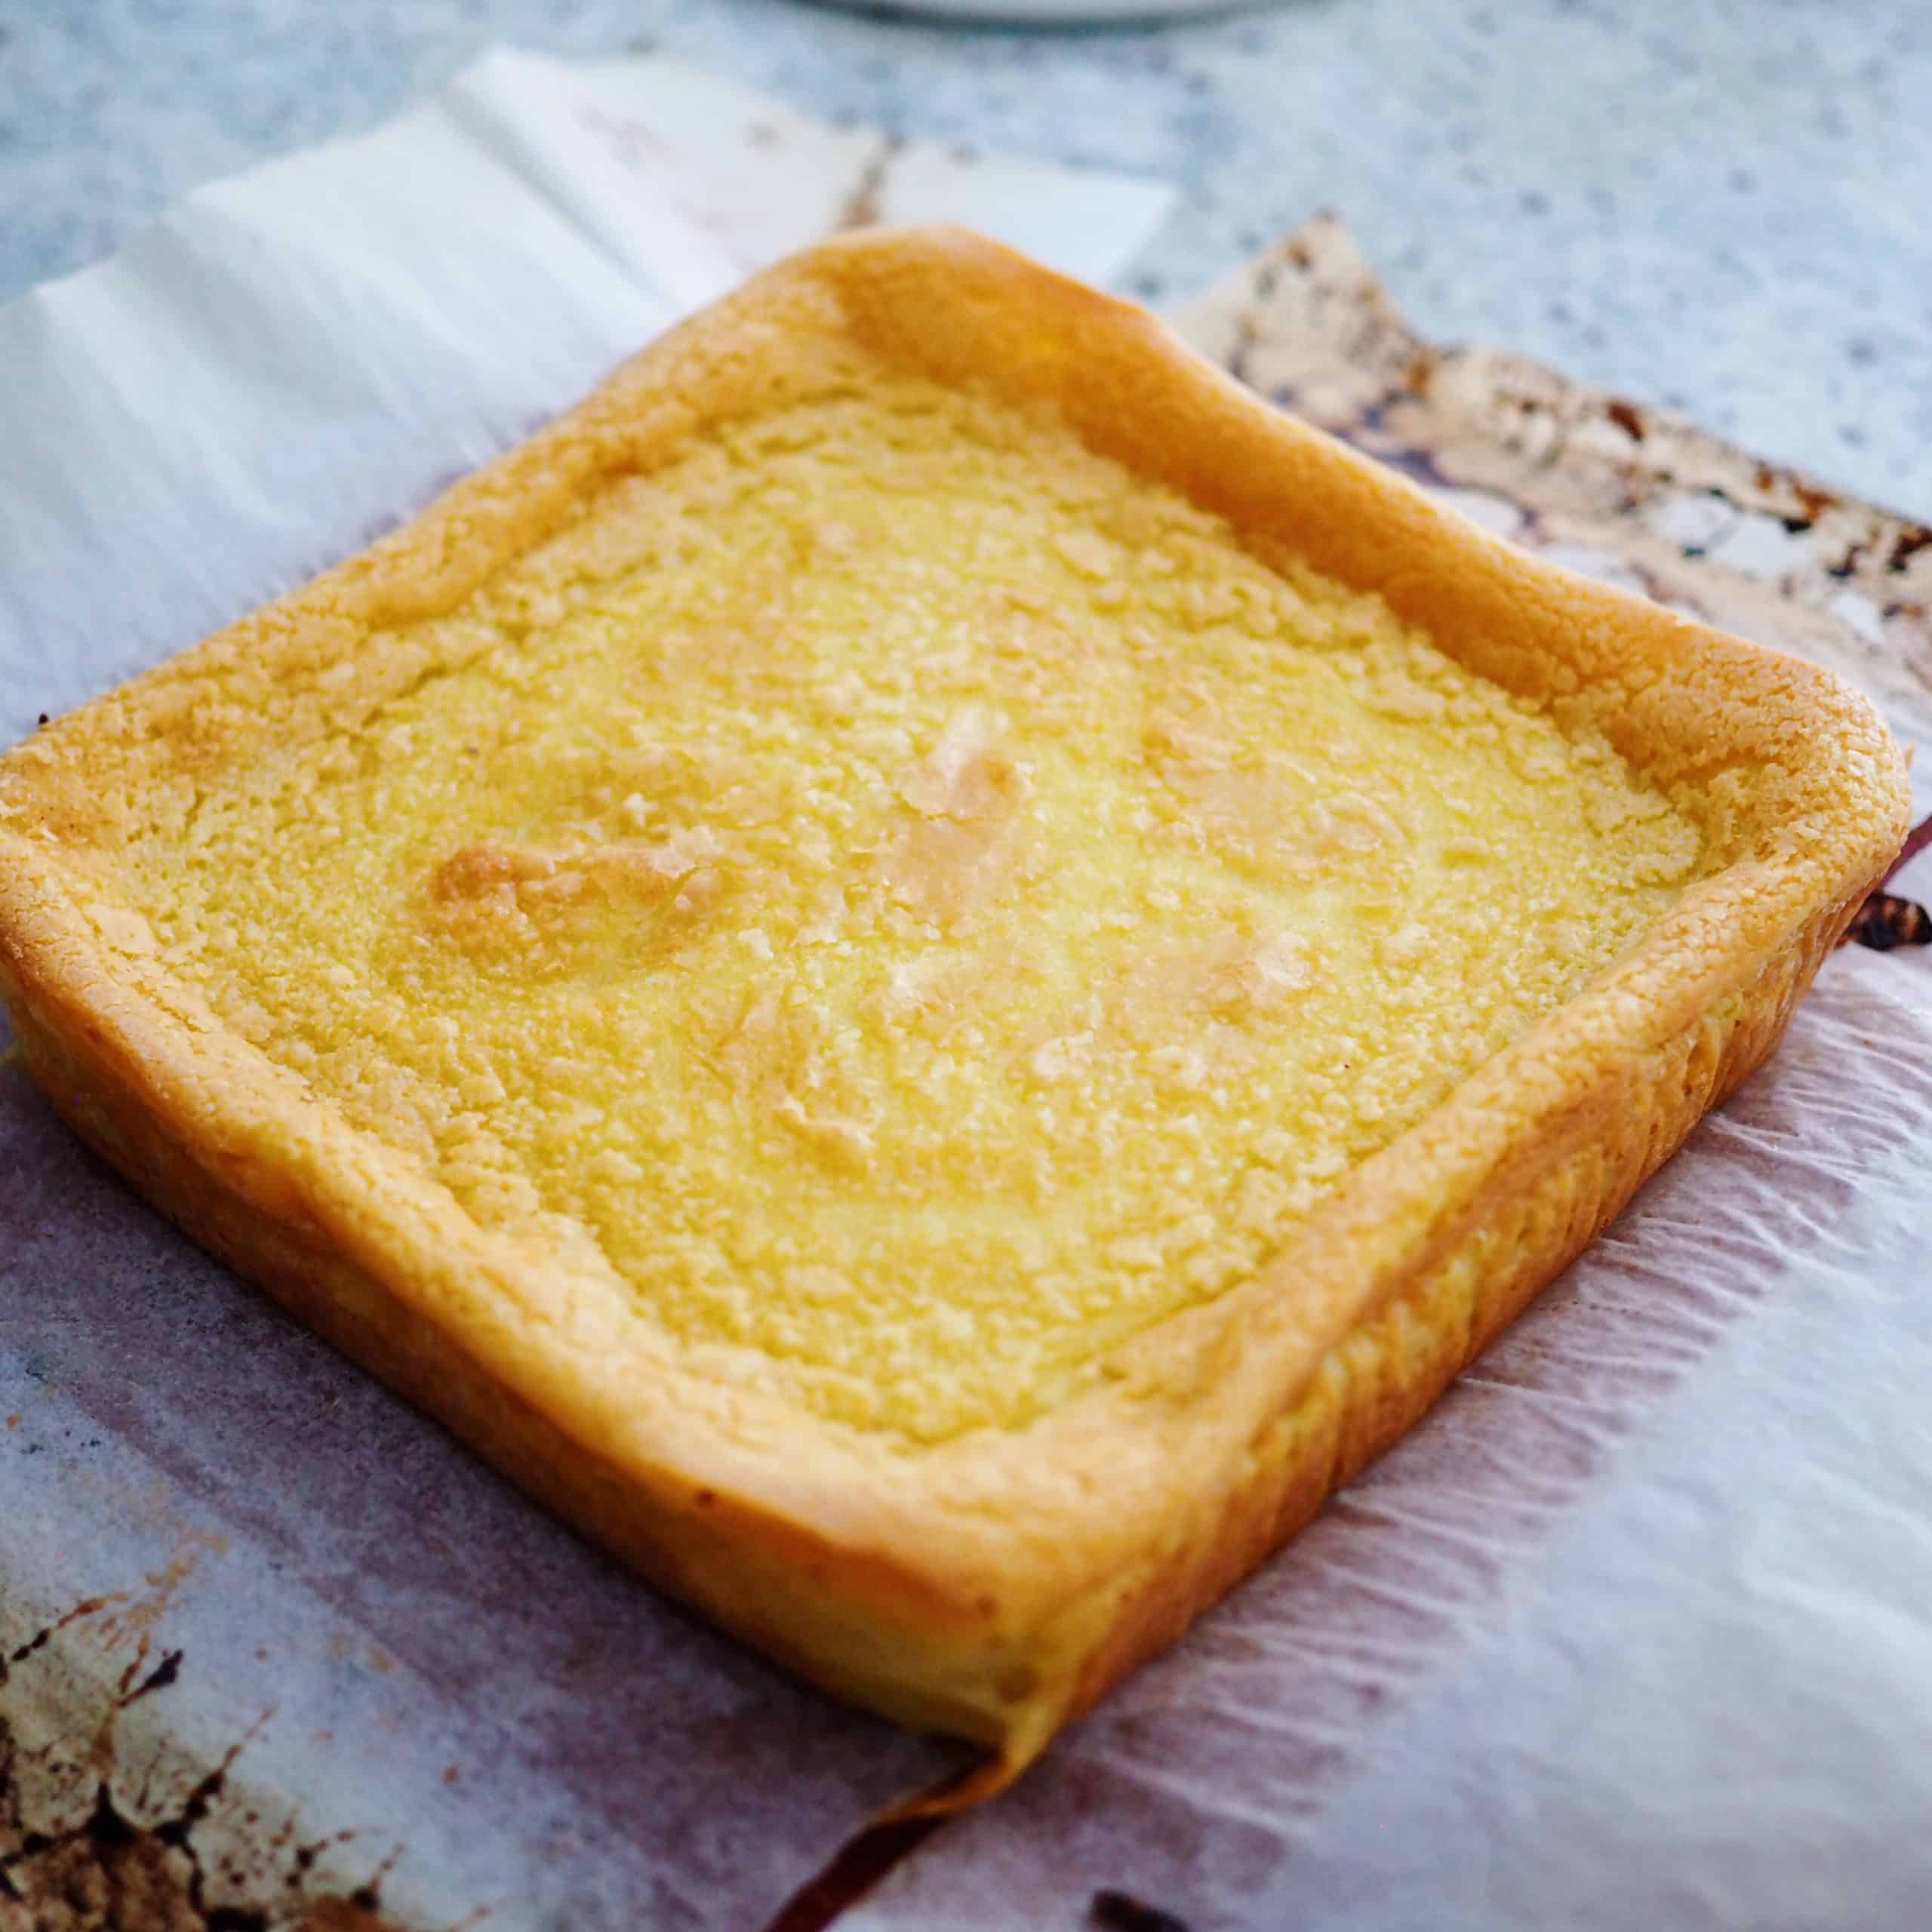
Let it Cool
Allow this to cool completely by transferring to a wire rack. Slice with a wet knife. Enjoy!
Storage
- Leftovers will last up to 3 days stored in an airtight container at room temperature and up to a week in the fridge. I like to reheat mine in a toaster oven until it's warm.
- Freezer-friendly? Butter mochi can be frozen. I would suggest wrapping each bar in plastic wrap or aluminum foil and place into a freezer friendly bag. It should last up to 3 months. To consume, thaw before serving. You can also reheat it in the microwave.
FAQ
Yes but just note that you won't taste any coconut flavor.
It means you haven't baked it long enough or it wasn't placed in the middle rack.
Other recipes you may like
- Mochi Pancakes
- Mochi Donuts
- Pandan Custard Cake
- Boba Mint Chocolate Mousse
- Tangzhong Bread
📖 Recipe
Easy Simple Hawaiian Butter Mochi
Ingredients
Dry Ingredients:
- 3 cups glutinous rice flour aka Mochiko flour
- 1 cup white granulated sugar
- 1 ½ teaspoon baking powder
- ⅛ teaspoon salt
Wet Ingredients:
- 400 ml coconut milk canned, light or whole fat will work
- 1 ½ cup water
- 7 tablespoon butter melted & cooled (or sub with vegan butter or neutral tasting oil)
- 3 large eggs
- 2 teaspoons vanilla extract
Instructions
- Preheat the oven to 375 degrees F. Grease or line a deep 9 x 9 seamless baking pan with parchment paper. If you're using a muffin pan, grease it or line it with muffin cups.
- In a large bowl, sift your dry ingredients. Whisk them together until well combined.
- In another bowl, mix together your wet ingredients mixing in the egg lasts so the butter does not cook the eggs.
- Pour the wet ingredients into the dry ingredients and whisk until you have a smooth batter.
- Pour the batter into the baking dish or muffin tin.
- If using a baking pan, bake for 60-65 minutes on the middle rack. If using a muffin tin, bake for 40-45 minutes on the middle rack. Bake until a toothpick inserted in the center comes out clean.
- Transfer cake to a wire rack to cool.
- Allow this to cool completely before slicing with a wet knife. Enjoy!

Chloe Williams
Wondering if I can sub out the white sugar for honey or maybe coconut sugar?
Christie Lai
Hi Chloe, I would recommend substituting with coconut sugar or cane sugar.
Angie
Hi there, just wondering if coconut cream could be used in place of butter? Vegan butters are not nice and full of crap... 🙁
christieathome
Hi Angie, unfortunately I wouldn't recommend that but you can try substituting with a neutral tasting oil instead.
Vee
This was amazingly delicious! So glad I found your recipe!! All other recipes were calling for 2 cups of sugar and even with 1 cup of sugar that you noted, it was still sweet but not overly sweet (so now i can eat more in one sitting haha)!
Only change for me was that I only had salted butter in the fridge, so I used it but still came out great!!
christieathome
Thanks so much for making my recipe, Vee! So happy you enjoyed it with the reduced amount of sugar. I love desserts that aren't overly sweet. Appreciate your kind review and have a great day!
Rome
Can flax eggs be used to substitute the real eggs? (Unfortunately my husband is allergic to egg yolks.)
christieathome
Unfortunately I haven't personally tried with flax eggs. If you can use a vegan egg replacer, that may work better. The egg gives a very delicious flavor to the mochi that I don't think flax egg can lend sadly.
Richard Tarantino
Can I make this with real butter?
christieathome
Yes!
Carol
What type of coconut milk did you use? There are so many versions available.
Rosemary
OH my GOSH!! I went to Hawaii once and I can totally feel the Hawaiian vibes coming from this recipe! Looks so good and satisfying 🙂
Heidi | The Frugal Girls
I am drooling already. It's hard to beat fresh baked happiness that takes just 10 minutes of prep time!!
Katherine | Love In My Oven
This makes me so excited! It looks and sounds so luscious!