

Savory, spicy fried rice with tangy kimchi and juicy pork belly. This easy pork belly kimchi fried rice is ready in just 30 minutes and is a great way to use up leftover rice. I brown the pork belly first to render its flavorful fat for stir-frying the kimchi and rice.

Jump to:
Kimchi fried rice (aka kimchi bokkeumbap) is a popular Korean rice dish made with cooked short-grain rice stir-fried with well-fermented kimchi, often with meat and gochujang, and topped with a runny fried egg.
It's often served at Korean restaurants as a main dish for lunch or dinner. Every household has their own way of making this dish and it's the perfect way to use up any leftover cold rice in the fridge. I love eating a bowl of this comfort food while watching a Korean drama.
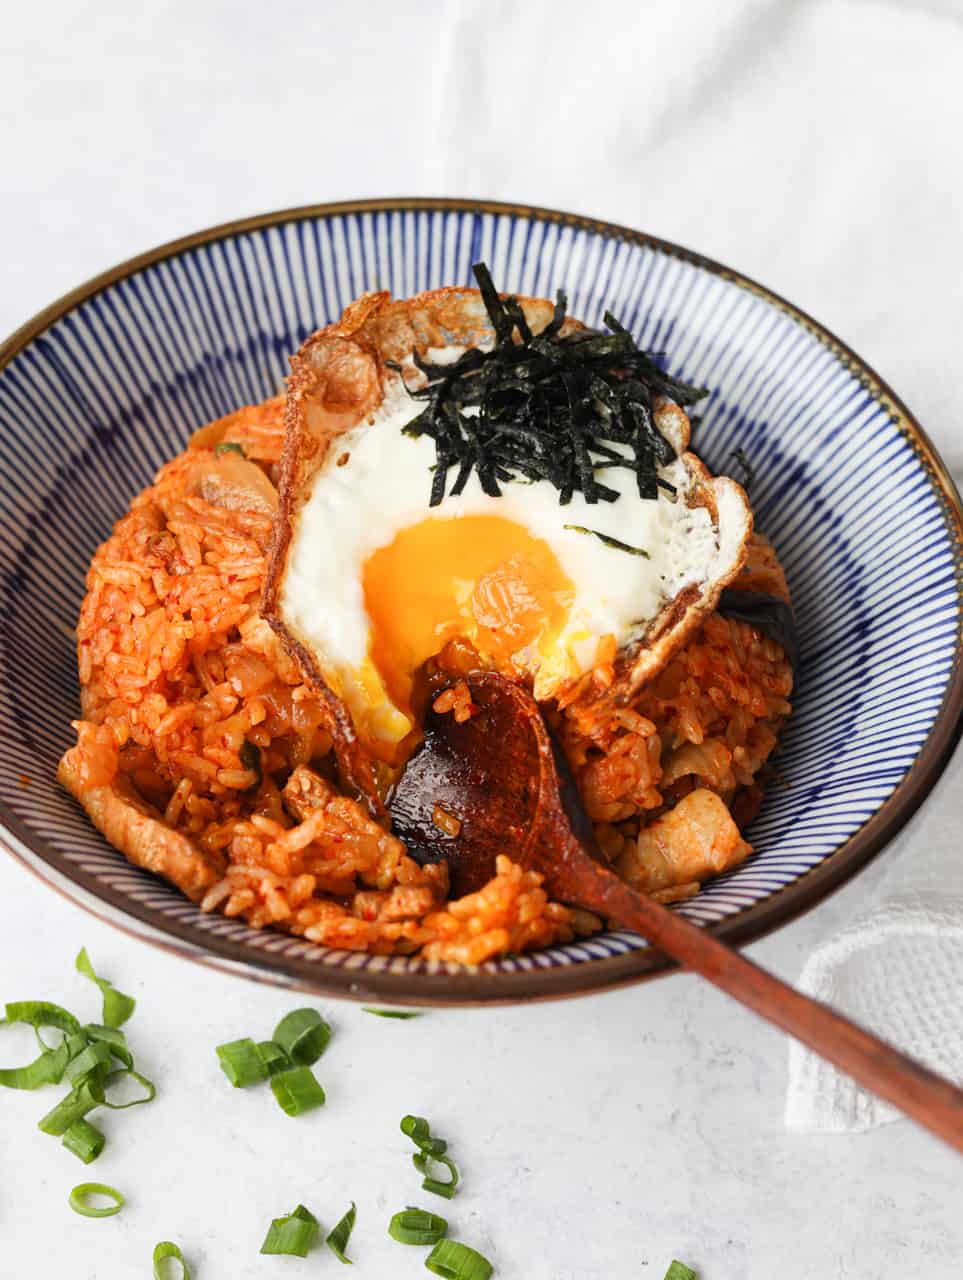
After making this countless times, I found that cold day-old rice works best because its drier surface helps the grains stay separate instead of becoming mushy during stir-frying.
If I don't have leftover rice, I spread freshly cooked rice on a baking sheet and freeze it uncovered for 45 minutes to quickly cool and dry it out. Then I break it up with a rice paddle before cooking.
Ingredients & Substitutes
Exact ingredient amounts are listed in the recipe card at the bottom of this page.
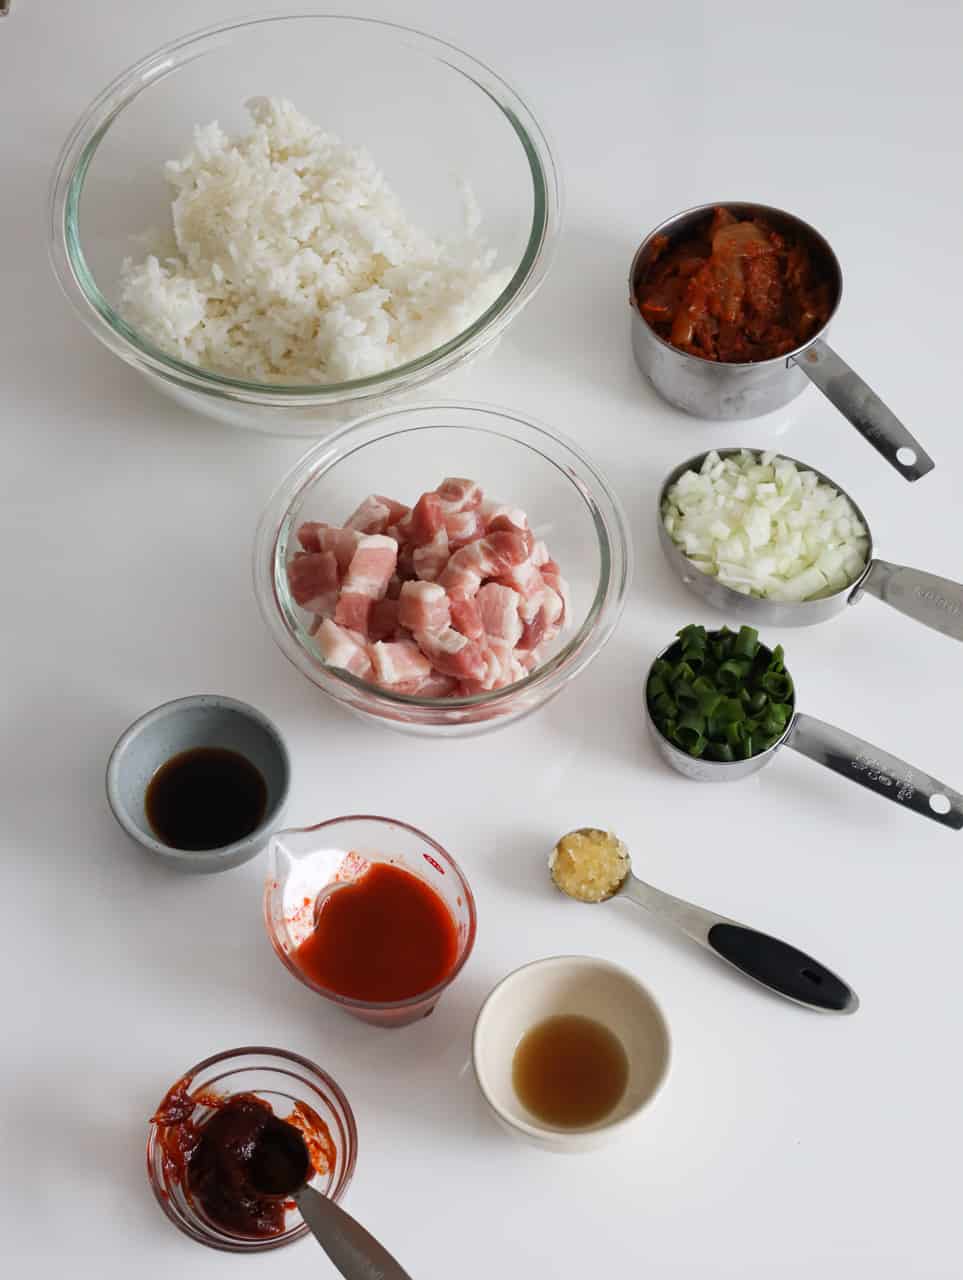
- Cooked White Short-Grain Rice: Use cold, day-old rice as it has a drier surface, helping the grains stay separate instead of becoming mushy or clumpy during stir-frying.
- Pork Belly Strips: Use thinly sliced pork belly strips and cut them into ½-inch-wide pieces so they brown quickly and render their fat, which adds rich, savory flavor to the fried rice. Diced Spam also works.
- Kimchi: Use older, well-fermented kimchi for its stronger tangy flavor and softer texture. Look for kimchi that is deeply reddish rather than pale and freshly fermented.
- Onion and Garlic
Seasonings
- Kimchi Juice (aka Kimchi Brine): Use the liquid from the kimchi jar or package. It coats the rice with concentrated tangy kimchi flavor. I recommend buying a large container of kimchi at the Korean grocery store so there's enough brine for the recipe.
- Gochujang: This Korean fermented red pepper paste adds spicy, savory flavor that coats and seasons the rice. You can find it at Korean grocery stores. Choose mild or hot depending on your preferred spice level.
- Regular Soy Sauce: Seasons the rice with savory, salty flavor. Light soy sauce also works, or use low-sodium soy sauce for a less salty result.
- Toasted Sesame Oil: Adds a rich, nutty flavor to the finished fried rice. Avoid untoasted sesame oil, which tastes milder.
For Finishing
- Green Onion
- Toasted Sesame Seeds: If unavailable, toast raw sesame seeds in a dry pan over medium heat until golden.
- Fried Egg (optional): The runny yolk adds richness when mixed into the fried rice.
- Korean Roasted Seaweed Flakes (optional): This adds savory, roasted seaweed flavor. You can find it at Korean grocery stores.
Note: Asian ingredients are typically available at most Asian grocery stores or online.
Expert Tips
- Break up the rice first so it cooks evenly and quickly absorbs the seasonings.
- Keep the heat medium-high so moisture evaporates quickly instead of steaming the rice.
- Brown the pork belly well so it renders flavorful fat for stir-frying the kimchi and rice.
- Stir-fry the kimchi before the rice to cook off excess moisture and concentrate its tangy flavor.
Instructions
Below are step-by-step instructions on how to make pork belly kimchi fried rice:
- Prepare the rice: Break up the cold rice with a rice paddle or clean hands until there are no large clumps. Set aside.
- Brown the pork belly: Heat a large, dry pan over medium-high heat. Add the sliced pork belly in a single layer without oil and cook for 5-7 minutes, stirring occasionally, until the edges are browned and the fat has rendered into the pan.
- Cook the kimchi and aromatics: Add the onion, garlic, and kimchi to the pork belly and rendered fat. Stir-fry for 2-3 minutes until the onion softens slightly and the kimchi releases its juices.
- Stir-fry the rice: Add the rice, then the soy sauce, kimchi juice, gochujang, and toasted sesame oil. Stir-fry over medium-high heat, tossing constantly until the rice is evenly coated, red in color, and heated through. Avoid overcooking, or the rice can become mushy.
- Garnish and serve: Add the green onions and toasted sesame seeds and toss briefly to combine. Remove from the heat and serve with Korean roasted seaweed flakes and a runny fried egg on top, if desired.
Storage & Reheating
- Refrigerator: Store leftover pork belly kimchi fried rice in an airtight container in the refrigerator for up to 4 days.
- Reheating: Microwave for 2-3 minutes until hot, or reheat in a pan over medium heat until heated through.
- Freezer: I don't recommend freezing this fried rice because the short-grain rice becomes hard after freezing and reheating.
Pairing Suggestions
Serve pork belly kimchi fried rice with:
- Korean Cucumber Salad: Crisp and tangy, balancing the rich, spicy fried rice.
- Korean Spinach: A mild, savory vegetable side that adds freshness.
- Korean Zucchini Fritters: A tender, savory starter that complements the bold flavors.
FAQ
Use cold, day-old rice and cook over medium-high heat. Fresh or overly moist rice and low heat can cause the rice to steam and become mushy.
No. Keep the rendered pork fat in the pan to stir-fry the kimchi and rice, adding rich, savory flavor to the dish.
📖 Recipe
Easy 30-Minute Pork Belly Kimchi Fried Rice

Ingredients
- 2 ½ cups cooked short grain rice cold, day-old
- 0.5 lb pork belly strips cut into ½-inch-wide pieces
- ¾ cup kimchi chopped
- ½ cup onion diced
- 1 garlic clove minced
- 3 tablespoon kimchi juice from the kimchi package
- 2 teaspoon gochujang mild
- ½ tablespoon regular soy sauce or light soy sauce
- 1 teaspoon sesame oil toasted kind
- 1 green onion finely chopped
- 1 teaspoon sesame seeds toasted kind
Optional Finishings:
- 1 egg cooked sunny side up or over easy
- ¼ cup Korean seasoned seaweed flakes
Instructions
- Break up the cold rice with a rice paddle or clean hands until there are no clumps. Set aside.
- Heat a large, dry pan over medium-high heat. Add the pork belly in a single layer without oil and cook for 5-7 minutes, stirring occasionally, until the edges are browned and the fat has rendered into the pan.
- Add the onion, garlic, and kimchi to the pork belly and rendered fat. Stir-fry for 2-3 minutes until the onion softens slightly and the kimchi releases its juices.
- Add the rice, then the soy sauce, kimchi juice, gochujang, and toasted sesame oil. Stir-fry over medium-high heat, tossing constantly until the rice is evenly coated, red in color, and heated through. Avoid overcooking, or the rice can become mushy.
- Add the green onions and toasted sesame seeds and toss briefly to combine. Remove from the heat and serve with Korean roasted seaweed flakes and a runny fried egg on top, if desired.


Tracy
I made this with store bought kimchi tonight and omgggg!!!! It was soooo good!!!!! 🤤🤤I just made extra for lunch for the next three days lol..
Christie Lai
I am so pleased to hear this, Tracy! Glad you enjoyed it and thank you so much for making it!
Tiffany
Learning how to cook and this was such an easy recipe! Added fish cakes into the mix as well!
Christie Lai
Amazing!!! Glad it was easy and fish cakes are such a great addition 🙂 Enjoy your cooking journey!
Tony Frangoudis
Made this for my wife and she loved it . This one is a keeper .
christieathome
This is fantastic to hear, happy you and your wife both enjoyed it! Thanks for making my recipe, Tony!
Rosemary
My brother and I were just looking for a easy flavorful fried rice recipe! Making this with him next week 🙂