

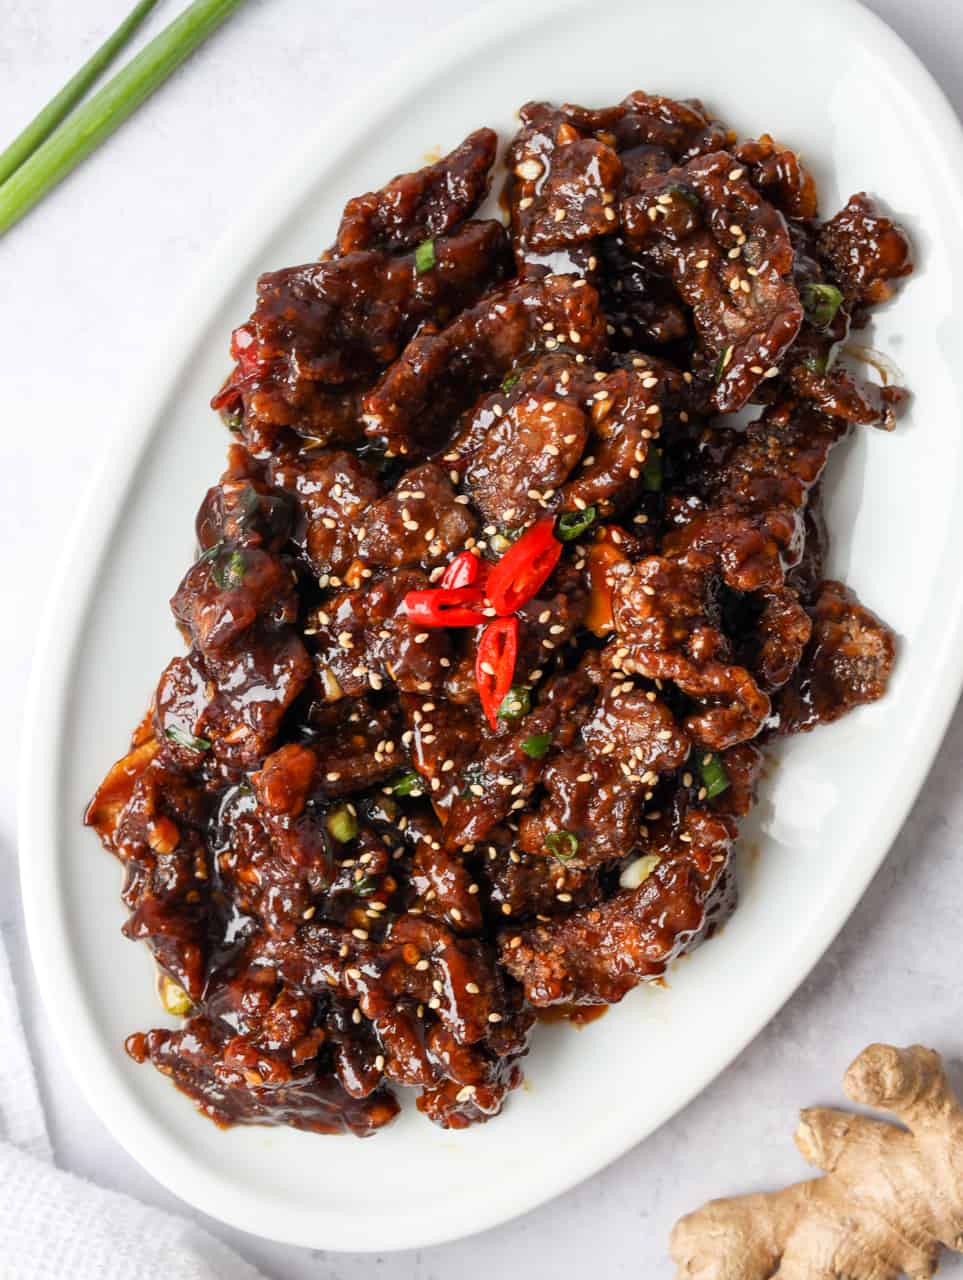
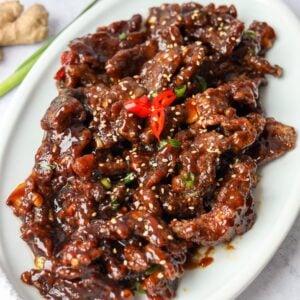
Thinly sliced beef with a golden, crispy coating is tossed in a sticky sweet and savory sauce with a mild kick. This easy Mongolian beef recipe is ready in just 30 minutes. The beef stays tender inside while the thick sauce clings to every crispy piece.
Jump to:
Mongolian beef is a popular Chinese takeout dish made with thinly sliced beef coated in a sweet and savory sauce. Back when I worked at an office, I'd always order it from my favorite Chinese takeout place and looked forward to that sweet, crispy beef at lunchtime. So naturally, I had to develop my own version.
In my testing, I've found that marinating the thinly sliced beef with baking soda for 10 minutes helps keep it tender after frying.
Why It Works
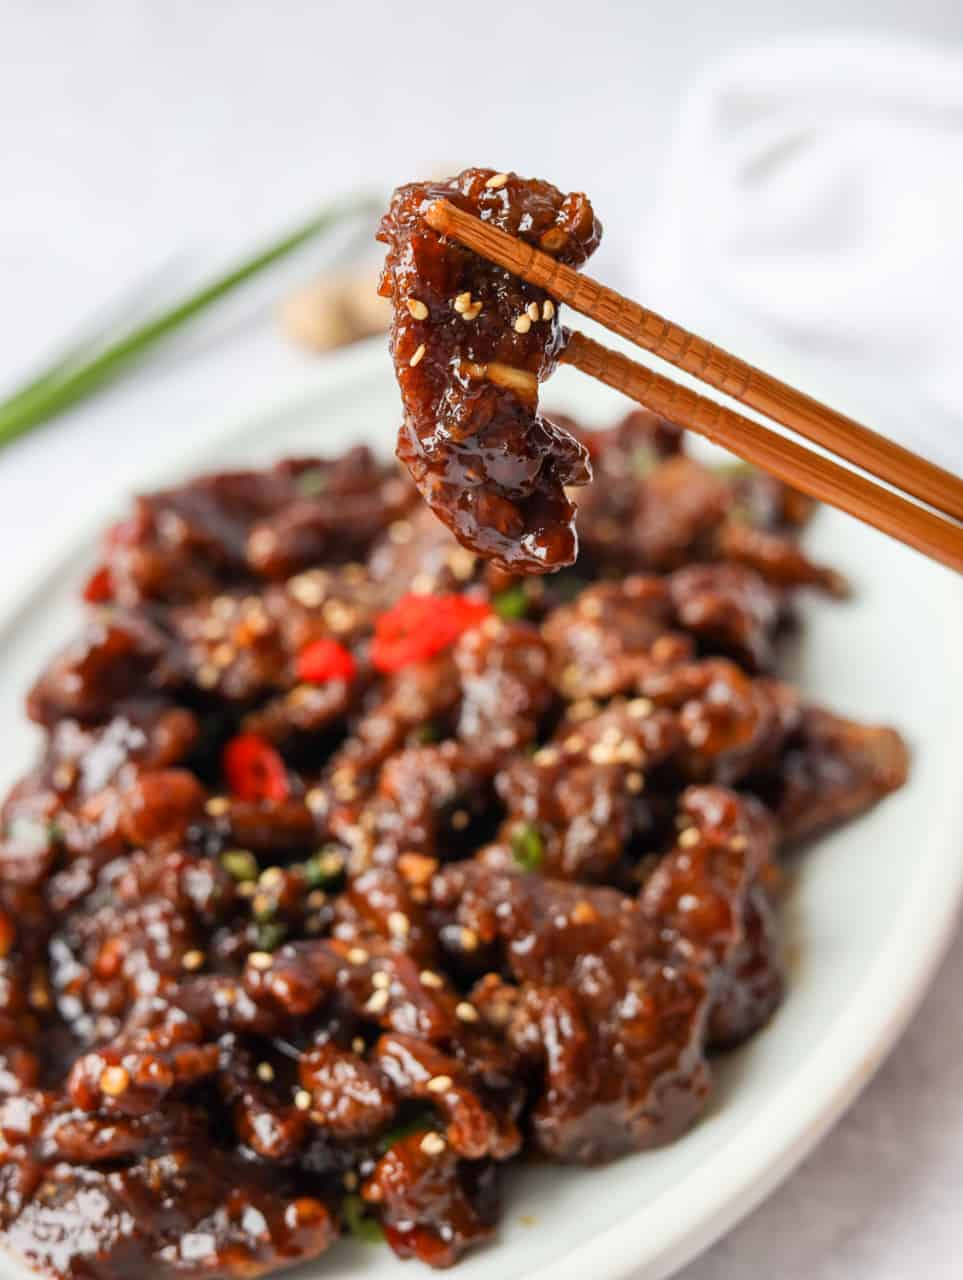
- Crispy cornstarch coating: A dry cornstarch coating creates a light, crisp crust without the heaviness of a wet batter.
- Hot oil: A heavy-bottomed pan and small batches help keep the oil at 325-350°F so the coating stays crisp instead of soggy.
- Quick sauce finish: Briefly thickening the sauce before tossing with the fried beef helps it cling without making the crust soggy.
Ingredients & Substitutes
Exact ingredient amounts are listed in the recipe card at the bottom of this page.
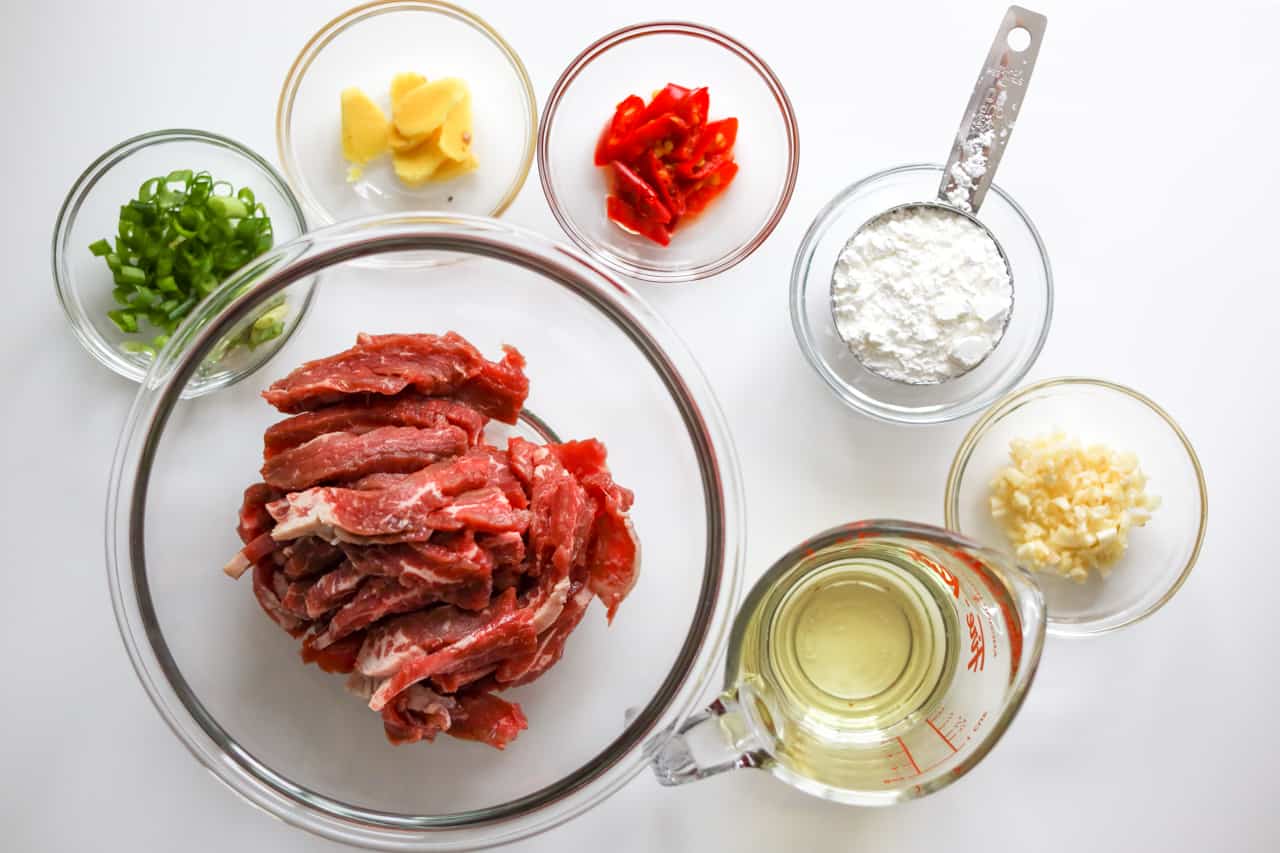
- Flank Steak: Slice thinly against the grain for tender beef. Sirloin steak, tri-tip, hanger steak, or top round also work.
- Cornstarch: Potato starch also works. Avoid tapioca starch or arrowroot starch, which can cause the beef pieces to stick together.
- Ginger: Fresh ginger works best for the aromatics.
- Garlic: Fresh garlic offers the best aroma, but jarred minced garlic also works.
- Red Chili Pepper: Deseed for milder heat, or substitute with ⅛ cup finely diced red bell pepper for a non-spicy version. Sauté it with the aromatics for 10 seconds.
- Green Onion
- Vegetable Oil: Use a neutral, high smoke-point oil. Canola or refined avocado oil also work.
- Sesame Seeds: Use the toasted kind. If unavailable, toast raw sesame seeds in a dry pan until golden.
Beef Marinade
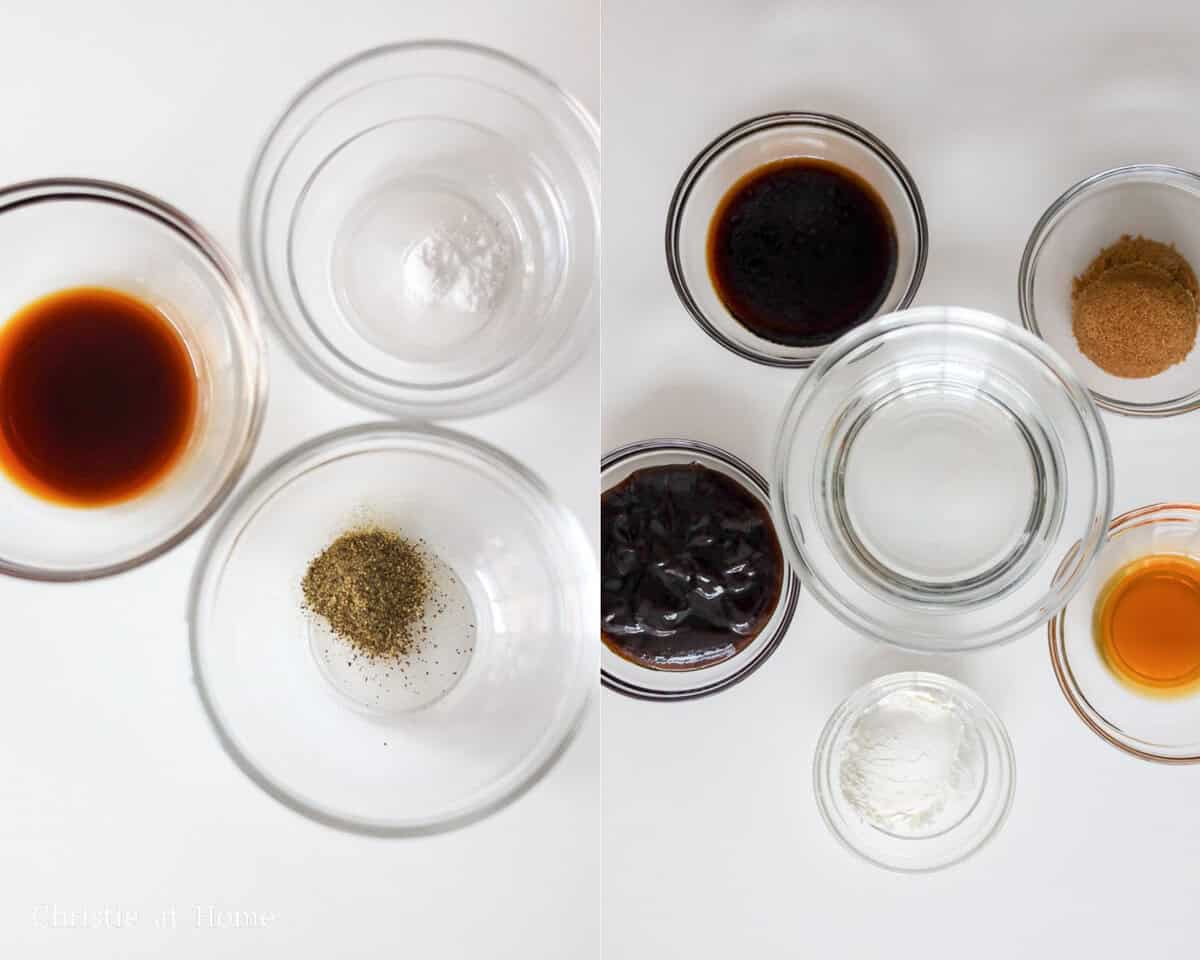
- Regular Soy Sauce: Light soy sauce or low-sodium soy sauce also works.
- Black Pepper: White pepper also works.
- Baking Soda: Don't skip this; it helps tenderize the beef during the short marinade.
Sauce
- Hoisin Sauce
- Regular Soy Sauce: Light soy sauce or low-sodium soy sauce also works.
- Brown Sugar: Light or dark brown sugar both work.
- Sesame Oil: Use toasted sesame oil for the best flavor.
- Cornstarch: Thickens the sauce so it coats the beef. Potato or tapioca starch also works for thickening the sauce.
- Cold Water
Note: Asian ingredients are typically available at most Asian grocery stores or online.
Expert Tips
- Freeze for easier slicing: Optionally freeze the beef for 45-60 minutes before slicing.
- Prep everything in advance: Have the sauce and aromatics ready because the cooking process moves quickly.
- Coat the beef separately: Don't dump cornstarch directly over the marinated beef or it can turn pasty and soggy. Coat each piece in a separate bowl of cornstarch instead.
- Fry soon after coating: Fry the beef shortly after coating so the cornstarch stays dry and crisp.
- Remove browned coating bits: Scoop them from the oil between batches so they don't burn and stick to the beef.
Instructions
Below are step-by-step instructions on how to make Mongolian Beef:
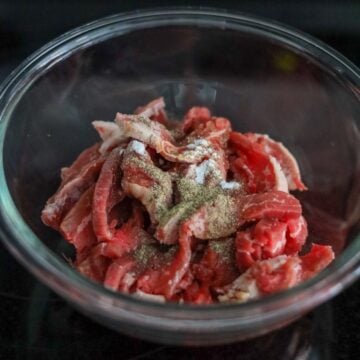
- Slice and marinate the beef: Thinly slice the beef against the grain at a 45-degree angle into ¼-inch thick, 2-inch long pieces. Transfer to a large bowl and mix with the listed beef marinade ingredients. Marinate for 10 minutes.
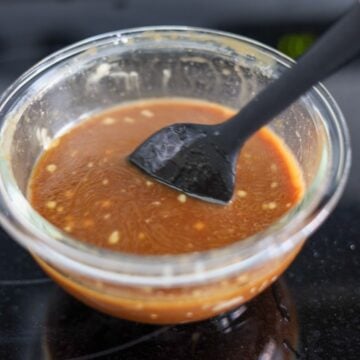
- Make the sauce: In a small bowl, whisk together all the sauce ingredients until the sugar fully dissolves. Set aside.

- Coat the beef: Add the cornstarch to a separate bowl and evenly coat each piece of marinated beef. Add 1-2 tablespoons more cornstarch as needed to cover any bare spots. Transfer the coated beef to a parchment-lined baking sheet.

- Fry the beef: Heat the vegetable oil in a large heavy-bottomed pan over medium heat to 350°F. Fry the beef in two batches in a single layer for 1-2 minutes until golden and crispy, flipping halfway through. Let the oil return to 350°F before frying each new batch. Transfer the fried beef to a wire rack to drain.
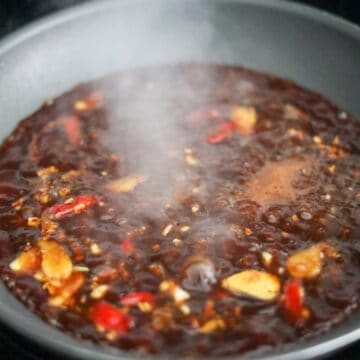
- Cook the aromatics and sauce: Leave 1 teaspoon (5 ml) oil in the pan and remove the rest. Reduce to low heat and sauté the ginger, garlic, and red chili for 10 seconds until fragrant. Whisk the sauce again, pour it into the pan, and simmer for 30-45 seconds until thick enough to coat the back of a spoon.
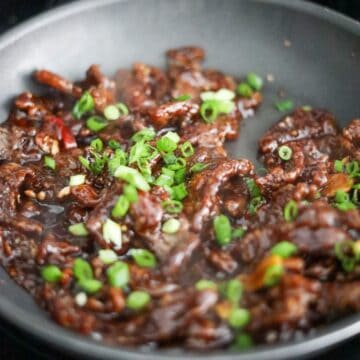
- Toss and serve: Add the fried beef and toss just until evenly coated in the sauce. Remove from heat immediately. Garnish with green onions and sesame seeds and serve right away.
Storage & Reheating
- Refrigerator: Store leftovers in an airtight container in the refrigerator for up to 4 days.
- Freezer: Freeze cooled Mongolian beef in a freezer-safe container for up to 3 months. Thaw overnight in the refrigerator before reheating.
- Reheating: Reheat in a skillet over medium heat until hot. Serve immediately for the best texture.
Variation
- Gluten-Free Mongolian Beef: Use tamari or gluten-free soy sauce and a gluten-free hoisin sauce. Make sure all other packaged ingredients are certified gluten-free if needed.
Pairing Suggestions
Serve this crispy Mongolian beef with:
- Egg Rolls: Their crispy wrapper makes an easy starter for the meal.
- Chow Mein: Savory noodles complement the sweet and savory beef sauce.
- Stir-Fried Snow Pea Leaves: The fresh greens balance the rich, crispy beef.
FAQ
The oil may not have been hot enough, the pan may have been overcrowded, or the beef may have sat too long after coating. Fry in small batches at 350°F and let the oil return to temperature between batches.
The beef may have been sliced too thick, cut with the grain, or overcooked. Slice it thinly against the grain and fry just until golden and crispy.
The sauce may need a little more time to thicken. Simmer it over low heat for a few more seconds, stirring constantly, until it coats the back of a spoon before adding the beef.
More Like This
Check out my other Chinese beef recipes:
📖 Recipe
Easy Mongolian Beef (30 Minutes)

Ingredients
- 1 lb flank steak
- ½ cup cornstarch or as needed
- 1 teaspoon ginger thinly sliced
- 4 garlic cloves minced
- 1 red chili pepper de-seeded, chopped
- 1 green onion finely chopped
- ½ cup vegetable oil or any neutral oil
- ½ teaspoon sesame seeds toasted kind
Beef Marinade
- 2 teaspoon regular soy sauce or light soy sauce
- ¼ teaspoon black pepper
- ½ teaspoon baking soda
Sauce
- 4 tablespoon hoisin sauce
- 2 tablespoon regular soy sauce or light soy sauce
- 2 tablespoon brown sugar
- 2 teaspoon sesame oil toasted kind
- 1 tablespoon cornstarch
- ½ cup water cold
Instructions
- Thinly slice the beef against the grain at a 45-degree angle into ¼-inch thick, 2-inch long pieces. Transfer to a large bowl and mix with the listed beef marinade ingredients. Marinate for 10 minutes.
- In a small bowl, whisk together all the sauce ingredients until the sugar fully dissolves. Set aside.
- Add the cornstarch to a separate bowl and evenly coat each piece of marinated beef. Add 1-2 tablespoons more cornstarch as needed to cover any bare spots. Transfer the coated beef to a parchment-lined baking sheet.
- Heat the vegetable oil in a large heavy-bottomed pan over medium heat to 350°F. Fry the beef in two batches in a single layer for 1-2 minutes until golden and crispy, flipping halfway through. Let the oil return to 350°F before frying each new batch. Transfer the fried beef to a wire rack to drain.
- Leave 1 teaspoon (5 ml) oil in the pan and remove the rest. Reduce to low heat and sauté the ginger, garlic, and red chili for 10 seconds until fragrant. Whisk the sauce again, pour it into the pan, and simmer for 30-45 seconds until thick enough to coat the back of a spoon.
- Add the fried beef and toss just until evenly coated in the sauce. Remove from heat immediately. Garnish with green onions and sesame seeds and serve right away.

Rudolf
Finally great Mongolian beef recipe!
Christie Lai
Thank you so much for making my recipe and for leaving this positive review, Rudolf! Happy to hear that you enjoyed it.