Juicy chicken thighs simmered in a rich, savory-sweet sauce made with minimal ingredients. This one-pan, easy soy sauce chicken recipe is ready in 30 minutes, making it a perfect main for busy weeknights. It's family-friendly, budget-friendly, and better-than-takeout. I share a secret tip to make the chicken extra tender!
Jump to:
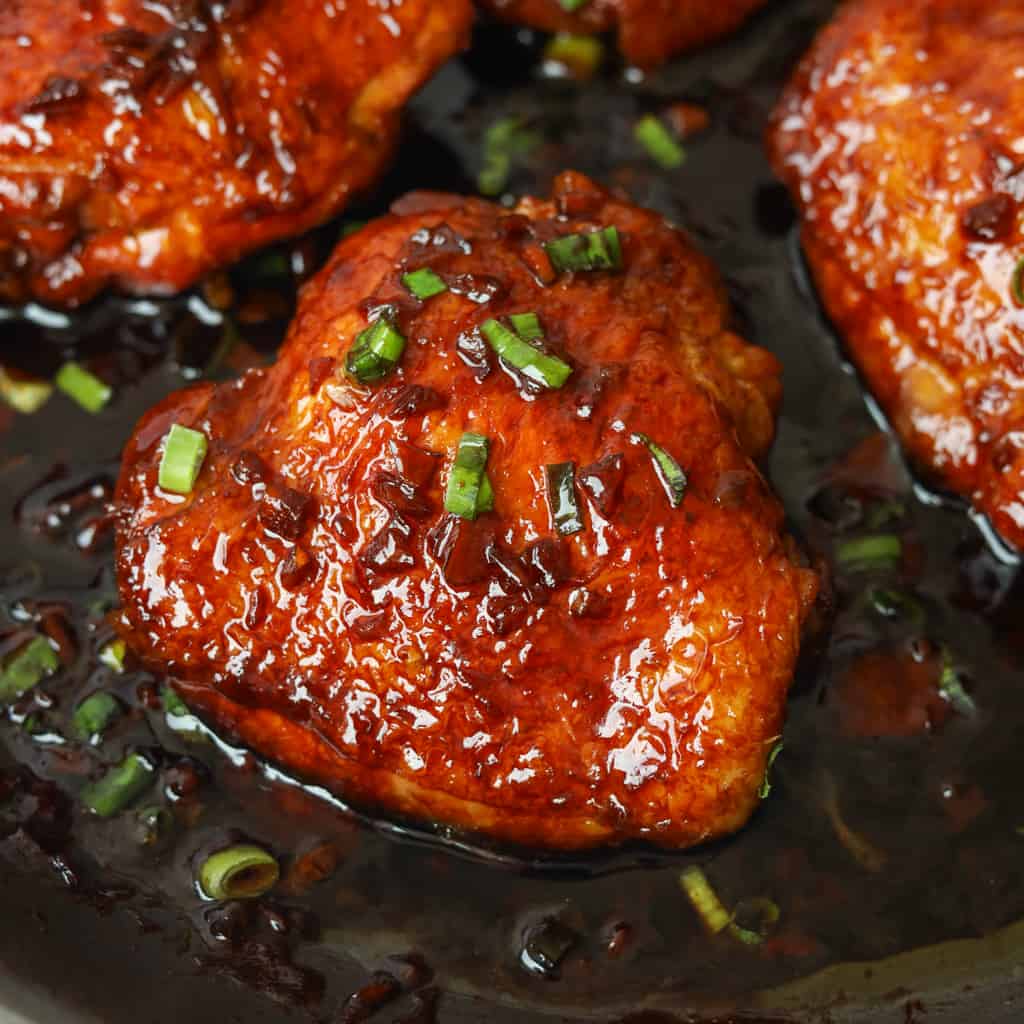
Soy Sauce Chicken (or 'See Yao Gai') features tender chicken thighs cooked in a savory, sweet sauce made of soy sauce, honey, garlic, ginger, and rice vinegar. It's a popular Chinese chicken dish made of humble ingredients from Guangdong, China. The literal translation of "see yao gai" is "soy sauce chicken".
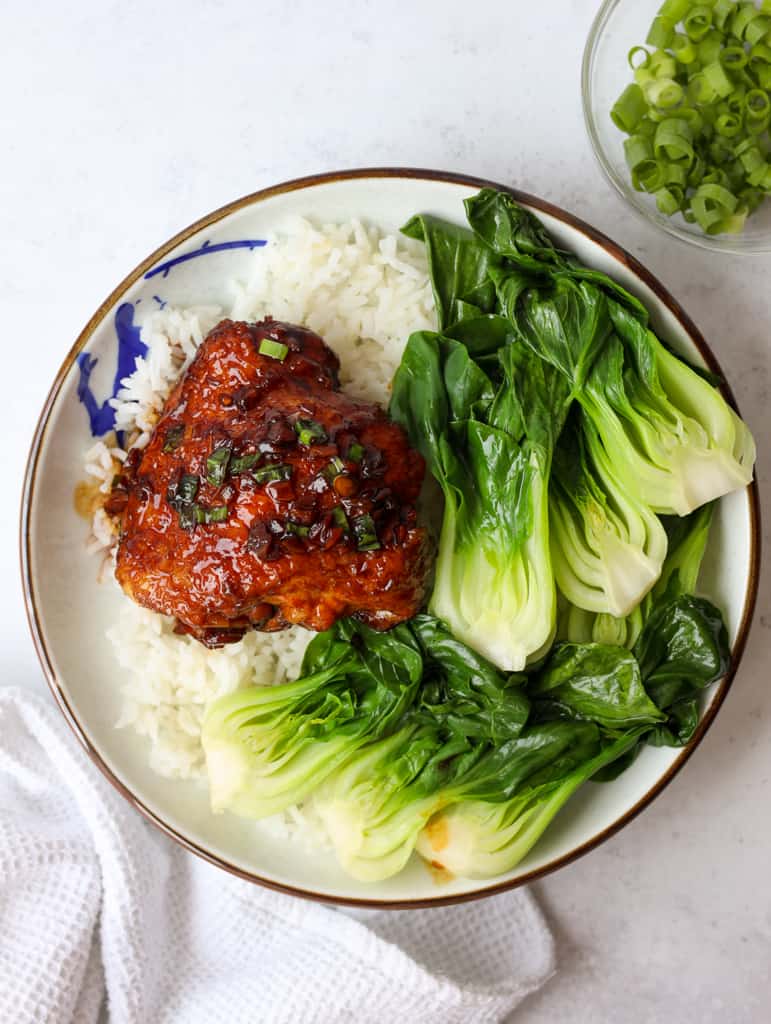
You'll find this chicken dish served with steamed rice and cooked Asian greens at Chinese restaurants or Chinese BBQ takeaways sold whole or in portions. It's a quick and cheap meal for students and office workers that's also filling and satisfying! But you can easily make this dish at home on the stovetop.
Why This Recipe
- I recommend rubbing salt onto the chicken, then rinsing it off with cold water. This creates tender chicken as the salt disintegrates the surface proteins.
- I tested this with different cuts of chicken and I advise using skin-on, bone-in chicken thighs for best results.
- I've found that using both regular and dark soy sauce give the chicken more depth and a rich brown color, not found in other recipes.
- Deliciously made with simple ingredients.
Ingredients & Substitutes
Please scroll to the recipe card below for exact measurements.
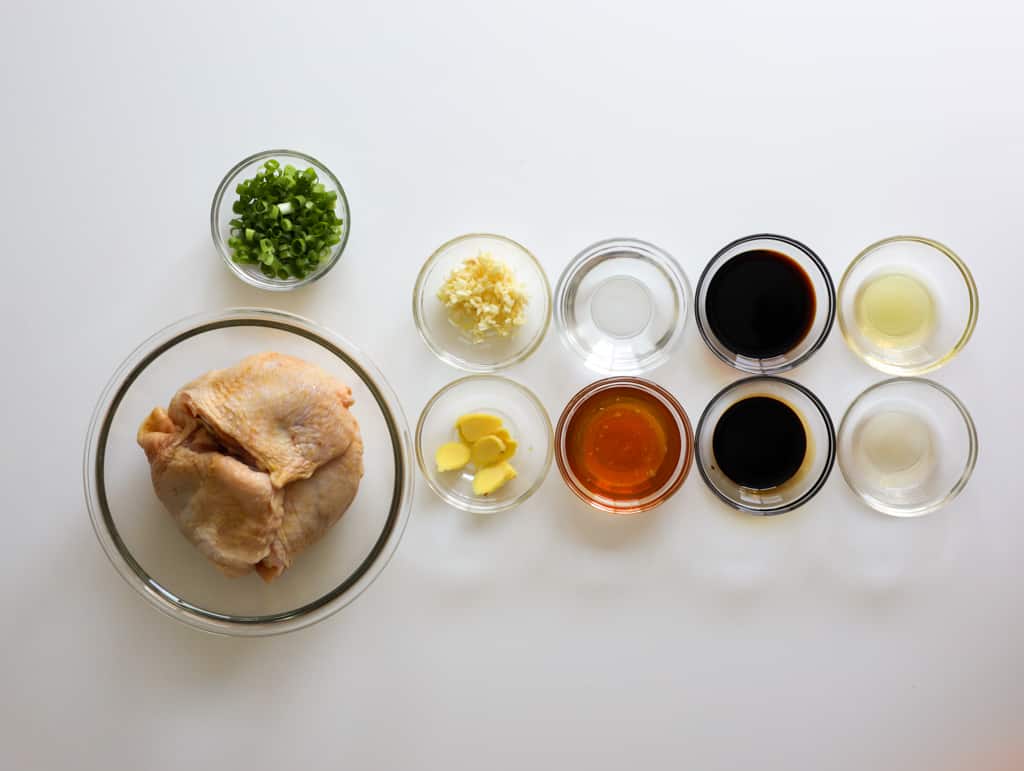
- Skin-on, Bone-in Chicken Thighs: Or use skin-on chicken legs or drumsticks and cook until they reach an internal temperature of 165ºF. Avoid using chicken breast or skinless boneless chicken thighs as they tend to dry out.
- Green Onion
- Neutral Oil: Use high-smoke-point oils like avocado, peanut, vegetable, canola/rapeseed, or sunflower oil. Avoid extra virgin olive (smokes at high heat).
- Salt (optional): You can use sea salt or table salt to rub onto the chicken. This makes the chicken more tender.
Sauce
- Fresh Garlic: I recommend using fresh garlic for best taste. Substitution: Jarred minced garlic.
- Fresh Ginger: To remove any gamey flavor from the meat.
- Honey: Plain liquid honey, avoid the flavored stuff. Substitutions: Corn syrup or granulated cane sugar.
- Water: Cold or room temperature.
- Regular Soy Sauce: Any all-purpose brand works [I recommend Kikkoman or Lee Kum Kee]. Low-sodium or light soy sauce also work.
- Dark Soy Sauce: Adds a deep brown color and umami [I recommend Pearl River Bridge Superior or Lee Kum Kee Premium]. Mushroom-flavored dark soy sauce is also a great option.
- Rice Vinegar: A mild vinegar [I recommend Marukan or Mizkan]. Substitution: Use apple cider vinegar; avoid distilled white vinegar as it's too acidic.
Note: Asian ingredients are typically available at most Asian grocery stores, or you can check online.
Instructions
Below are step-by-step instructions on how to make soy sauce chicken:
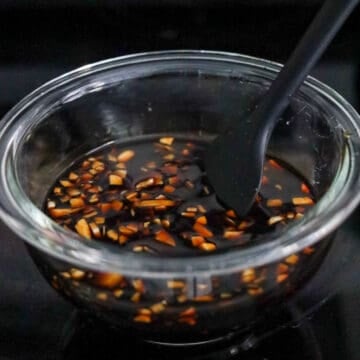
- Make the sauce: In a small bowl, combine sauce ingredients as listed above and mix until honey is dissolved.

- Prepare and sear the chicken: Rub salt all over the chicken thighs for about 10 seconds per side, then rinse under cold running water. Then pat dry with paper towels to remove excess moisture. Heat vegetable oil in a large pan on medium-high heat. Once hot, add the chicken thighs skin-side down and sear for 2 minutes. Flip and sear the other side for 2 minutes. Avoid moving the chicken while it sears.
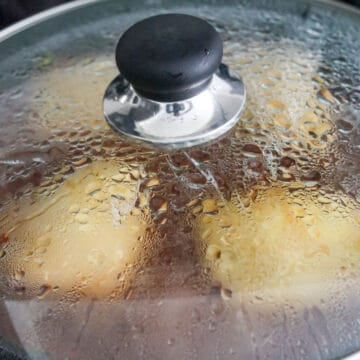
- Add the sauce. Reduce to low-medium heat, cover, and simmer for 7 minutes.
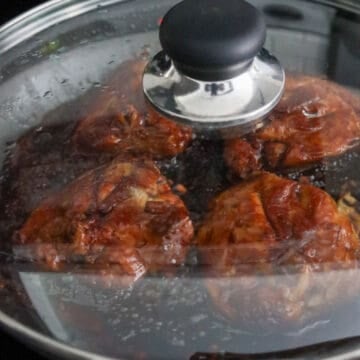
- Flip the chicken over. Cover and cook for another 5-7 minutes until cooked, or an internal temperature of 165ºF with a digital cooking thermometer.
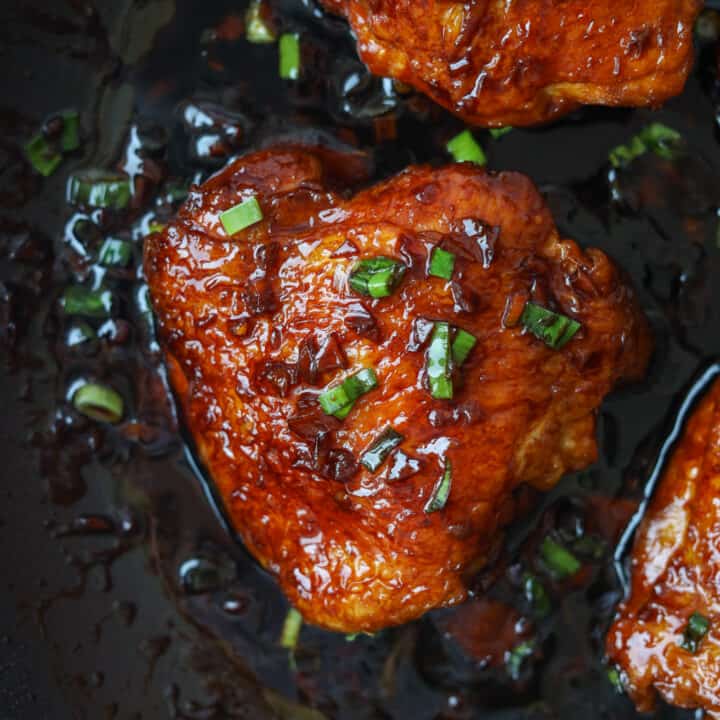
- Flip again and baste: Flip chicken again so it's skin-side up. Baste the sauce over the chicken. Remove off heat. Garnish with green onions and the sauce served on the side.
Expert Tips
- Choose fresh chicken thighs: Perform a smell test at the store. If there are any gamey odors, select a fresher pack, as the chicken is the main ingredient.
- Salt and rinse the chicken: Rub the chicken thighs with salt, then rinse under cold water. The salt tenderizes the skin by breaking down the surface proteins.
- Pat chicken dry thoroughly: Use paper towels to remove excess moisture so the chicken sears properly instead of steaming in the pan.
- Let it brown undisturbed: Avoid moving the chicken around while it cooks so it can develop a golden color on the edges.
- Check for doneness: Use a digital instant-read thermometer to ensure the chicken reaches an internal temperature of 165ºF.
Variation
- Gluten-free version: Substitute both soy sauces with tamari sauce, coconut aminos, or a gluten-free soy sauce.
Pairing Suggestions
Soy sauce chicken pairs well with:
- Starters: Egg Drop Soup, or Hot and Sour Soup.
- Rice Dishes: White Rice or Fried Rice.
- Noodle Dishes: Chow Mein or Lo Mein.
- Vegetable Dishes: Spicy Garlic Bok Choy or Chinese Garlic Yu Choy.
- Protein Dishes: Oven-Roasted Char Siu or Air Fryer Char Siu, or Chinese Roasted Pork Belly.
Storage & Reheating
- Leftover soy sauce chicken can last up to 4 days when stored in an airtight container in the fridge. To enjoy, reheat in the microwave or on the stovetop until heated through.
- Freezer: Soy sauce chicken can be frozen for up to 1-2 months in a freezer-safe bag once cooled. To enjoy, defrost it overnight in the fridge and reheat in the microwave or on the stovetop until hot throughout.
FAQ
Soy sauce chicken can be made up to 4 days in advance and stored in an airtight container in the fridge. To reheat, microwave or reheat on the stovetop until hot throughout.
I don't recommend that as chicken meat works best with the sauce combination.
Soy sauce chicken can be made in the air fryer. Please refer to my Air Fryer Soy Sauce Chicken recipe for detailed instructions.
More Like This
📖 Recipe

Quick & Easy Soy Sauce Chicken
Ingredients
- 1.5 lbs skin-on bone-in chicken thighs 4 pieces
- 1 green onion finely chopped
- 2 teaspoon vegetable oil or any neutral oil
Sauce
- 3 garlic cloves minced
- 1 tablespoon ginger thinly sliced
- ¼ cup honey or corn syrup
- ¼ cup water cold or room temp
- 3 tablespoon regular soy sauce or light soy sauce
- 1 tablespoon dark soy sauce
- 2 teaspoon rice vinegar or apple cider vinegar / shaoxing wine / dry sherry
Instructions
- In a small bowl, combine sauce ingredients as listed above and mix until honey is dissolved.
- Optional: Rub salt all over the chicken thighs for about 10 seconds per side, then rinse under cold running water.
- Pat dry the chicken thighs with paper towels to remove excess moisture.
- Heat vegetable oil in a large pan on medium-high heat. Once hot, add the chicken thighs skin-side down and sear for 2 minutes. Flip and sear the other side for 2 minutes. Avoid moving the chicken while it sears.
- Add the sauce. Reduce to low-medium heat, cover, and simmer for 7 minutes.
- Flip the chicken over. Cover and cook for another 5-7 minutes until cooked, or an internal temperature of 165ºF with a digital cooking thermometer.
- Flip chicken again so it's skin-side up. Baste the sauce over the chicken. Remove off heat. Garnish with green onions and the sauce served on the side.


darkfaerie
I added some sesame oil and sesame seeds, plus strained the sauce and heated it further after removing the chicken. Very yummy.
Christie Lai
Thanks so much for making my recipe and glad you found it yummy!
Laura Rodriguez
The family loved it ❤️ Thank you so much, keeping the recipe
Christie Lai
Thank you so much for making my recipe! Glad you and your family enjoyed it!
Kate
After I seared can I finish off in the oven
Christie Lai
I haven't personally tried that method for this particular recipe, so I can't confirm that. I would recommend sticking with the recipe instructions for best results.
Ron
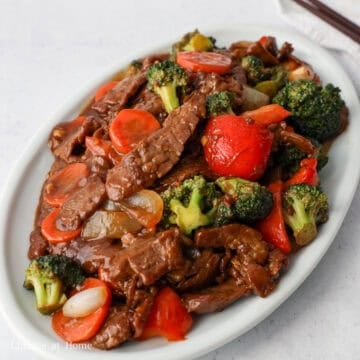
Excellent dish. Family loved it. Served with rice and steamed broccoli. No leftovers at all!
Christie Lai
So thrilled to hear this! Thanks so much for making it and for leaving a comment, Ron!
JOSE G DUMLAO JR
Yup
Millen
This was so good and I hope everyone tries it. It's become a weekly meal.
Zahera
This receipt is absolutely delicious. A must try!
Christie
Thank you so much Zahera! So glad you liked it 😊