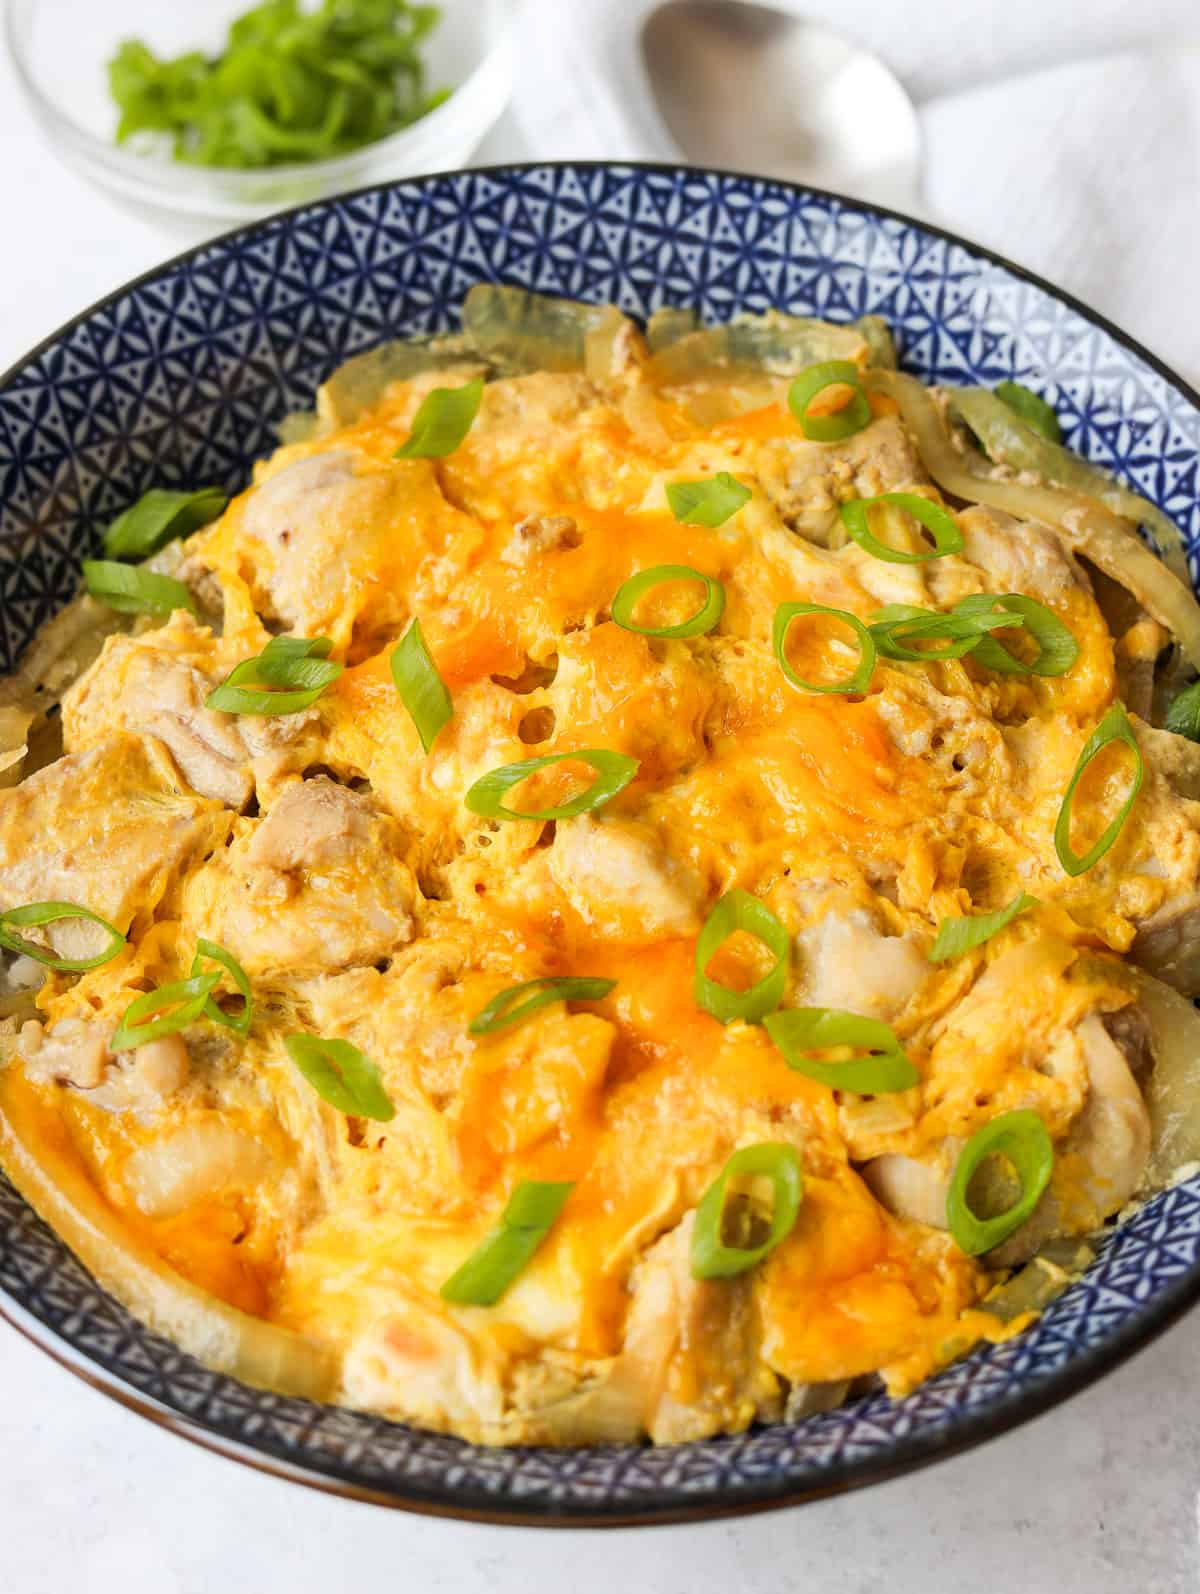
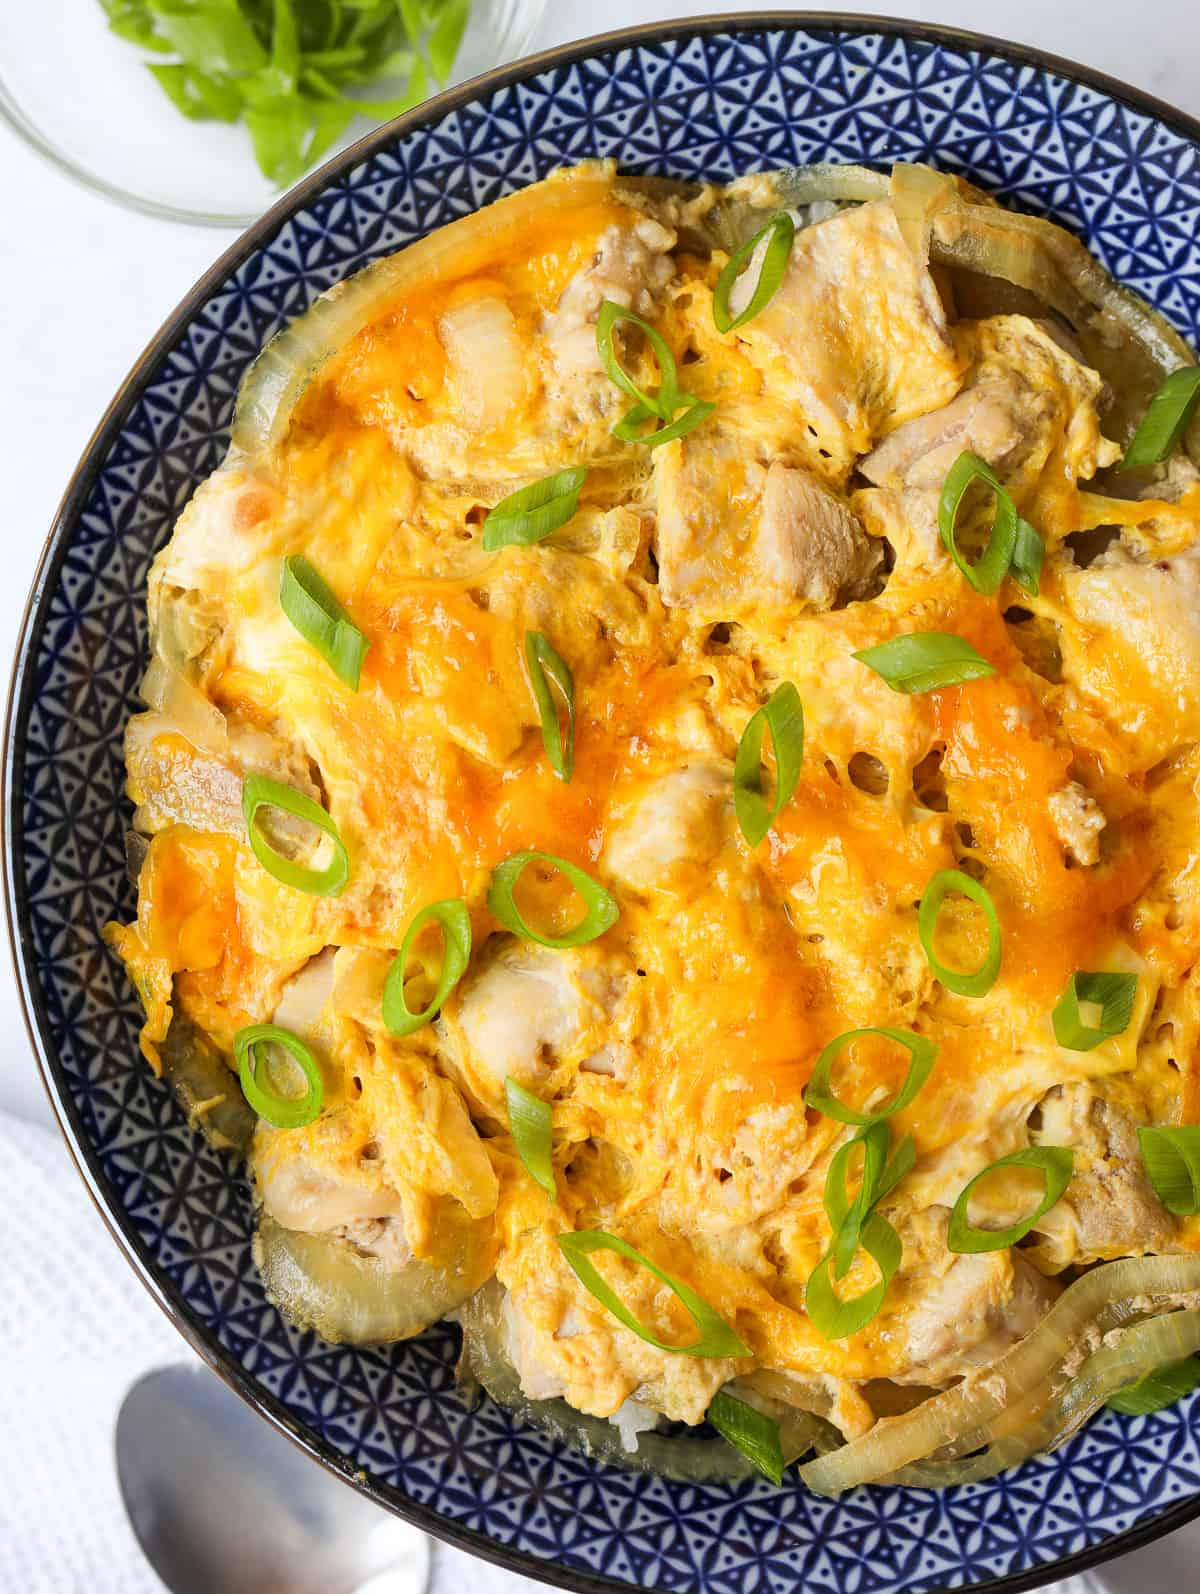
A delicious, juicy chicken and egg rice bowl cooked in a sweet and savory broth with onions. This quick and easy oyakodon comes together in just 15 minutes with simple and minimal ingredients and in just one pan!
Jump to:
What is Oyakodon?
Oyakodon is a popular Japanese rice bowl (aka "donburi"). This dish is made by simmering chicken, onions, and eggs in a sweet and savory dashi stock served over white rice. The name of the dish ‘oyakodon’ translates to ‘parent child rice bowl’ in reference to the chicken and the egg.
This main dish is served many Japanese restaurants and is a beloved comfort food in many households. It's quickly made with simple ingredients and minimal effort making it one of my favorite Japanese dishes.
When I was developing a recipe for this, it took a few times to get the proportions right but after trial and error, I nailed it! I'm happy to share my version of this iconic dish in Japanese cuisine.
Ingredients
Please scroll down to below recipe card for exact measurements.
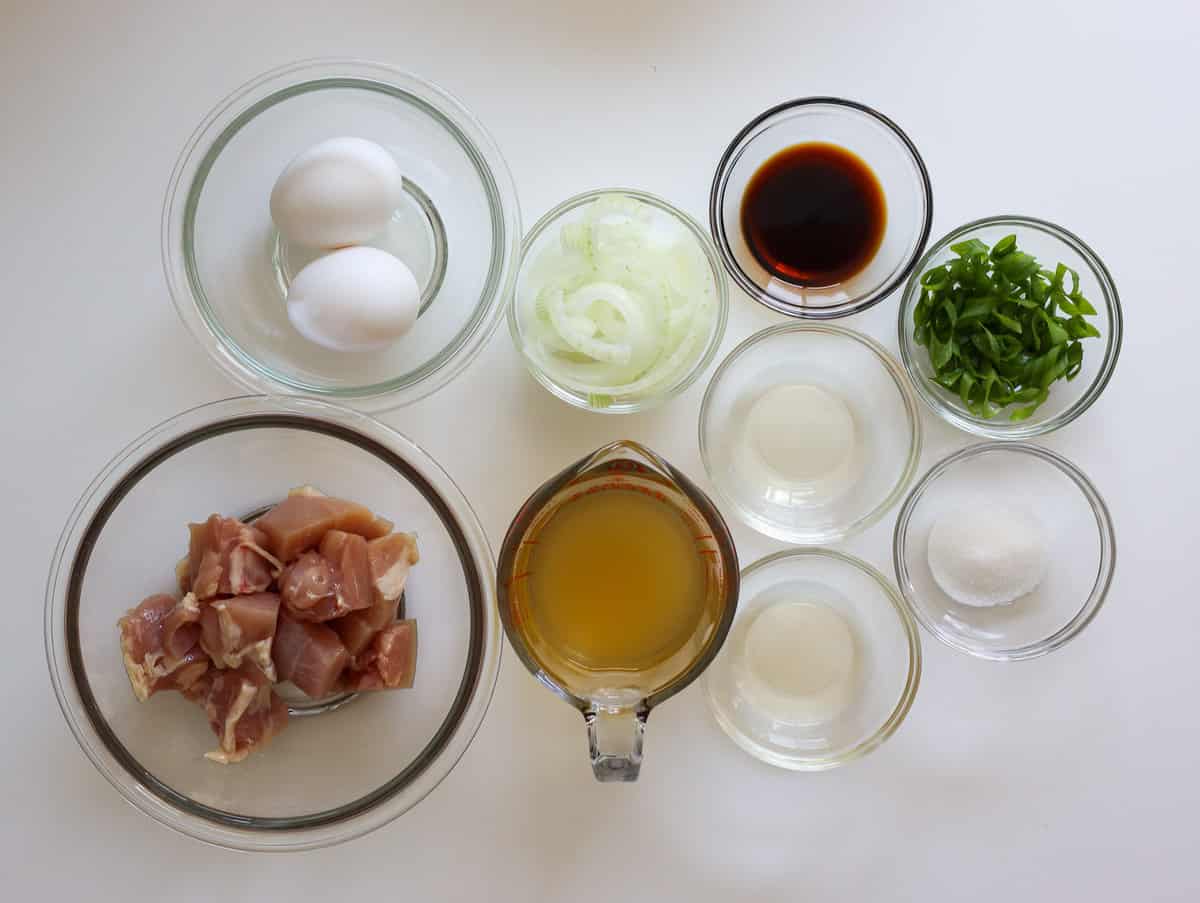
- Skinless Boneless Chicken Thighs: or substitute with chicken breast. For best results, I recommend chicken thighs as they are juicier. Important tip: When shopping, make sure to do a smell test on the chicken thighs. If they have an odor, put it back and buy one that has less or no odor.
- Eggs: for a brighter yellow color, use eggs with omega 3's as these nutrients make the yolks more vibrant. But if you don't have these particular eggs, just use the regular kind.
- Chicken stock or dashi stock: you can also use instant dashi
- White Onions: or yellow onions
- Cooked rice: short-grain or long-grain rice will both work
Seasoning:
- Mirin: a sweet Japanese cooking wine that you can purchase at most Asian grocery stores in the sauce aisle.
- Regular soy sauce: or substitute with low sodium soy sauce or light soy sauce. If you’re gluten-free, substitute with tamari sauce, coconut aminos or a gluten-free soy sauce of your choice.
- Sake: Any Japanese cooking sake will work.
- White Sugar
- Green onions: or parsley to garnish
Note: Most Asian markets will carry the Asian-specific ingredients.
Expert Tips
- Use fresh chicken for this recipe since it's the main ingredient! Make sure it doesn't have any gamey odor to it.
- For bright yellow yolks use eggs with omega 3's!
- Do not over beat the eggs. Just lightly beat them so you can still see some whites.
- Evenly dice the chicken. This ensures a consistent cooking time for each piece.
- Use a small pan that is about 7-8 inches wide and make sure it's slightly smaller than your serving bowl so everything can fit into the bowl.
- If you like soft runnier eggs, save some of the raw egg mixture to pour at the very end.
Instructions
Below are step-by-step instructions on how to make oyakodon:
Marinate Chicken and Beat Eggs

Dice chicken thighs into 1-inch cubes. Transfer chicken pieces into a small bowl and mix in sake. Let this marinate as you work on other ingredients.
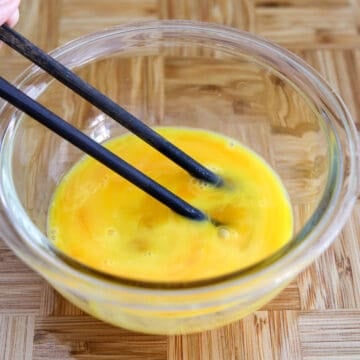
In another small bowl, crack eggs and lightly beat 65% of the way until the yolks come together but there is still some egg white. Set aside egg mixture.
Make Stock and Add Onions
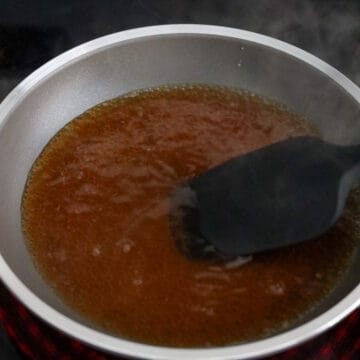
In a small frying pan (7-8 inches wide) on medium heat, add chicken broth or dashi stock, regular soy sauce, mirin and sugar. Stir together.
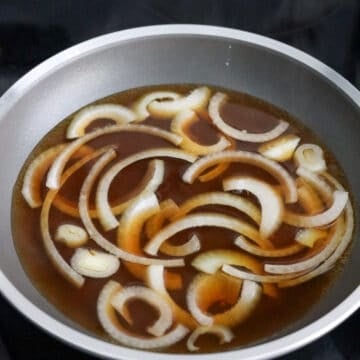
Add thinly sliced onions, break the layers apart and evenly spread them across the pan.
Add Chicken and Beaten Eggs
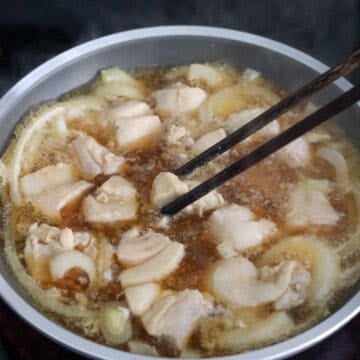
Spread diced chicken across the pan in a single layer. Simmer chicken for 2 minutes. Flip chicken pieces over.
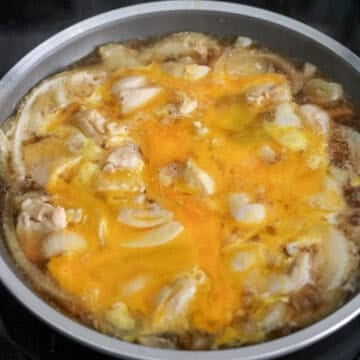
Pour beaten eggs in a circular motion on top of the chicken and cooked onions. Let this cook for 2 minutes until it’s mostly cooked but slightly runny in some areas. If you prefer fully cooked eggs, cover with a lid and cook the raw eggs through.
Serve and Enjoy
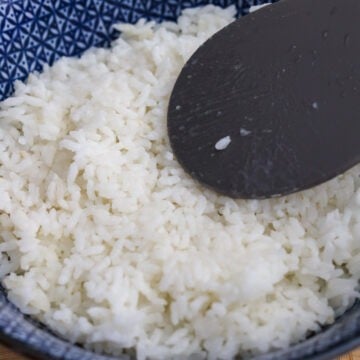
Meanwhile serve cooked rice into a large bowl (about 7 inches wide) and flatten the rice across evenly with a rice paddle.

Slide everything in the pan on top of your rice. Garnish with sliced scallions or Japanese parsley and enjoy!
Storage
- Leftovers will last up to 4 days stored in an airtight container in the refrigerator. To reheat: microwave for 2-3 minutes until hot or reheat in a pan on medium heat.
- Freezer friendly? I wouldn't recommend freezing oyakodon as the freezer air will make the eggs taste rubbery.
Pairing Suggestions
Oyakodon serves well with these Japanese-style side dishes: miso soup, Japanese crab corn salad, shrimp tempura, or panko shrimp,
FAQ
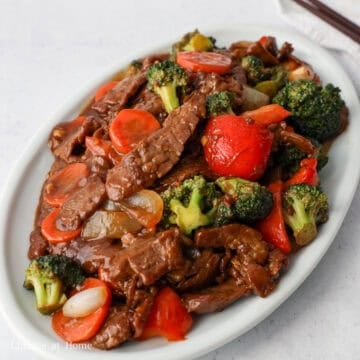
Yes, you can substitute the chicken with marbled pork or thinly sliced rib eye beef.
Overcooked chicken in oyakodon could be due to a few reasons:
- the heat was too high
- the chicken was added in too early or simmered for too long
- the chicken was diced into very small pieces
Yes! You can substitute the dashi with chicken stock, beef stock or vegetable stock if you wish.
Other recipes you may enjoy
📖 Recipe

15-min. Easy Oyakodon (Japanese Chicken Egg Rice Bowl)
Ingredients
- 2 skinless boneless chicken thighs
- 2 large eggs
- ½ cup chicken stock or dashi stock
- ¼ medium onion thinly sliced
- 1 tablespoon mirin
- 1 tablespoon regular soy sauce
- 1 tablespoon sake
- 2 teaspoon white granulated sugar
- ½ green onion finely chopped (or sub with parsley)
- 2 cups cooked rice to serve
Instructions
- Slice chicken into small bite-sized pieces, about 1-inch cubes. Transfer pieces of chicken into a small bowl and mix in sake. Let this marinate as you work on other ingredients.
- In another small bowl, crack eggs and lightly beat 65% of the way until the yolks come together but there is still some egg white. Set aside egg mixture.
- In a small frying pan (7 inches wide approximately) on medium heat, add chicken stock or dashi stock, regular soy sauce, mirin and sugar. Stir together.
- Add thinly sliced onions and spread them evenly across the pan.
- Spread diced chicken across the pan in a single layer. Let the chicken cook for 2 minutes. Flip chicken pieces over.
- Pour beaten eggs in a circular motion on top of the chicken. Let this cook for 2 minutes until it’s mostly cooked but slightly runny in some areas. If you prefer fully cooked eggs, cover with a lid and cook eggs through.
- Meanwhile serve hot cooked rice into a large bowl (about 7 inches wide) and flatten the rice across evenly.
- Slide everything in the pan on top of your bowl of hot rice. Garnish with green onions and enjoy!


ElleC
This was simple, quick, and delicious! Didn’t have sake so used shaoxing wine and it was still delicious 🙂
Christie Lai
Very happy to read this! Thank you so much for making my recipe and sharing this positive review, Elle 🙂 Glad the shaoxing wine worked well as a substitute.
Robin Thompson
Trying tonight I’m so excited 😍🍜
christieathome
Thank you so much for your kind comment, Robin! I hope you enjoy it 🙂