

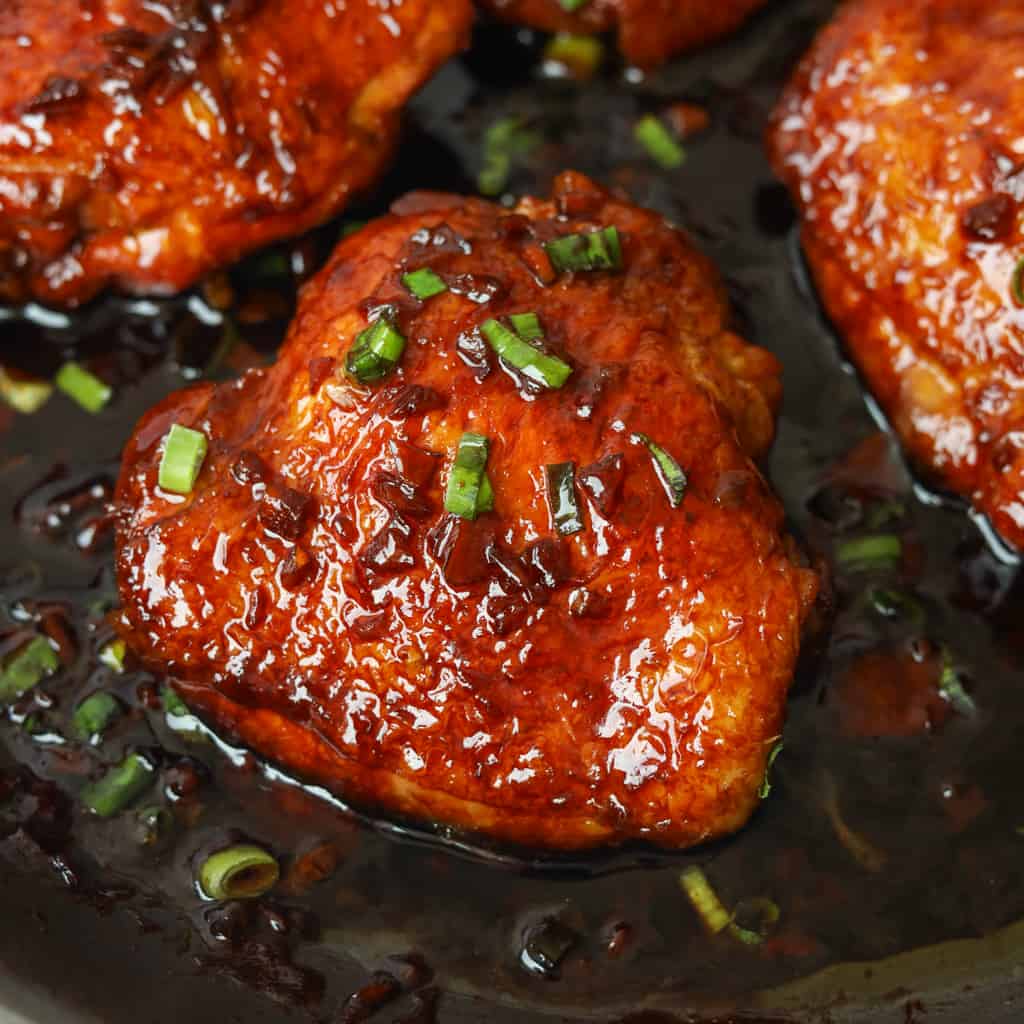
Ultra-tender chicken thighs are coated in a rich, deeply savory soy sauce glaze. This easy soy sauce chicken recipe is made in one pan and ready in just 30 minutes.
Jump to:
Soy sauce chicken (aka See Yao Gai) is a Cantonese dish from Guangdong traditionally made by gently cooking chicken in an aromatic soy sauce mixture until tender and deeply browned.
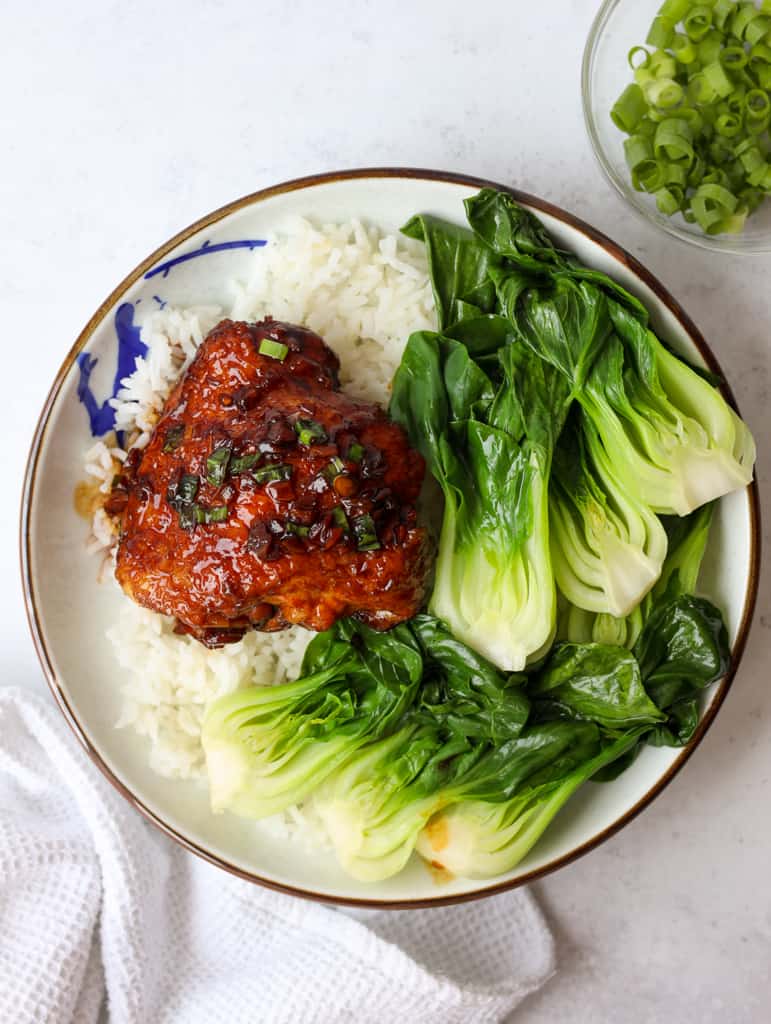
Growing up, my mother and I would order this with char siu or roast pork at siu mei shops (烧味档), also known as Chinese roast meat shops, where the cooked meats hang behind a display window. You can choose your preferred cut, which is chopped to order and served as is or with steamed rice and greens.
You can easily make this dish at home if you don't live near these shops. I found that gently simmering the chicken covered over medium-low heat keeps the thighs tender while preventing the sauce from reducing too quickly.
Ingredients & Substitutes
Exact ingredient amounts are listed in the recipe card at the bottom of this page.
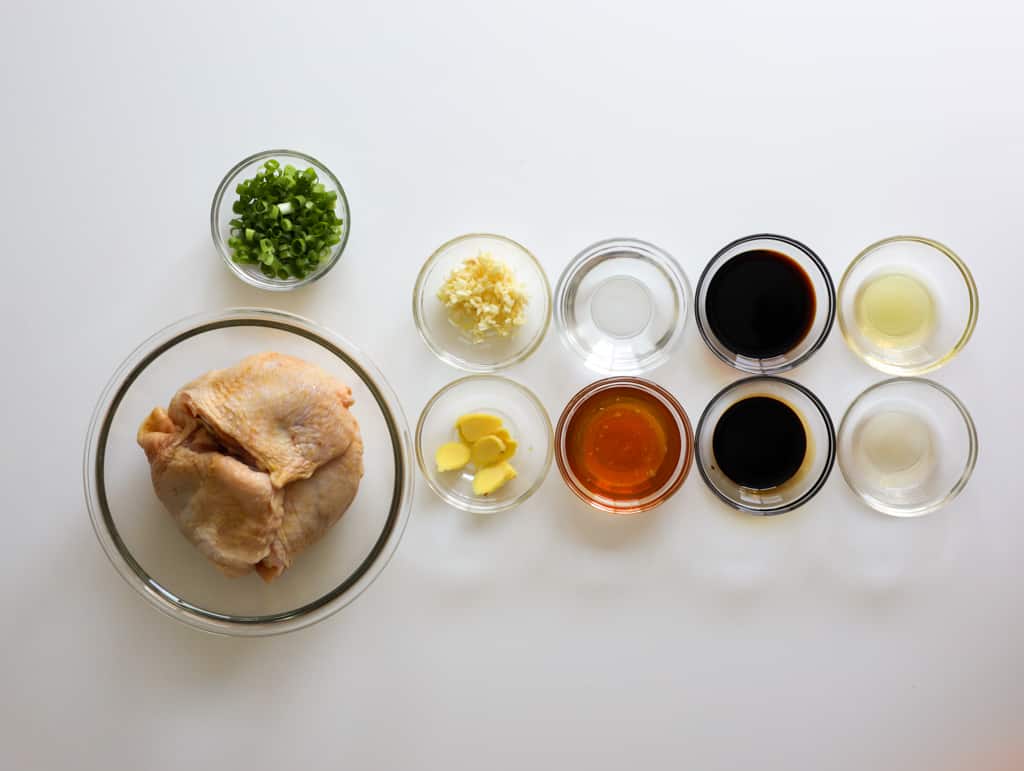
- Skin-on, Bone-in Chicken Thighs: Avoid boneless, skinless chicken thighs, as the skin and bone offer extra flavor.
- Green Onion
- Vegetable Oil: Or use any neutral cooking oil with a high smoke point, such as canola, refined avocado, or peanut oil.
Sauce
- Fresh Garlic & Ginger
- Honey: Use plain liquid honey and avoid flavored honey.
- Water: Use room-temperature water.
- Regular Soy Sauce: Light soy sauce also works. For a less salty option, use low-sodium soy sauce.
- Dark Soy Sauce: I recommend Pearl River Bridge Superior Dark Soy Sauce because it's thicker and darker than other brands, giving the chicken a deep brown color. Mushroom-flavored dark soy sauce also works.
- Rice Vinegar: Apple cider vinegar also works.
Note: Asian ingredients are typically available at most Asian grocery stores or online.
Expert Tips
- For extra-tender chicken, optionally rub about 1 teaspoon of salt over the chicken for 10 seconds per side, then rinse and pat completely dry.
- Use a large pan so the chicken thighs have enough room to sear properly.
- Keep the simmer gentle to prevent the soy sauce mixture from reducing too quickly and becoming salty.
- Baste generously before serving so the savory sauce coats each chicken thigh.
- Thicken the pan sauce by simmering it uncovered after removing the cooked chicken.
Instructions
Below are step-by-step instructions on how to make soy sauce chicken:

- Whisk the sauce: Combine the sauce ingredients in a bowl and whisk until the honey fully dissolves. Set aside.

- Sear the chicken: Pat the chicken thighs completely dry with paper towels. Heat vegetable oil in a large pan over medium-high heat. Add the chicken thighs skin-side down and sear for 2 minutes without moving. Flip and sear the other side for another 2 minutes.
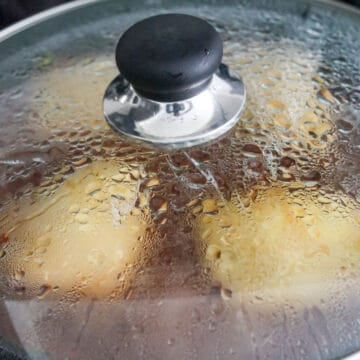
- Add the sauce: Pour the prepared sauce into the pan. Reduce the heat to medium-low, cover, and simmer for 7 minutes.
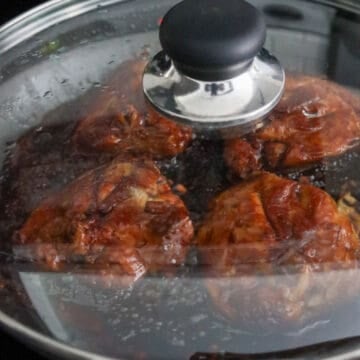
- Finish cooking: Flip the chicken thighs skin-side down, cover, and cook for another 5-7 minutes, until the thickest part reaches 165°F without touching the bone.
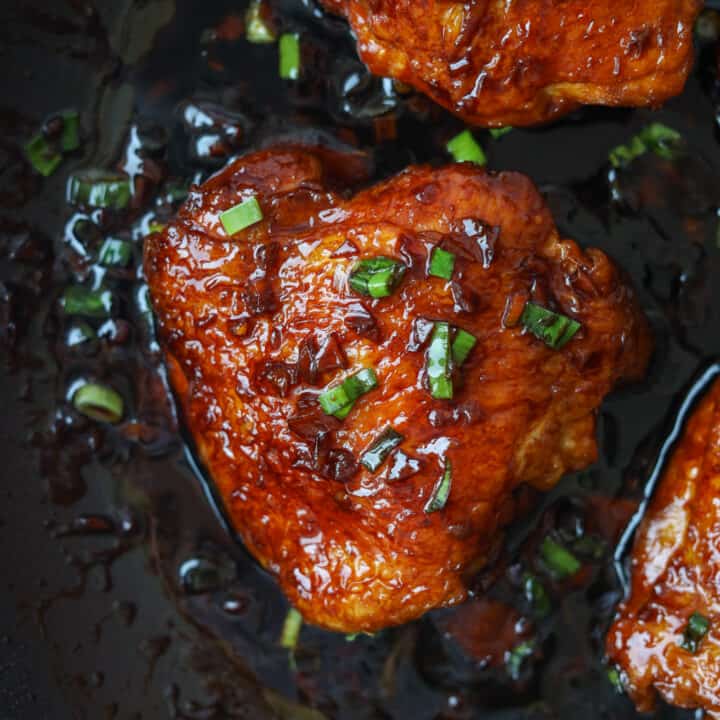
- Baste and garnish: Turn the chicken thighs skin-side up and spoon the sauce over them several times. Remove from the heat and garnish with green onions.
Storage & Reheating
- Refrigerator: Store leftovers with the sauce in an airtight container for up to 4 days.
- Freezer: Freeze cooled chicken with the sauce in a freezer-safe container for up to 2 months. Thaw overnight in the refrigerator.
- Reheating: Microwave with some sauce until hot throughout, or gently reheat covered on the stovetop over low heat.
Variations
- Gluten-free: Replace the regular soy sauce with gluten-free soy sauce or tamari and use a gluten-free dark soy sauce.
- Spicy: Add 1 teaspoon of dried chili flakes to the sauce.
Pairing Suggestions
Serve Cantonese soy sauce chicken thighs with:
- Egg Fried Rice: The fluffy rice soaks up the savory soy sauce.
- Chinese Garlic Yu Choy: The crisp greens balance the rich, savory chicken.
- Egg Drop Soup: The light soup makes a simple starter before the flavorful chicken.
FAQ
The sauce may have reduced too much or your soy sauce may be saltier than the brand used in this recipe. Add a little water to dilute the sauce and keep it at a gentle simmer to prevent excessive reduction.
Dark soy sauce is highly recommended for the deep brown color and glossy appearance of soy sauce chicken. Regular soy sauce alone won't produce the same color.
The sauce will remain fairly thin while the chicken cooks covered. After removing the cooked chicken, simmer the sauce uncovered until it reduces to your desired consistency.
More Like This
Check out my other chicken recipes:
📖 Recipe
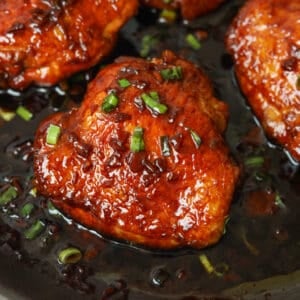
Easy 30-Minute Soy Sauce Chicken

Ingredients
- 1.5 lbs skin-on bone-in chicken thighs (about 4 thighs)
- 1 green onion finely chopped
- 2 teaspoon vegetable oil or any neutral oil
- 1 teaspoon salt
Sauce
- 3 garlic cloves minced
- 1 tablespoon ginger thinly sliced
- ¼ cup honey
- ¼ cup water room temperature
- 3 tablespoon regular soy sauce or light soy sauce
- 1 tablespoon dark soy sauce
- 2 teaspoon rice vinegar
Instructions
- Combine the sauce ingredients in a bowl and whisk until the honey fully dissolves. Set aside.
- Pat the chicken thighs completely dry with paper towels.
- Heat vegetable oil in a large pan over medium-high heat. Add the chicken thighs skin-side down and sear for 2 minutes without moving. Flip and sear the other side for another 2 minutes.
- Pour the prepared sauce into the pan. Reduce the heat to medium-low, cover, and simmer for 7 minutes.
- Flip the chicken thighs skin-side down, cover, and cook for another 5-7 minutes, until the thickest part reaches 165°F without touching the bone.
- Turn the chicken thighs skin-side up and spoon the sauce over them several times. Remove from the heat and garnish with green onions.
darkfaerie
I added some sesame oil and sesame seeds, plus strained the sauce and heated it further after removing the chicken. Very yummy.
Christie Lai
Thanks so much for making my recipe and glad you found it yummy!
Laura Rodriguez
The family loved it ❤️ Thank you so much, keeping the recipe
Christie Lai
Thank you so much for making my recipe! Glad you and your family enjoyed it!
Kate
After I seared can I finish off in the oven
Christie Lai
I haven't personally tried that method for this particular recipe, so I can't confirm that. I would recommend sticking with the recipe instructions for best results.
Ron
Excellent dish. Family loved it. Served with rice and steamed broccoli. No leftovers at all!
Christie Lai
So thrilled to hear this! Thanks so much for making it and for leaving a comment, Ron!
JOSE G DUMLAO JR
Yup
Millen
This was so good and I hope everyone tries it. It's become a weekly meal.
Zahera
This receipt is absolutely delicious. A must try!
Christie
Thank you so much Zahera! So glad you liked it 😊