

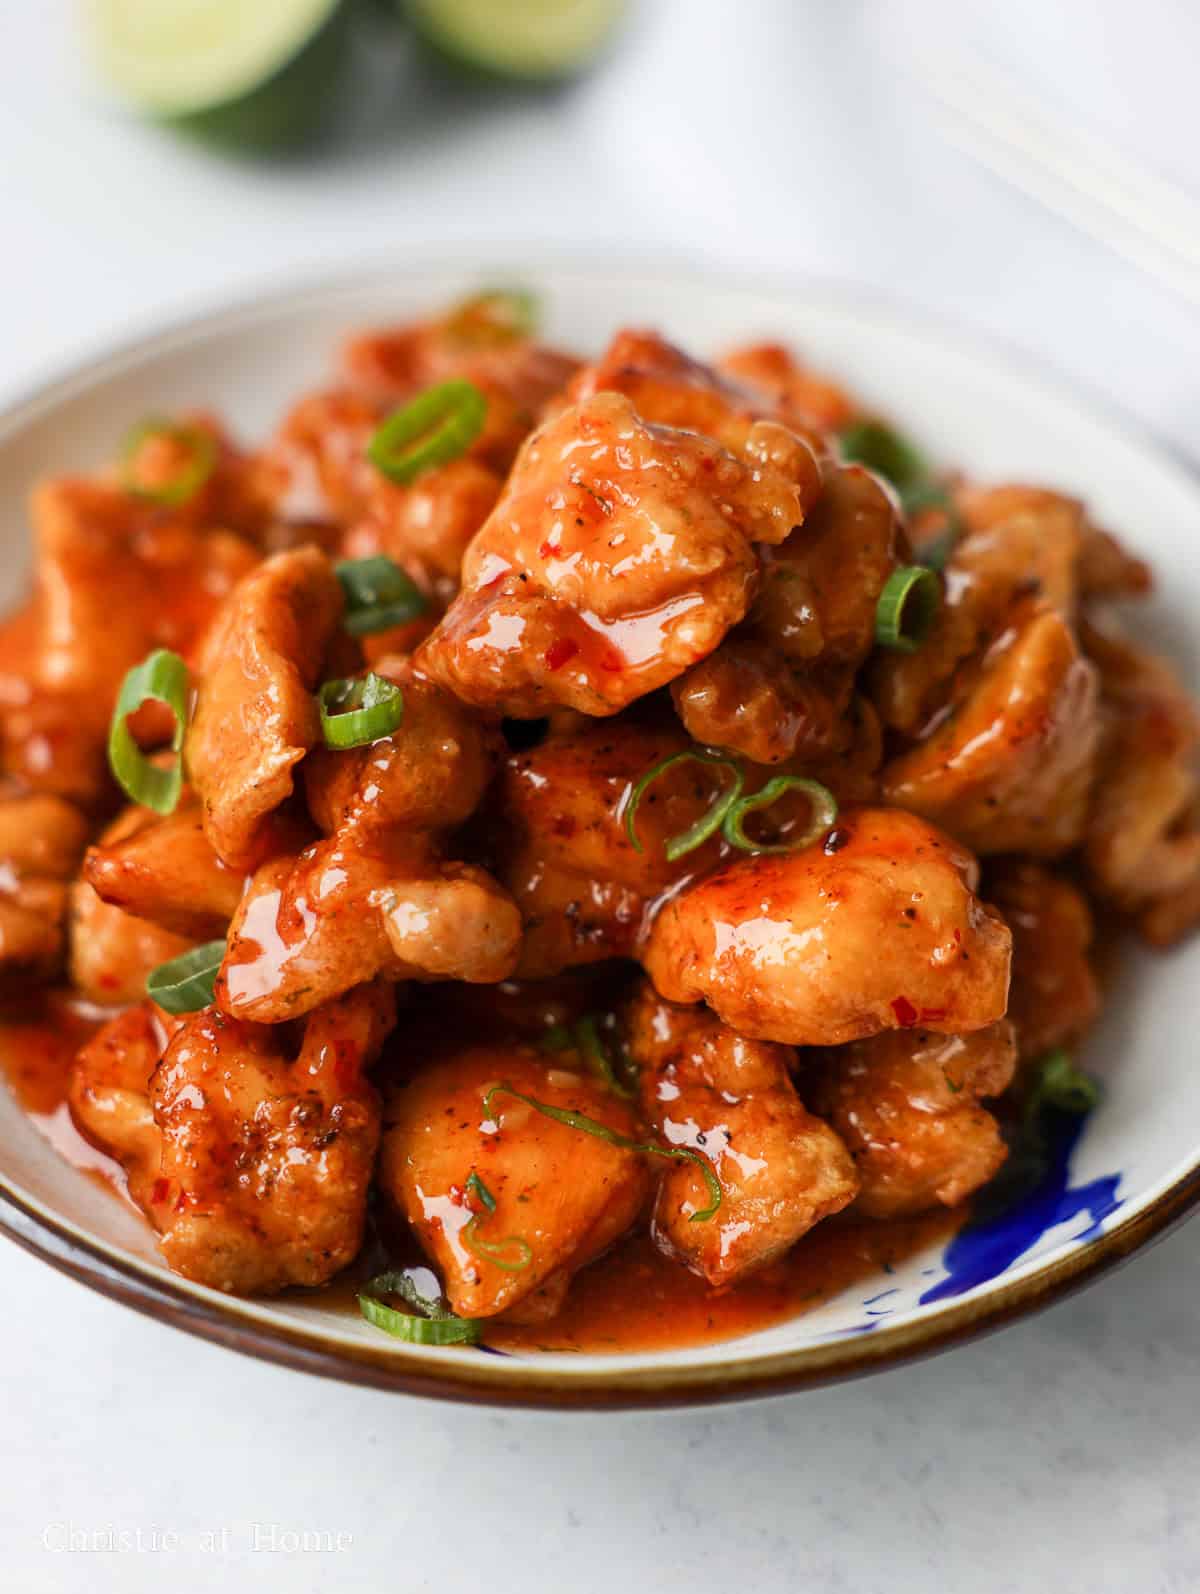
Crispy, juicy chicken coated in a sticky, sweet and tangy chili sauce with a little kick. This easy sweet chili chicken recipe is ready in just 30 minutes. I shallow-fry the cornstarch-coated chicken and let the crust set before flipping so it stays crispy.
Jump to:
Sweet chili chicken is an Asian-inspired dish featuring crispy fried chicken tossed in a sweet, tangy, and mildly spicy chili sauce.
I love the bold flavors of sweet chili sauce and fried chicken, so this recipe was an easy one to develop! I adapted it from my Firecracker Shrimp, using the same simple sauce that doesn't require any heating.
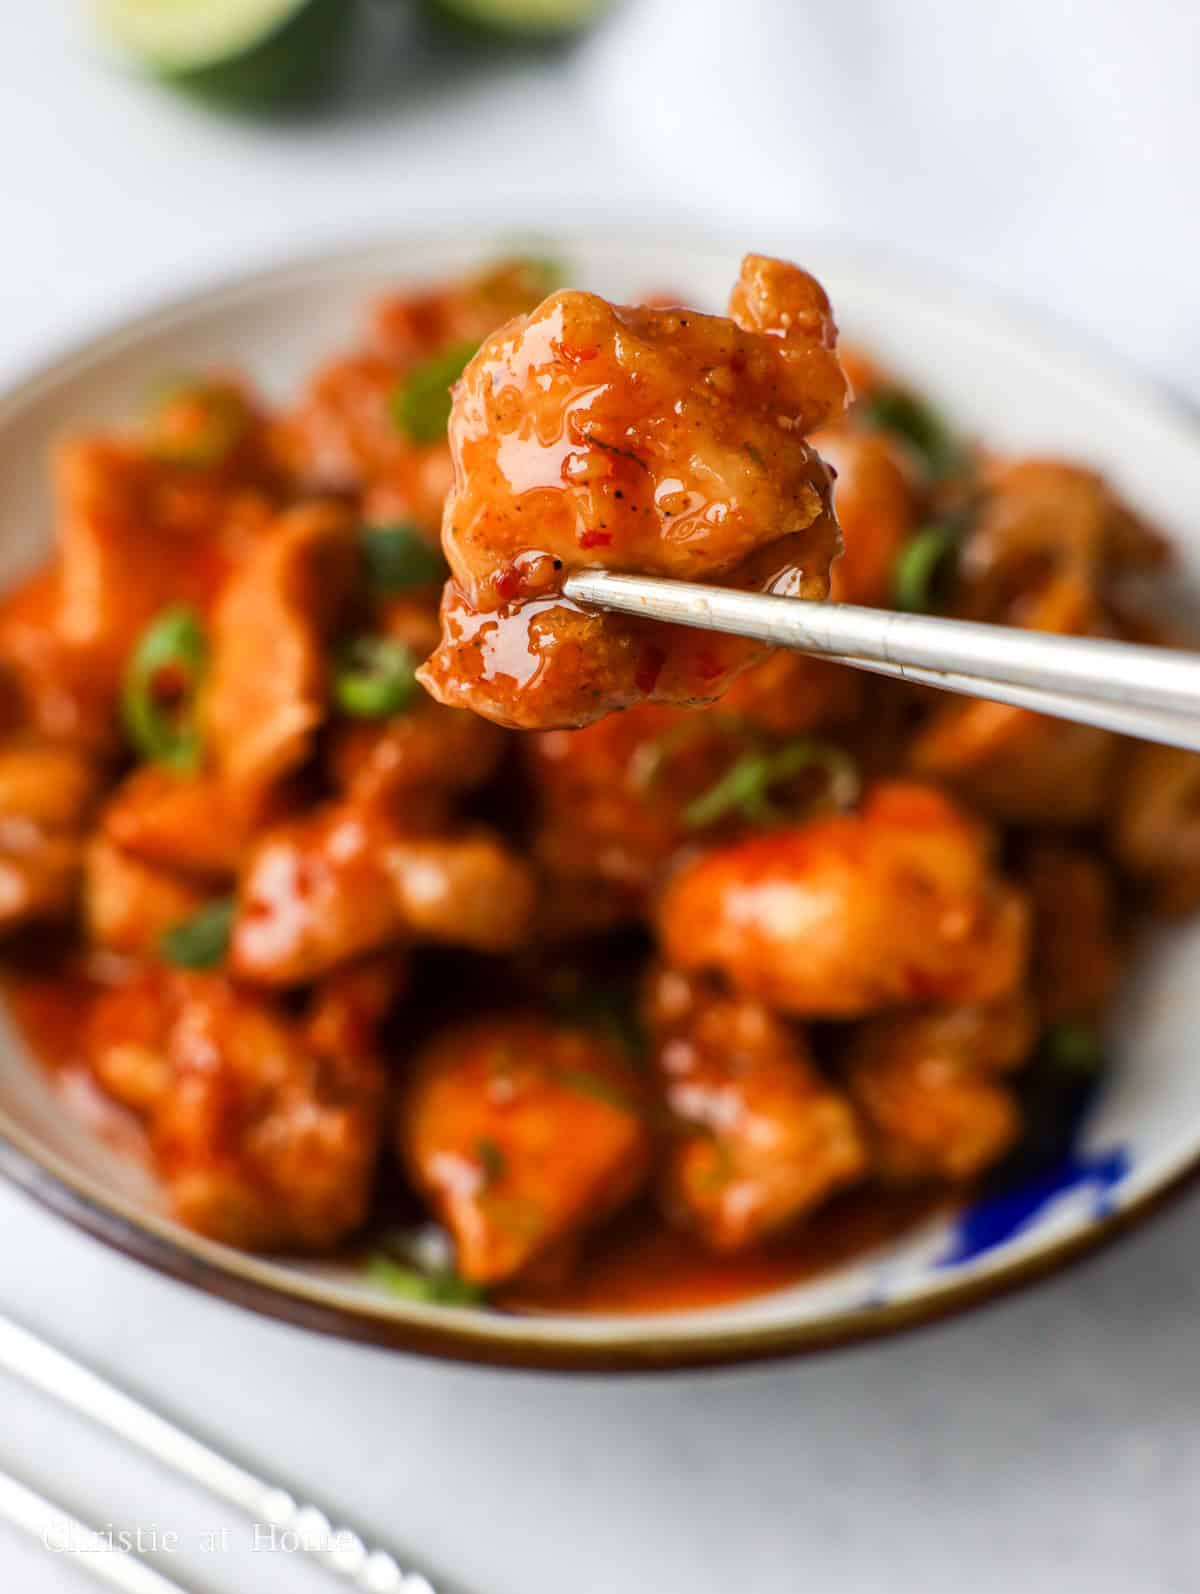
When I make this dish for dinner, I fry the chicken in small batches to keep the oil hot so the coating stays crispy instead of soggy. I also toss the chicken in the glaze just before serving to prevent the crispy coating from absorbing moisture and softening.
Ingredients & Substitutes
Exact ingredient amounts are listed in the recipe card at the bottom of this page.
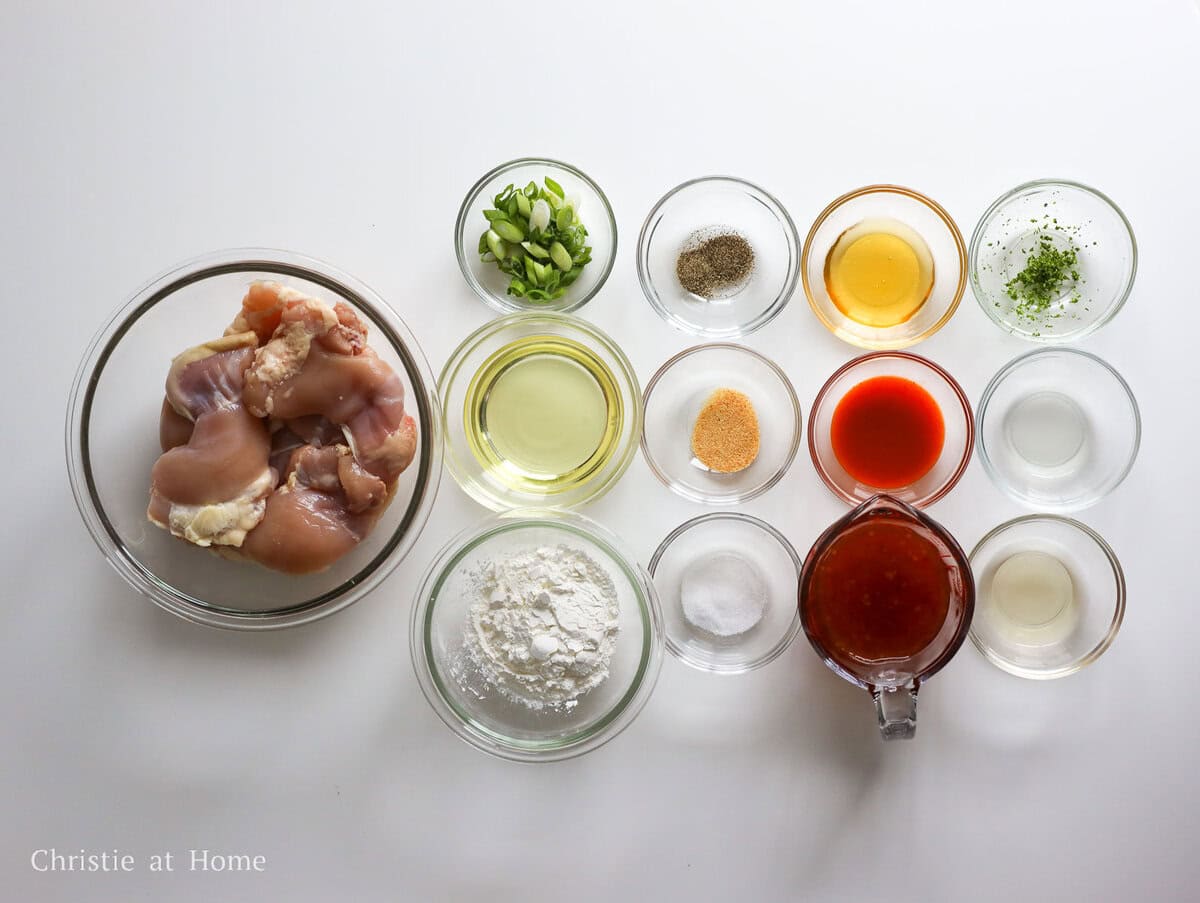
- Chicken Thighs: Use boneless, skinless chicken thighs because their higher fat content keeps them juicy during frying. Chicken breast also works but requires a shorter cooking time since it's leaner and more prone to drying out.
- Cornstarch: Creates a light, crispy coating without a wet batter. Potato starch also works, but avoid tapioca or arrowroot starch because the chicken pieces can stick together.
- Vegetable Oil: Or use a neutral oil with a high smoke point, such as canola or refined avocado oil.
- Garlic Powder: Avoid fresh minced garlic because it can burn in the hot frying oil.
- Salt & Black Pepper
- Green Onions
Sauce
- Sweet Chili Sauce: The base of the glaze, giving it a sticky consistency and sweet, tangy, mildly spicy flavor. I prefer Mae Ploy for its balanced flavor.
- Sriracha Sauce: Adds garlicky heat to balance the sweetness of the chili sauce and honey. I prefer Huy Fong sriracha for its classic flavor. Adjust to taste depending on how spicy you want the sauce.
- Honey: Adds extra sweetness and helps the glaze cling to the crispy chicken. Use plain liquid honey.
- Rice Vinegar: Adds acidity to balance the sweetness of the glaze. Apple cider vinegar also works for a slightly sharper flavor.
- Fresh Lime Juice: Adds a fresh, citrusy tang that brightens the sweet and spicy glaze.
- Freshly Grated Lime Zest: Adds a stronger lime aroma without making the glaze more acidic. Don't skip it for the best lime flavor.
Expert Tips
- Use a cooking thermometer to keep the oil at 325-350°F for a crispy, evenly fried coating.
- For extra crispiness, press the cornstarch onto the chicken to create rough edges that crisp up during frying.
- Coat the chicken just before frying to prevent moisture from making the cornstarch coating soggy.
- Shake off loose cornstarch to prevent excess starch from falling into the oil and burning.
- Remove browned bits between batches to prevent leftover cornstarch from burning and giving the chicken a bitter taste.
- Toss with sauce just before serving to prevent the crispy coating from absorbing moisture and softening.
Instructions
Below are step-by-step instructions on how to make sweet chili chicken:
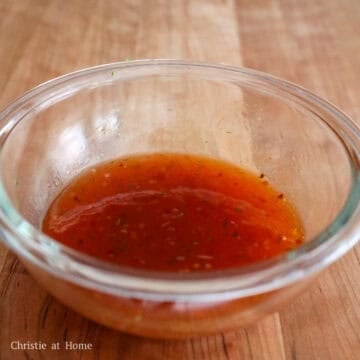
- Whisk the glaze: In a small bowl, combine all the listed sauce ingredients and whisk until smooth. Set aside.

- Prep the chicken: Cut each chicken thigh into even 1.5-inch pieces and transfer to a large mixing bowl. Don't pat the chicken dry; a little surface moisture helps the cornstarch stick.

- Season and coat: Season the chicken with salt, garlic powder, and black pepper. Add the cornstarch and toss until every piece is evenly coated. If wet spots remain, add 1-2 tablespoons more cornstarch as needed.
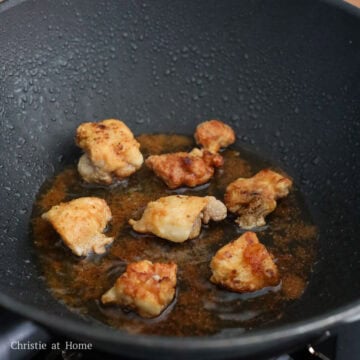
- Fry the chicken: Heat vegetable oil in a large, heavy-bottomed pan over medium heat to 350°F. Fry the chicken in a single layer, working in small batches, for about 6-7 minutes per batch. Leave the chicken undisturbed until the bottom is golden and the crust has set before flipping. Cook until both sides are golden and the internal temperature reaches 165°F.
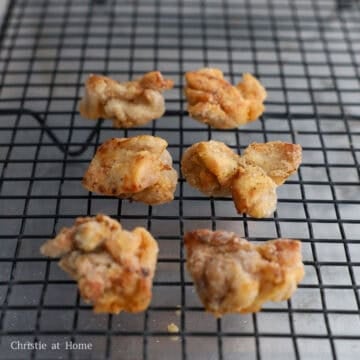
- Drain the chicken: Transfer the fried chicken to a wire rack to allow excess oil to drain and keep the coating crispy. Remove any browned bits from the oil and let it reheat to 350°F between batches.
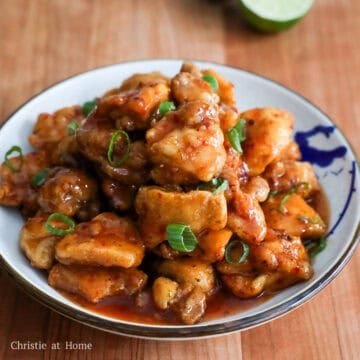
- Toss in the glaze: Transfer the crispy chicken to a clean large mixing bowl. Right before serving, pour the prepared sauce over the chicken and gently toss until every piece is evenly coated. Garnish with chopped green onions. Serve immediately.
Storage & Reheating
- Refrigerator: Store leftover sweet chili chicken in an airtight container for up to 4 days.
- Freezer: Let leftover chicken cool, then transfer it to a freezer-safe bag and freeze for up to 2 months. Thaw overnight in the refrigerator before reheating. The coating will soften after thawing.
- Reheating: Reheat in the microwave in 1-minute intervals, stirring between intervals, or in the oven at 350°F for about 10–15 minutes, until heated through to 165°F.
Variations
- Gluten-Free: Use certified gluten-free sweet chili sauce and sriracha, checking the labels to be sure.
- Less Spicy: Reduce or omit the sriracha for a milder glaze.
Pairing Suggestions
Serve crispy sweet chili chicken with:
- Hot and Sour Soup: The tangy broth balances the sweet chicken.
- Egg Fried Rice: Savory rice complements the sweet chili glaze.
- Chinese Garlic Choy Sum: Garlicky greens balance the rich chicken.
FAQ
The oil may be too cool or the pan may be overcrowded. Keep the oil between 325°F and 350°F and fry in small batches so the chicken crisps instead of steaming.
Yes! Lightly spray the air fryer basket with oil. Arrange the cornstarch-coated chicken in a single layer, working in batches, and spray the chicken with oil. Air fry each batch at 400°F for about 10-14 minutes, without flipping, until golden and crispy and the internal temperature reaches 165°F. Prepare the sauce as directed in the recipe card, then toss with the air-fried chicken. Serve immediately.
More Like This
Check out my other chicken recipes:
📖 Recipe

Easy Sweet Chili Chicken (30 Minutes)

Ingredients
- 1 lb skinless boneless chicken thighs
- ⅓ cup cornstarch add more if needed
- ⅓ cup vegetable oil or any neutral oil
- ½ teaspoon salt
- ½ teaspoon garlic powder
- ¼ teaspoon black pepper
- 1 green onion finely chopped
Sauce
- ½ cup sweet chili sauce
- 1 tablespoon sriracha
- 1 tablespoon honey
- 1 tablespoon rice vinegar
- 1 teaspoon lime juice freshly squeezed
- ½ teaspoon lime zest freshly grated
Instructions
- In a small bowl, combine all the listed sauce ingredients and whisk until smooth. Set aside.
- Cut each chicken thigh into even 1.5-inch pieces and transfer to a large mixing bowl. Don't pat the chicken dry; a little surface moisture helps the cornstarch stick.
- Season the chicken with salt, garlic powder, and black pepper. Add the cornstarch and toss until every piece is evenly coated. If wet spots remain, add 1-2 tablespoons more cornstarch as needed.
- Heat vegetable oil in a large, heavy-bottomed pan over medium heat to 350°F. Fry the chicken in a single layer, working in small batches, for about 6-7 minutes per batch. Leave the chicken undisturbed until the bottom is golden and the crust has set before flipping. Cook until both sides are golden and the internal temperature reaches 165°F.
- Transfer the fried chicken to a wire rack to allow excess oil to drain and keep the coating crispy. Remove any browned bits from the oil and let it reheat to 350°F between batches.
- Transfer the crispy chicken to a clean large mixing bowl. Right before serving, pour the prepared sauce over the chicken and gently toss until every piece is evenly coated. Garnish with chopped green onions. Serve immediately.
Maria
This was SOOOOO GOOD and not to mention, EASY and FAST! I couldn't believe how flavorful it was for such a simple recipe. Thank you!
Christie Lai
Thank you so much for the kind comment Maria! Glad you enjoyed it and found it quick and easy.
Claude
Excellent and easy recipe
Christie Lai
Thanks so much for making my recipe, Claude! I hope you consider giving it a 5-star review.