

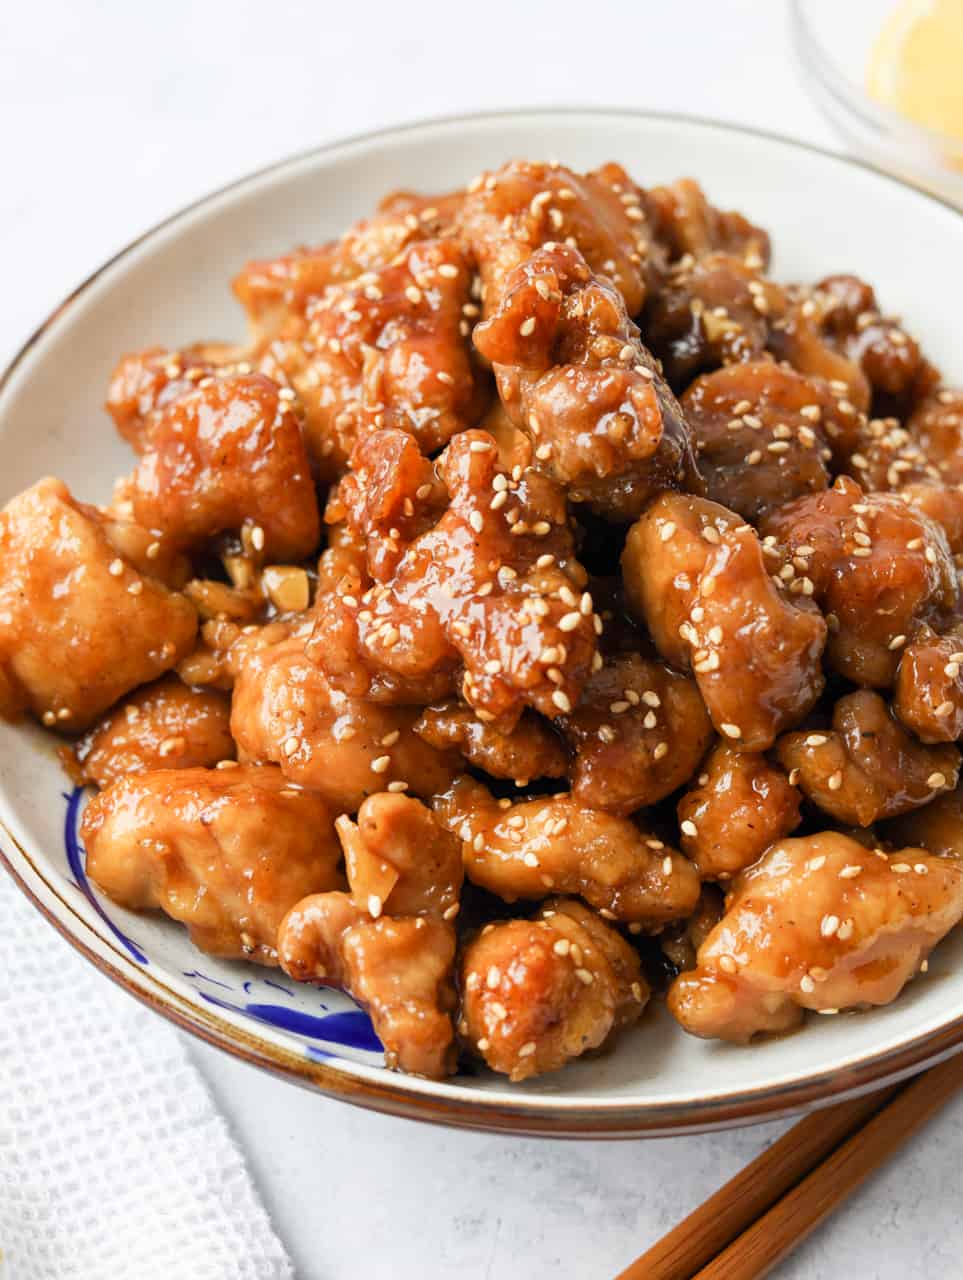
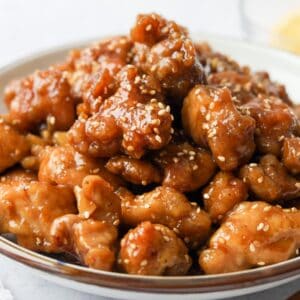
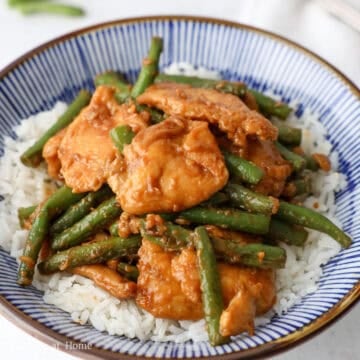
Crispy fried chicken coated in a sweet, tangy, and savory lemon sauce. This easy Chinese lemon chicken recipe is ready in just 30 minutes with simple ingredients. It's crisp, saucy, and perfect for busy weeknights.
Jump to:
Chinese lemon chicken is a popular Chinese takeout dish that is like the underrated cousin to Orange Chicken, except it's made with fresh lemon juice. This dish originated in Hong Kong and has become popular across North America for its bright, tangy citrus flavor and crisp coating.
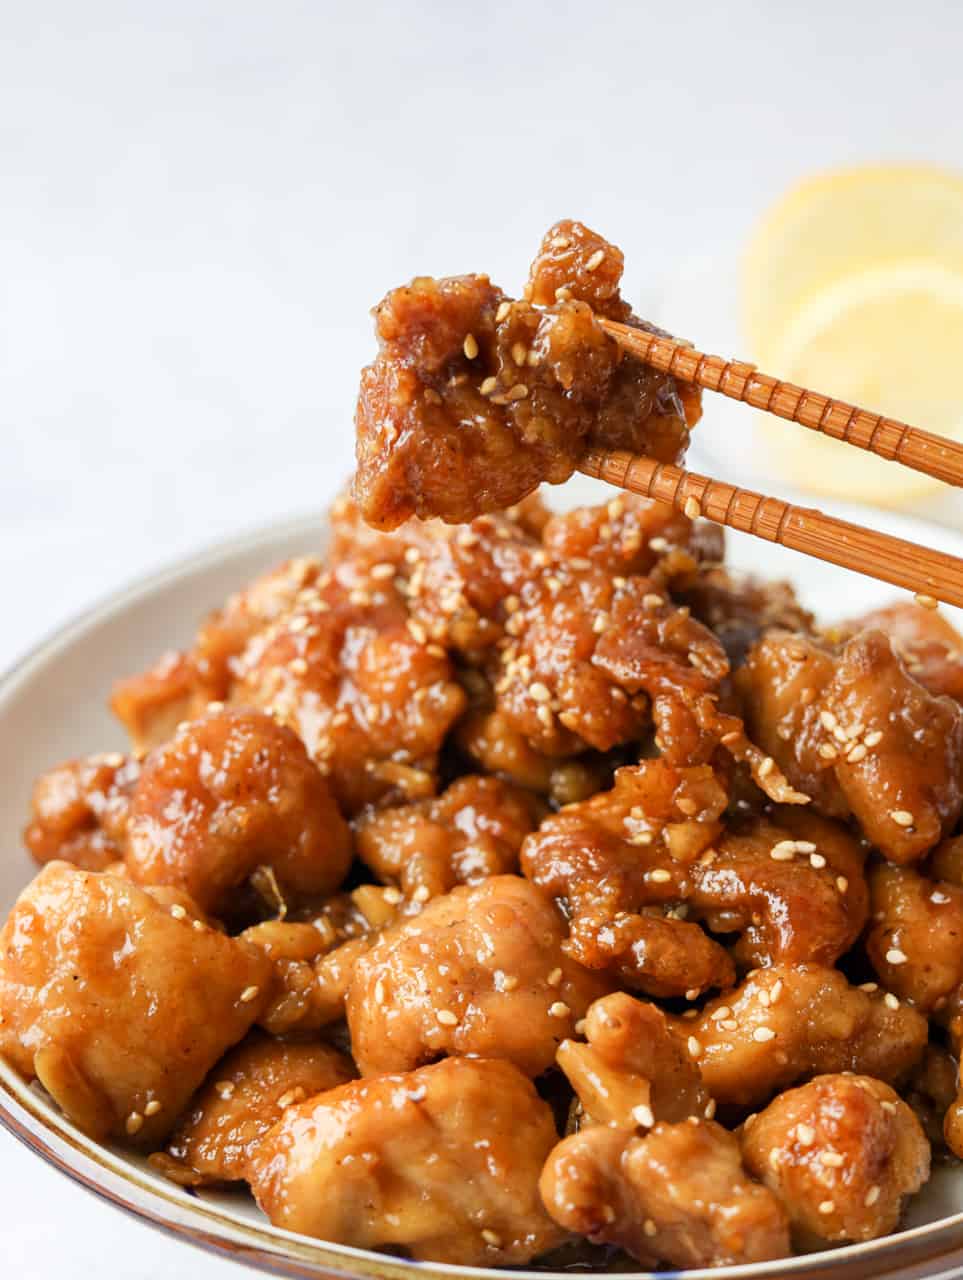
The best part about my version is that the chicken is shallow-fried, not deep-fried, yet still turns out incredibly crispy. The trick is to coat the chicken evenly in cornstarch, then leave it undisturbed in hot oil until the crust sets before flipping.
Why It Works
- Dry coating: Cornstarch creates a crisp crust without the extra work of a wet batter.
- Hot oil: A heavy-bottomed pan and small batches keep the oil at 350°F, helping the coating fry crisp instead of turning soggy.
- Last-minute saucing: Tossing the chicken in the lemon sauce just before serving keeps the crust from softening.
Ingredients & Substitutes
Exact ingredient amounts are listed in the recipe card at the bottom of this page.
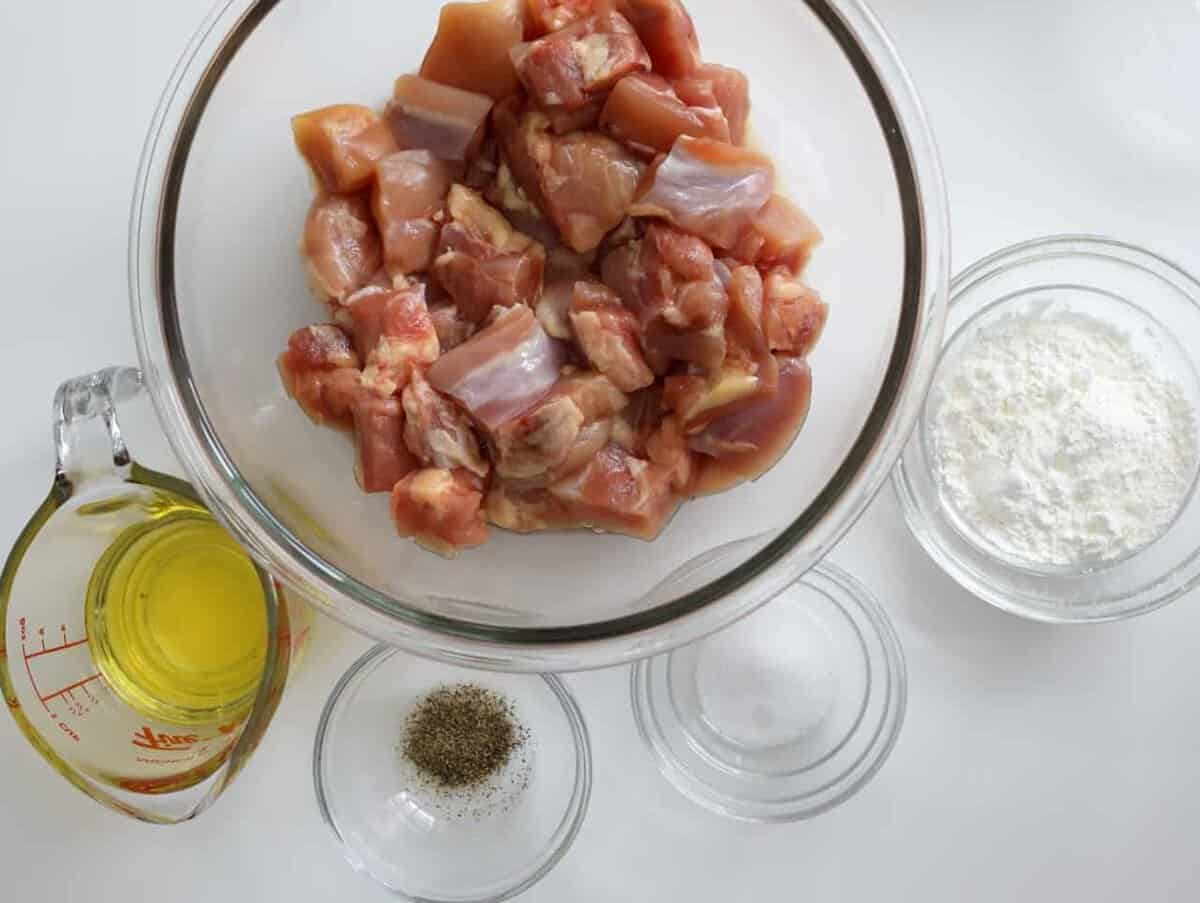
- Chicken Thighs: Boneless, skinless thighs stay juicy during frying. Chicken breast also works but will be leaner.
- Cornstarch: Creates the crispy coating. Potato starch works too, but avoid tapioca or arrowroot starch because the chicken pieces can stick together.
- Vegetable Oil: Choose a neutral, high-smoke-point oil for frying. Canola or refined avocado oil works too.
- Salt & Black Pepper
- Toasted Sesame Seeds: Look for toasted or roasted sesame seeds, or toast raw seeds in a dry pan until fragrant.
- Lemon Slices (optional): For garnishing.
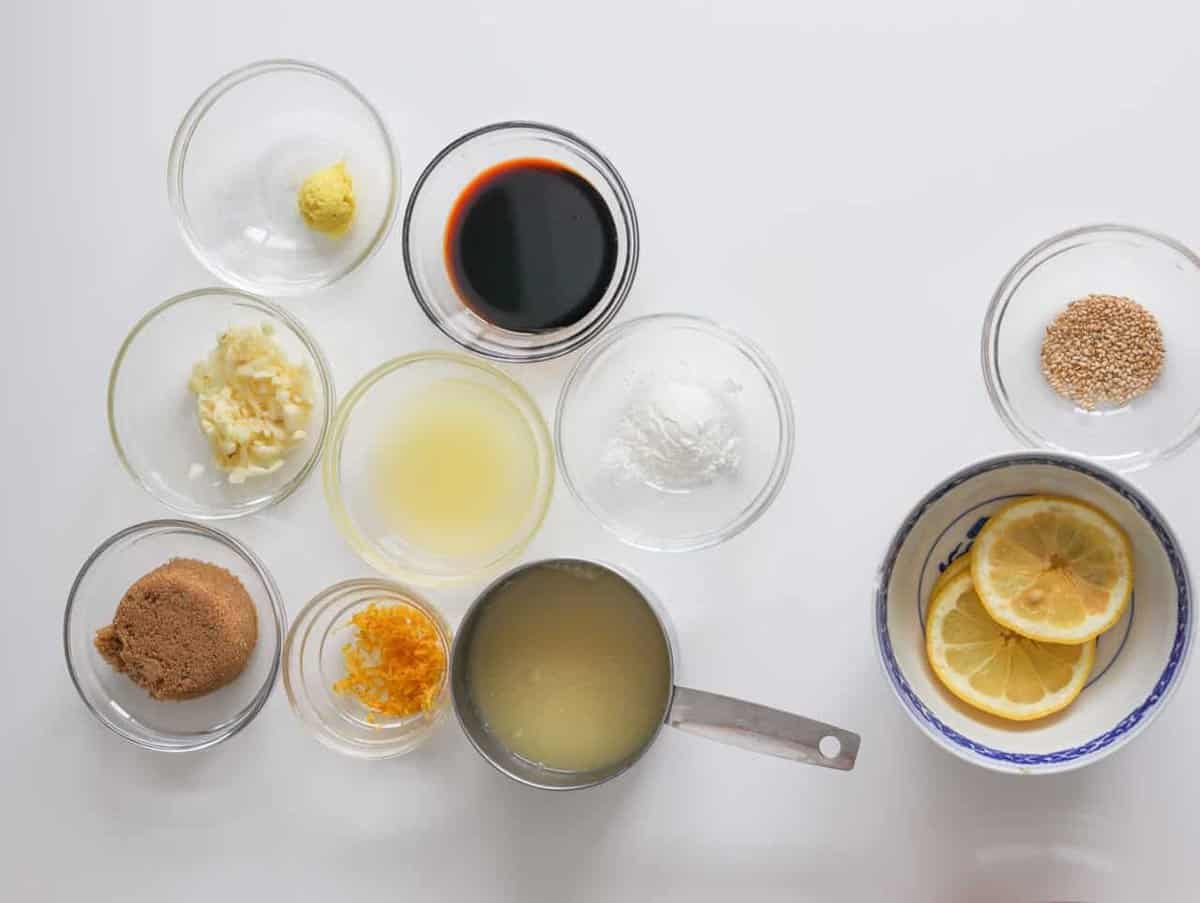
Lemon Sauce
- Lemon Juice: Use freshly squeezed lemon juice and avoid artificial lemon juice, which can taste harsh.
- Brown Sugar: I prefer light brown sugar, but dark brown sugar works too.
- Garlic: Fresh garlic works best in the sauce.
- Ginger
- Lemon Zest: Use freshly grated zest for a stronger lemon flavor and don't skip this ingredient.
- Regular Soy Sauce: Light soy sauce also works, while low-sodium soy sauce will make the sauce less salty.
- Chicken Stock: Use low-sodium stock to better control the saltiness.
- Cornstarch: Thickens the sauce so it clings to the chicken. Potato starch or tapioca starch works too.
Note: Asian ingredients are typically available at most Asian grocery stores or online.
Expert Tips
- Press chicken into cornstarch to build rough edges that turn extra crisp when fried.
- Shake off excess cornstarch to keep loose starch from falling into the oil and burning.
- Fry coated chicken right away before the cornstarch pulls in moisture and softens.
Instructions
Below are step-by-step instructions on how to make Chinese lemon chicken:

- Make the sauce: In a small bowl, whisk together the listed sauce ingredients until the sugar fully dissolves. Set aside.
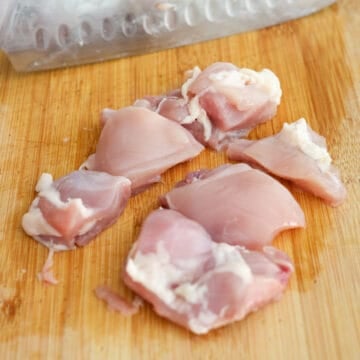
- Prepare the chicken: Dice the chicken thighs into even 1.5-inch pieces. Don't pat them dry; the natural surface moisture helps the cornstarch stick.
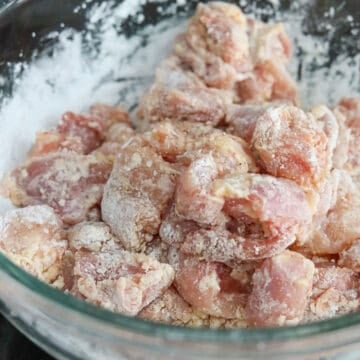
- Coat the chicken: Place the chicken in a large bowl. Season with salt and black pepper. Add the cornstarch, and toss until evenly coated. If wet spots remain, add 1-2 tablespoons more cornstarch as needed.
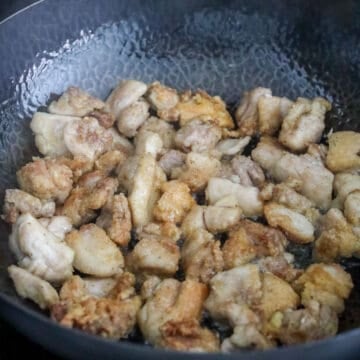
- Fry the chicken: Heat the oil in a large, heavy-bottomed pan over medium-high heat to 350°F. Fry the chicken in small batches for 5-7 minutes total. Don't move the chicken until the bottom is golden and the crust has set; then flip and fry until the other side is golden and the chicken reaches 165°F. Between batches, return the oil to 350°F and remove browned bits. Drain on a wire rack to keep the crust crisp.
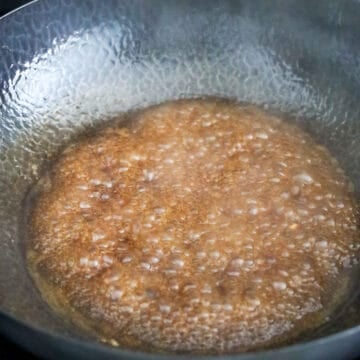
- Thicken the sauce: Remove any remaining oil from the pan and reduce the heat to medium. Whisk the sauce again, pour it into the pan, and simmer for 30-45 seconds or until thick enough to coat the back of a spoon.

- Finish and serve: Quickly toss the fried chicken in the thickened sauce. Garnish with sesame seeds and lemon slices, then serve immediately.
Variation
- Gluten-free version: Use tamari or gluten-free soy sauce in place of regular soy sauce, and make sure the chicken stock is certified gluten-free.
Pairing Suggestions
Serve crispy lemon chicken with:
- Egg Fried Rice: Savory rice rounds out the sweet and tangy chicken.
- Chinese Garlic Gai Lan: Crisp greens balance the rich, fried coating.
- Egg Drop Soup: A light starter that pairs well with the bold lemon sauce.
Storage & Reheating
- Refrigerator: If possible, store the chicken and sauce separately in airtight containers for up to 3 days to help keep the chicken crisp.
- Freezer: If possible, freeze the chicken and sauce separately for up to 2 months. Thaw overnight in the refrigerator; the coating will be less crisp after freezing.
- Reheating: For chicken stored separately, air fry at 350°F for 5 minutes or bake at 400°F for 8 minutes. Warm the sauce over low heat with a splash of water, then toss together. For sauced chicken, air fry at 350°F for 8 minutes or bake at 400°F for 12 minutes.
FAQ
The oil was likely too cool, the pan was overcrowded, or the coated chicken sat too long before frying. Keep the oil at 325-350°F and fry the chicken immediately after coating.
The sauce was likely cooked too long. Stir in a small splash of water over low heat until it loosens and turns glossy again.
Yes. Lightly spray the basket and coated chicken with oil, then air fry in a single layer at 400°F for 10-14 minutes, flipping is not required. Cook in batches as needed until the chicken is golden and crispy and reaches an internal temperature of 165°F. Simmer the sauce separately, then toss with the chicken just before serving.
More Like This
Check out my other Asian chicken recipes:
📖 Recipe
Easy 30-Minute Chinese Lemon Chicken

Ingredients
- 1 lbs skinless boneless chicken thighs
- ⅓ cup cornstarch
- ⅓ cup vegetable oil or any neutral oil
- ½ teaspoon salt
- ¼ teaspoon black pepper
- 1 teaspoon sesame seeds toasted kind
- 2-3 lemon slices optional
Lemon Sauce:
- ¼ cup brown sugar
- 3 garlic cloves minced
- ½ teaspoon ginger grated
- 1 teaspoon lemon zest
- 2 tablespoon lemon juice freshly-squeezed
- 2 tablespoon regular soy sauce or light soy sauce
- ½ cup chicken stock low-sodium
- ½ tablespoon cornstarch
Instructions
- In a small bowl, whisk together the listed sauce ingredients until the sugar fully dissolves. Set aside.
- Dice the chicken thighs into even 1.5-inch pieces. Don't pat them dry; the natural surface moisture helps the cornstarch stick.
- Place the chicken in a large bowl. Season with salt and black pepper. Add the cornstarch, and toss until evenly coated. If wet spots remain, add 1-2 tablespoons more cornstarch as needed.
- Heat the oil in a large, heavy-bottomed pan over medium-high heat to 350°F. Fry the chicken in small batches for 5-7 minutes total. Don't move the chicken until the bottom is golden and the crust has set; then flip and fry until the other side is golden and the chicken reaches 165°F. Between batches, return the oil to 350°F and remove browned bits. Drain on a wire rack to keep the crust crisp.
- Remove any remaining oil from the pan and reduce the heat to medium. Whisk the sauce again, pour it into the pan, and simmer for 30-45 seconds or until thick enough to coat the back of a spoon.
- Quickly toss the fried chicken in the thickened sauce. Garnish with sesame seeds and lemon slices, then serve immediately.
Rebecca
Superb recipe. Did it as stated and served with jasmine rice and broccoli. Excellent.
Christie Lai
Thank you so much for the positive feedback and for making my recipe! Glad you enjoyed it!
Lynn
Made this recipe and my 3 and 5 year old grandkids loved it, as well as all the adults!
Christie Lai
Thank you so much for making it and glad the whole family enjoyed it!
Elsine
I tried it tonight with vegetable fried rice and stir fried carrots and snow peas. My teenagers even liked it!
Christie Lai
Thank you so much for making my recipe and so glad the whole family liked it!
Alice Rutherford
Delicious i airfried and it was delicious
Christie Lai
Thank you so much for making my recipe and so glad you liked it!
Andy M.
This was yummy, and was easy enough for a novice.
I air fried my chicken for 14 minutes as listed, shaking up the basket (to flip over the pieces) once when the fryer told me to.
I have a miniature fryer and it took me two batches to cook the ~1lb of chicken.
The chicken came out crispy, and after adding it to the sauce it looked as good as takeout.
I did notice one minor issue: The recipe never specified what to do with the salt and pepper. Since they're listed with the chicken portion, I added them to the cornstarch before using it to coat the chicken.
Christie Lai
Thank you so much for sharing your positive review and for making my recipe! So glad it all worked out well. Thank you for flagging the minor error, it has been now corrected in the recipe card 🙂
Steph
looks great, I want to confirm is it 5-6 minutes in total or on each side?
Christie Lai
Thank you! Around 5-6 minutes on each side or until you notice the chicken pieces have become golden brown.
Ana Carolina
Fiz hoje esse frango e ficou muito bom. Receita bem fácil de fazer.
Obrigada.