

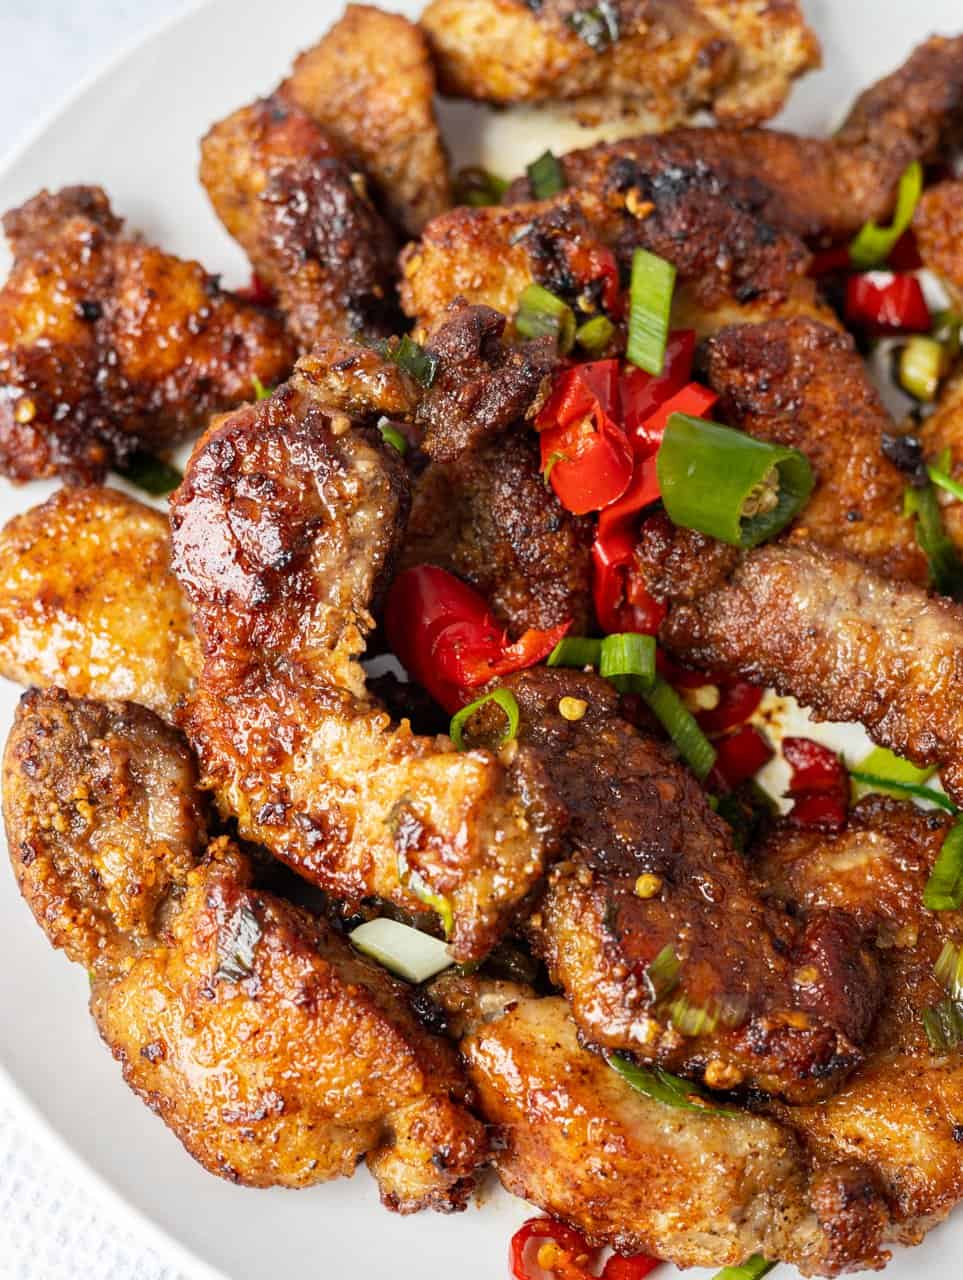
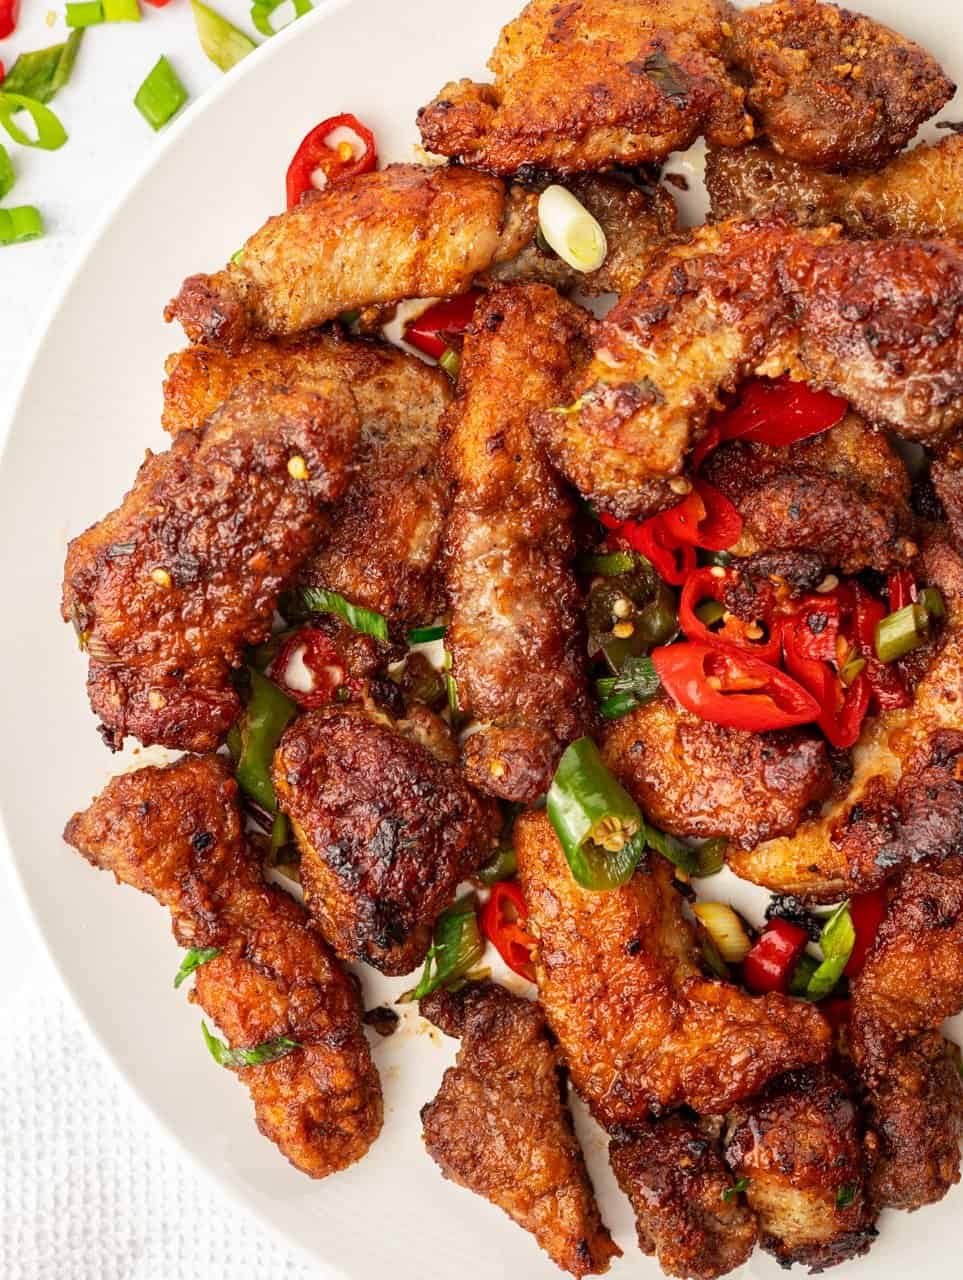
Crispy pork is tossed with chilies, green onions, ginger, and a savory salt and pepper seasoning. This easy Chinese salt and pepper pork recipe is ready in just 30 minutes. The pork stays tender and juicy inside with thin, crispy edges.
Jump to:
Chinese salt and pepper pork (椒盐猪肉) is a popular Cantonese-style dish made with crispy fried pork tossed with chilies, aromatics, salt, and pepper. It's one of my favorite pork dishes and it pairs well with steamed rice.
I've ordered this takeaway favorite too many times to count and eventually had to make my own version at home. I found that pounding the pork with a meat mallet breaks down tough muscle fibers and evens out the thickness, helping it cook up tender and juicy.
Ingredients & Substitutes
Exact ingredient amounts are listed in the recipe card at the bottom of this page.
- Boneless Pork Shoulder Steaks: Choose well-marbled steaks for juicy, tender pork. If you can't find steaks, slice a whole pork shoulder into 1.5-inch-wide x 3-inch-long pieces that are about 3⁄4 inch thick. You'll pound them thinner before frying.
- Red Chilies & Green Chili: Thinly sliced. Deseed the red and green chilies if you prefer less heat.
- Green Onion: Finely chopped.
- Fresh Ginger: Thinly sliced.
- White Granulated Sugar
- Shaoxing Wine: Dry sherry also works.
- Vegetable Oil: Use a neutral, high-smoke-point oil. Canola, refined avocado, or peanut oil also work.
- Salt & Black Pepper
Pork Marinade
- Shaoxing Wine: Dry sherry also works.
- Salt & Black Pepper
- Cornstarch: Creates a thin, crisp coating on the pork. Potato starch also works. Avoid using tapioca starch, as it can cause the pork to stick together.
Note: Asian ingredients are typically available at most Asian grocery stores or online.
Expert Tips
- Pound pork under plastic wrap to prevent raw meat juices from splattering.
- Pound to an even thickness so the pork cooks evenly and stays tender.
- Don't pound pork too thin or it can overcook before the coating turns golden and crisp.
Instructions
Below are step-by-step instructions on how to make salt and pepper pork:
- Prepare the pork: Cut the pork steaks into 1.5-inch-wide x 3-inch-long strips. Place the pork under plastic wrap and pound each piece with a meat mallet or the back of a knife until about 1⁄2 inch thick. Transfer to a large bowl.
- Marinate and coat: Add Shaoxing wine, salt, and black pepper to the pork and mix well. Add the cornstarch and toss until every piece is evenly coated. If any areas remain uncoated, add 1-2 tablespoons more cornstarch as needed.
- Fry the pork: Heat the oil in a large heavy-bottomed pan over medium heat to 350°F. Shake off any loose cornstarch, then carefully add the pork to the hot oil in small batches in a single layer without overcrowding. Fry until golden brown on both sides and cooked through. The pork should reach an internal temperature of 145°F (63°C).
- Drain the pork: Transfer the fried pork to a wire rack to drain. Remove any browned starch bits from the oil, let the oil return to 350°F, and repeat with the remaining pork.
- Cook the aromatics: Carefully remove all but 1 teaspoon of oil from the pan. Add the red chilies, green chili, green onion, ginger, and sugar. Stir-fry for about 10 seconds until fragrant, then add the Shaoxing wine.
- Finish the dish: Return the crispy pork to the pan and toss with the aromatics for 20 seconds. Remove from the heat, season with salt and black pepper to taste, and serve immediately.
Storage & Reheating
- Refrigerator: Store leftovers in an airtight container in the refrigerator for up to 4 days.
- Freezer: Freeze the cooked pork in a freezer-safe bag for up to 3 months. Thaw overnight in the refrigerator before reheating.
- Reheating: Reheat in the air fryer at 375°F for 4-6 minutes or in the oven at 400°F for 8-10 minutes, until hot and crisp.
Variations
- Gluten-Free: Replace the Shaoxing wine with dry sherry.
- Extra Spicy: Use Thai bird's eye chilies instead of the red chili for more heat.
- Air Fryer Method: Lightly spray the air fryer basket with oil. Arrange the coated pork in a single layer, working in batches as needed. Spray the pork with oil and air fry at 400°F for 10-14 minutes, flipping halfway through, until golden and cooked to 145°F. Toss with the stir-fried aromatics as directed.
Pairing Suggestions
Serve Chinese salt and pepper pork with:
- Egg Fried Rice: Its mild, savory flavor balances the bold salt and pepper pork.
- Garlic Bok Choy: The tender-crisp greens add freshness and balance the richness.
- Crab Rangoon: The creamy filling makes a contrasting starter alongside the savory pork.
FAQ
The pork may have been pounded unevenly or overcooked. Pound it evenly to about 1⁄2 inch thick and cook just until it reaches 145°F internally.
The oil may not have been hot enough or the pan may have been overcrowded. Heat the oil to 350°F, fry in small batches, and let it return to 350°F between batches.
More Like This
If you love salt and pepper recipes, check out my Salt and Pepper Shrimp and Salt and Pepper Chicken.
📖 Recipe
Easy Chinese Salt and Pepper Pork (30 Minutes)

Ingredients
- 1.65 lb boneless pork shoulder steaks well-marbled, ¾-inch-thick
- ¼ cup vegetable oil or any neutral oil
- 2 large red chili pepper sliced
- 1 large green chili pepper sliced
- 2 green onions finely chopped
- 1 teaspoon ginger thinly sliced
- 1 teaspoon white granulated sugar
- 1 tablespoon Shaoxing Cooking Wine or dry sherry
- salt season to taste
- black pepper season to taste
Pork Marinade
- 2 tablespoon Shaoxing Cooking Wine or dry sherry
- 1 teaspoon salt
- 1 teaspoon black pepper
- ½ cup cornstarch
Instructions
- Cut the pork steaks into 1.5-inch-wide x 3-inch-long strips. Place the pork under plastic wrap and pound each piece with a meat mallet or the back of a knife until about 1⁄2 inch thick. Transfer to a large bowl.
- Add Shaoxing wine, salt, and black pepper to the pork and mix well. Add the cornstarch and toss until every piece is evenly coated. If any areas remain uncoated, add 1-2 tablespoons more cornstarch as needed.
- Heat the oil in a large heavy-bottomed pan over medium heat to 350°F. Shake off any loose cornstarch, then carefully add the pork to the hot oil in small batches in a single layer without overcrowding. Fry until golden brown on both sides and cooked through. The pork should reach an internal temperature of 145°F (63°C).
- Transfer the fried pork to a wire rack to drain. Remove any browned starch bits from the oil, let the oil return to 350°F, and repeat with the remaining pork.
- Carefully remove all but 1 teaspoon of oil from the pan. Add the red chilies, green chili, green onion, ginger, and sugar. Stir-fry for about 10 seconds until fragrant, then add the Shaoxing wine.
- Return the crispy pork to the pan and toss with the aromatics for 20 seconds. Remove from the heat, season with salt and black pepper to taste, and serve immediately.




Joseph
Am I missing something or are the quantities of ingredients missing? How do I find these please? Recipe looks awesome.
Christie Lai
Hi Joseph! The recipe card contains the exact measurements if you click "Jump to Recipe" at the top of the blog post (or scroll down - it's just above the comments section).
Kim
What pork cut do you usually use?
christieathome
I usually use pork shoulder as it contains a good marbling of fat through.
Katherine | Love In My Oven
Looks awesome, Christie!! I'm craving this crispy, salty pork now!! Yum!
christieathome
Thanks so much Katherine!
Heidi | The Frugal Girls
What a fun weeknight dinner! I've never tried this, but I definitely need to... it looks absolutely AMAZING!
Tasia ~ two sugar bugs
This salt and pepper pork looks so crispy and flavorful! It will be a hit at my house!