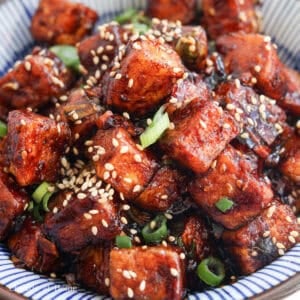
Crispy pan-fried tofu in a garlicky, savoury sauce with umami flavors! This easy crispy soy garlic tofu is ready in 30 minutes with simple ingredients! A delicious main dish for all the tofu-lovers. It's better-than-takeout! [Vegan-adaptable]
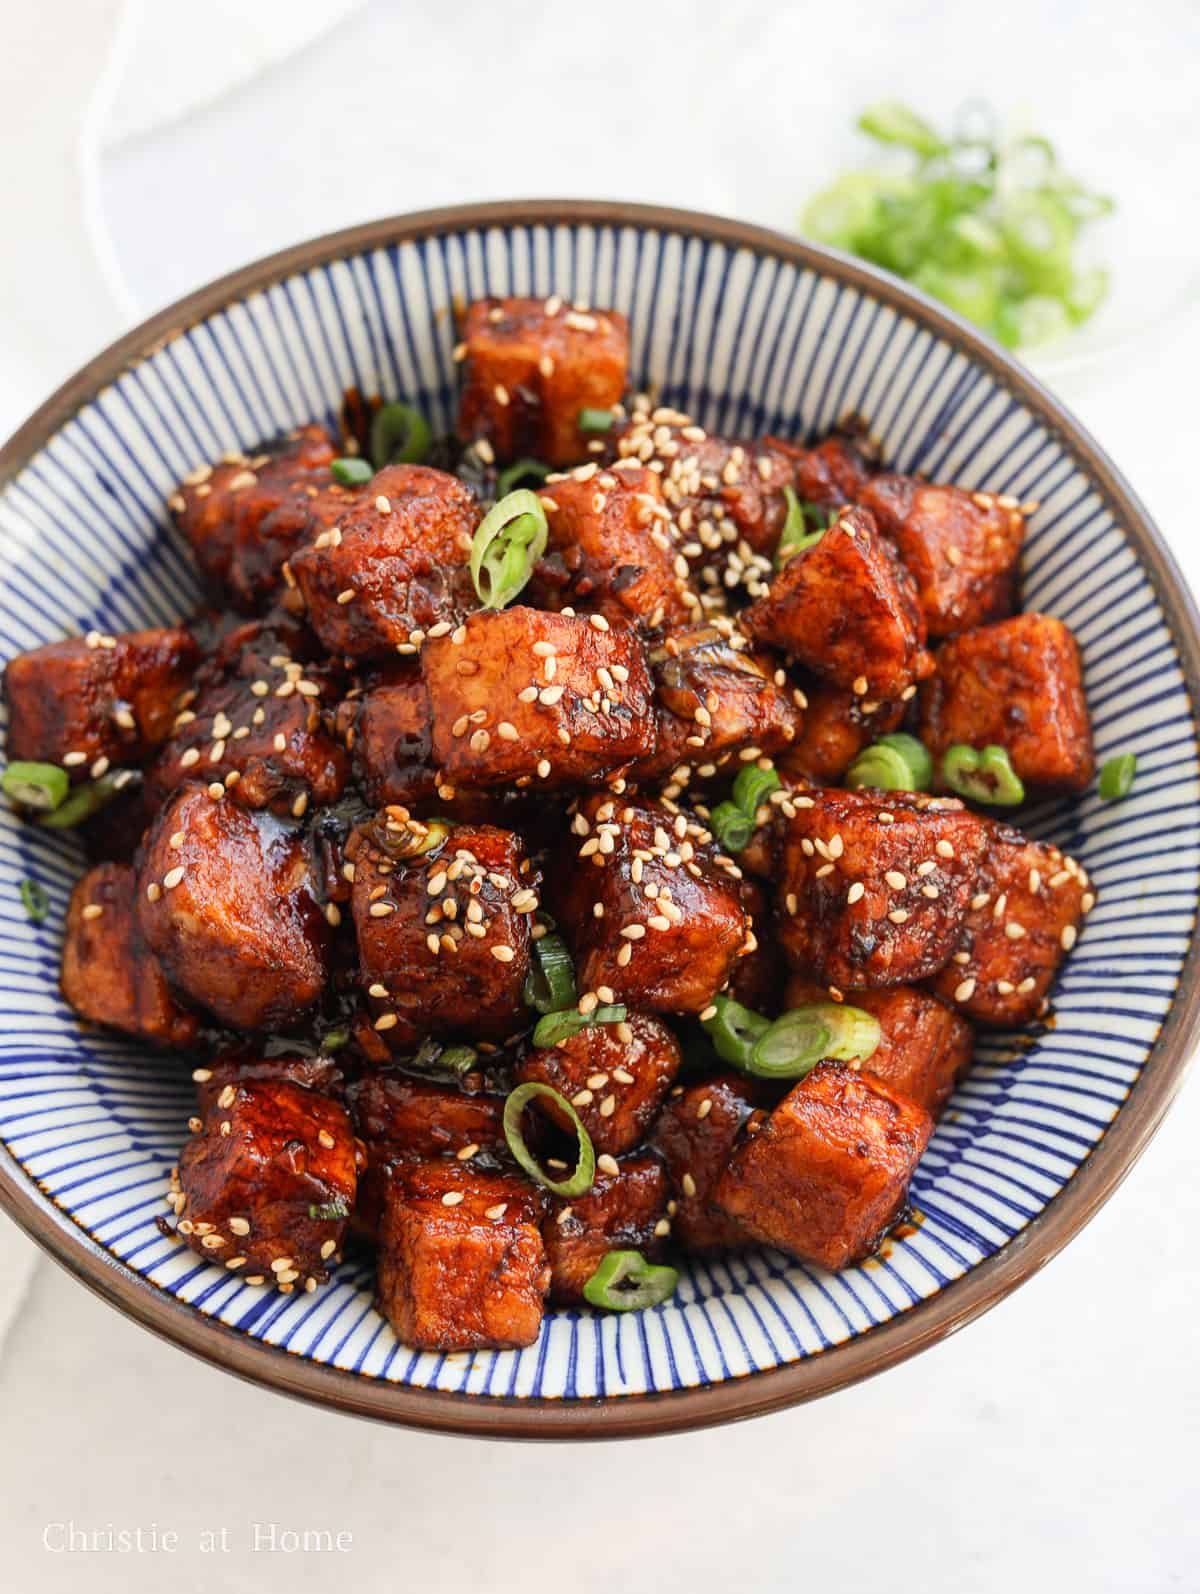
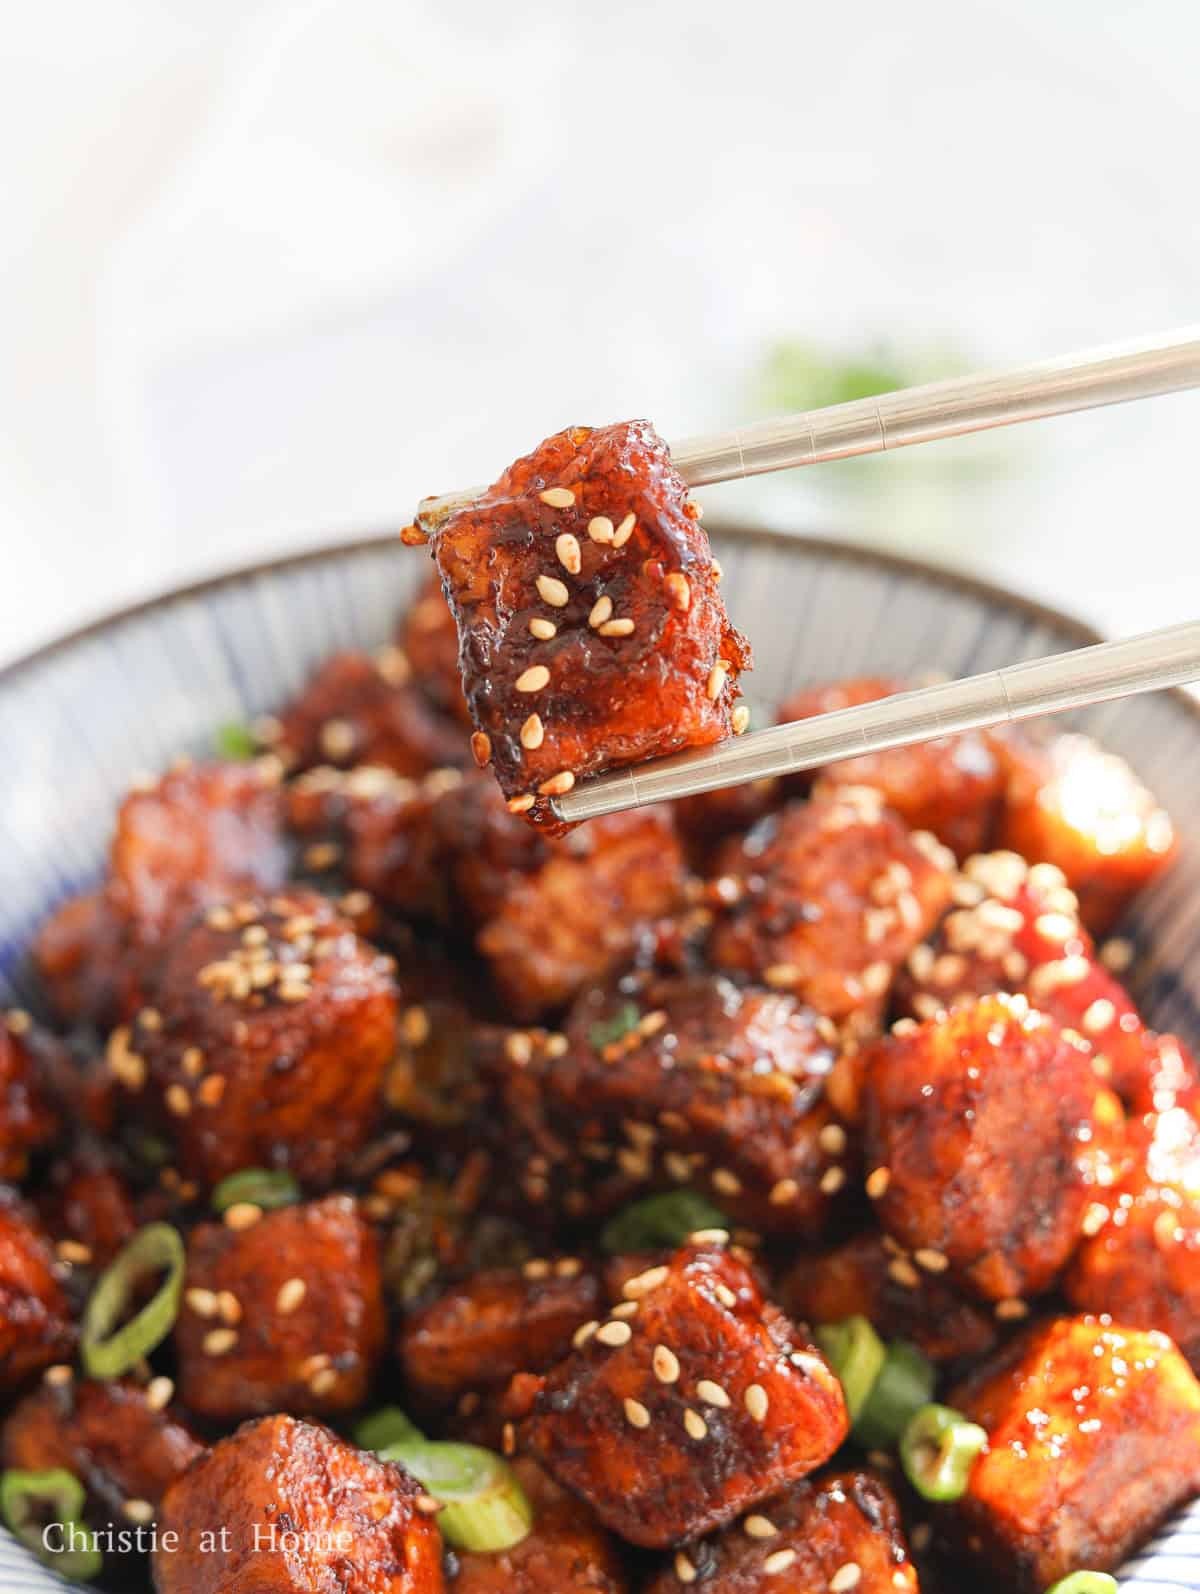
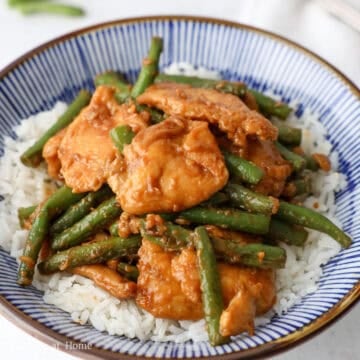
This crispy garlic soy tofu features diced tofu pan-fried until golden and tossed in a savory, garlicky soy-based sauce. It's full of flavor and best paired with steamed rice and vegetables!
It's an easy tofu recipe that you can make at home in little time, if you're craving some Chinese food! Tofu is a great plant based protein for those who are looking to reduce their meat intake and often eaten in Chinese cuisine.
I love making this tofu dish for my husband who prefers eating plant-based proteins. It's also a great recipe that will convert anyone to enjoy tofu because the sauce has an umami flavor, thanks to the soy and oyster sauce.
If you're vegan, vegetarian or you don't enjoy oysters, you can swap the oyster sauce for vegetarian stir fry sauce!
Ingredients & Substitutes
Please scroll down to below recipe card for exact measurements.
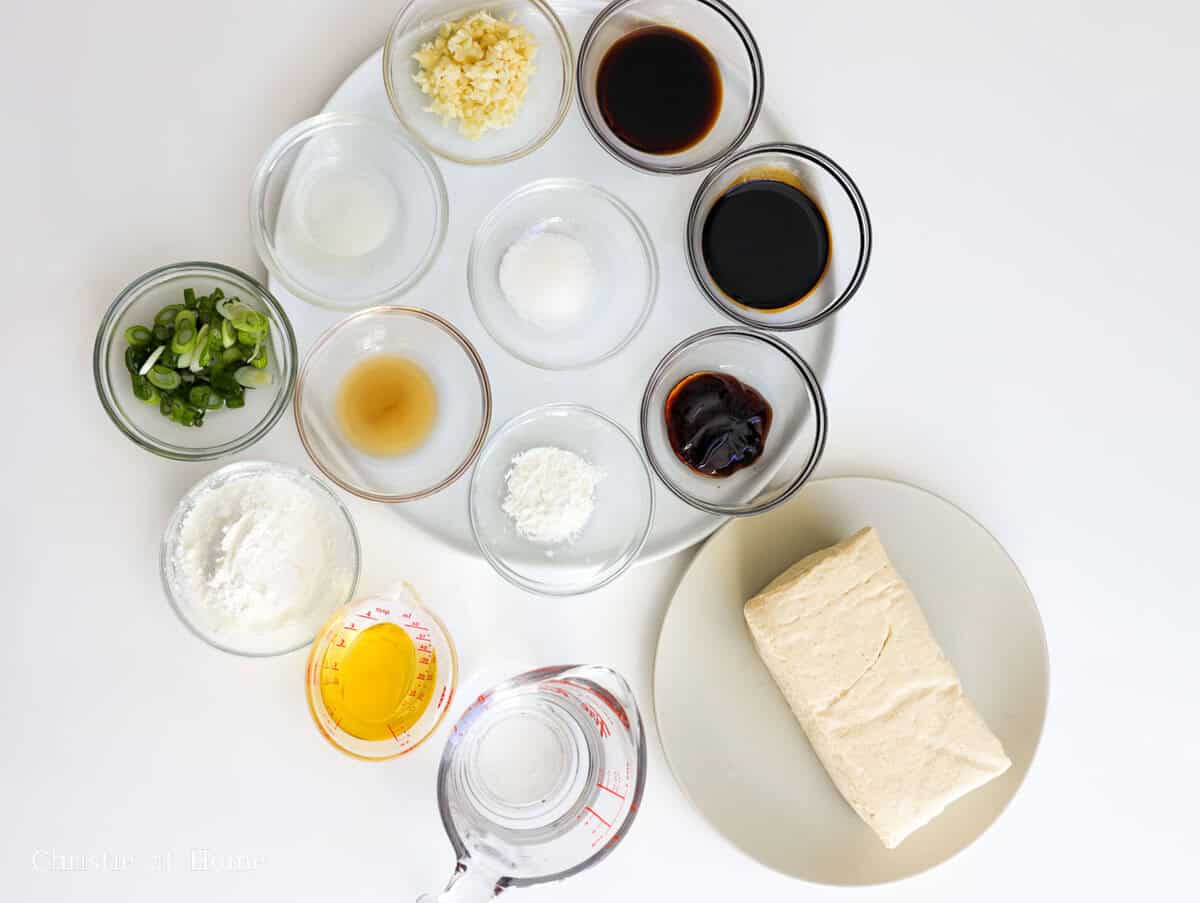
- Extra-Firm Tofu: is recommended. Or substitute with firm tofu but be gentle with it. Avoid using soft to medium tofu or it will break apart easily.
- Neutral oil: like avocado oil, sunflower oil, grapeseed oil, peanut oil, vegetable oil or canola oil with a high smoke point. Avoid olive oil that has a low smoke point.
- Cornstarch: or substitute with potato starch or arrowroot powder. Avoid tapioca starch as this will make the tofu stick to each other.
- Green Onions: for garnishing.
- Sesame Seeds: for garnishing. If you're allergic to sesame, omit this ingredient.
Sauce
- Garlic
- Regular soy sauce: or substitute with low sodium soy sauce or light soy sauce. If you’re gluten-free, substitute with tamari sauce, coconut aminos or a gluten-free soy sauce.
- Dark soy sauce: this is thicker and darker than regular soy sauce. Or substitute with mushroom soy sauce. If you're gluten-free: substitute with a gluten-free dark soy sauce.
- Oyster sauce: this is a thick brown sauce made of oysters that adds a lot of umami flavor. If you're vegan or vegetarian: substitute with vegetarian stir-fry sauce. If you're gluten-free: substitute with a gluten-free version.
- Shaoxing wine: a Chinese rice cooking wine sold at many Asian grocery stores. Or substitute with Dry Sherry or dry white wine. For a non-alcoholic or gluten-free version, omit this ingredient.
- White Granulated Sugar
- Rice Vinegar: or substitute with apple cider vinegar or white vinegar.
- Cornstarch: or substitute with potato starch, arrowroot starch or tapioca starch.
- Water: room temperature
Note: Most Asian grocery stores will carry most of the Asian specific ingredients or check online stores, like Amazon.
Expert Tips
- Dice the tofu into even cubes for consistent cooking time so that they equally become golden and crispy.
- Generously coat the diced tofu in the starch ensuring no bald spots or it won't be crispy. Do not just dump the cornstarch over the tofu in a bowl as this will cause the tofu to break apart easily.
- Don't skimp on the oil when frying the tofu as enough is needed to make it golden brown.
- Be patient in frying the tofu and do not increase the heat or it will burn. Perfectly fried tofu is achieved over medium heat with enough time.
- Make sure the sauce is thickened before adding the tofu and feel free to increase the heat when simmering the sauce.
Instructions
Below are step-by-step instructions on how to make crispy soy garlic tofu:
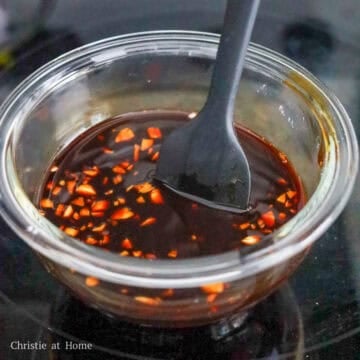
- In a small bowl, combine the sauce ingredients as listed above and set aside.

- Pat dry the tofu with paper towels to remove excess moisture and dice into ¾-inch cubes. Set aside.
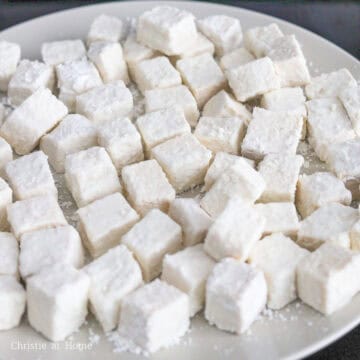
- Spread cornstarch onto a large plate or baking sheet and generously and gently coat the diced tofu in small batches. Feel free to add more cornstarch if needed. Set aside.
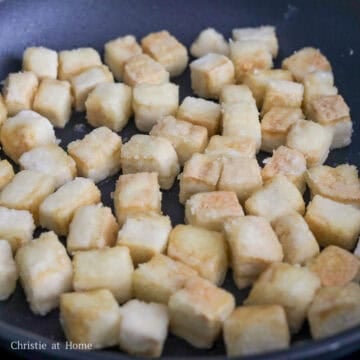
- Heat vegetable oil in a large pan on medium heat. Fry coated tofu until golden and crispy, about 14-20 mins in total, flipping over halfway. Remove fried tofu from pan and set aside.
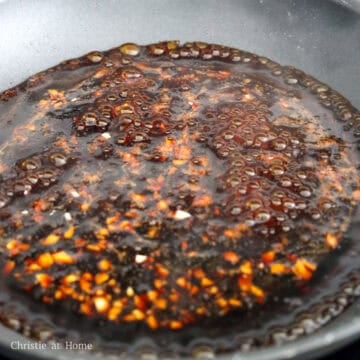
- Add the sauce into the pan and simmer to thicken.
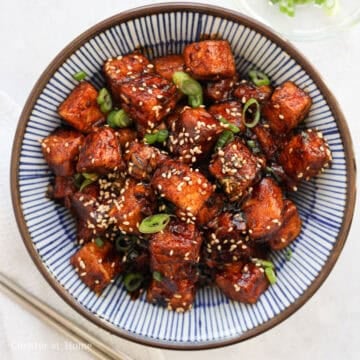
- Toss fried tofu in the thickened sauce until evenly coated. Remove off heat. Garnish with green onions and sesame seeds. Enjoy!
To Air Fry the Tofu
- Lightly spray the air fryer basket with neutral oil or cooking spray.
- Place the coated tofu into the air fryer basket in a single layer, giving each piece enough space. You will need to air fry in batches.
- Lightly spray the tofu with more oil or cooking spray.
- Air fry at 400 degrees F for a total of 10 minutes, flipping the pieces over halfway, until crispy and golden.
Storage
- Leftovers will last up to 4 days stored in an airtight container in the refrigerator. To reheat: microwave for 2-3 minutes until hot or reheat in a pan on medium heat.
- Freezer friendly? I don't recommend freezing soy garlic tofu as the tofu will change in texture.
Pairing Suggestions
Crispy soy garlic tofu serves well with:
- starters like egg rolls, crab rangoons, egg drop soup, hot and sour soup
- white or brown rice, cauliflower rice, or fried rice
- chow mein, lo mein, or plain noodles
- cooked vegetables like bok choy, spicy garlic bok choy, choy sum, gai lan, garlic green beans or stir fried snow pea leaves.
- protein dishes like Sweet and Sour Chicken, Cashew Chicken, Mongolian Beef, Honey Walnut Shrimp, Bang Bang Shrimp, Shrimp Omelet, and more!
FAQ
Crispy soy garlic tofu can be made up to 4 days in advance and stored in an airtight container in the fridge. To reheat, microwave or in a pan on the stovetop on medium heat until hot. Note: over time the tofu will lose it's crispy texture.
Feel free to add any vegetables with a low-water content, like carrots, bell peppers, snap or snow peas, broccoli or cauliflower. Add and cook the vegetables before simmering the sauce.
The coated tofu can be air fried and I share instructions below in the recipe card.
You will not need to use a tofu press for this recipe.
📖 Recipe
Quick & Easy Crispy Soy Garlic Tofu
Ingredients
- 12.34 oz extra firm tofu liquids strained out (no pressing required)
- 3 tablespoon vegetable oil or any neutral oil
- ½-3/4 cup cornstarch or potato starch, add more if needed
- 1 green onion finely chopped for garnish
- 1 teaspoon sesame seeds for garnish
Sauce
- 2 garlic cloves minced
- 1 tablespoon regular soy sauce
- 1 tablespoon dark soy sauce
- 1 tablespoon oyster sauce or vegetarian stir fry sauce for a vegan version
- 1 teaspoon Shaoxing Cooking Wine or dry sherry wine, dry white wine or omit altogether
- 1 teaspoon white granulated sugar
- 1 teaspoon rice vinegar or apple cider vinegar or white vinegar
- ½ tablespoon cornstarch or potato starch or tapioca starch
- ½ cup water room temperature
Instructions
- In a small bowl, combine the sauce ingredients as listed above and set aside.
- Pat dry the tofu with paper towels to remove excess moisture and dice into ¾-inch cubes. Set aside.
- Spread cornstarch onto a large plate or baking sheet and generously and gently coat the diced tofu in small batches. Feel free to add more cornstarch if needed. Set aside.
- Heat vegetable oil in a large pan on medium heat. Fry coated tofu until golden and crispy, about 14-20 mins in total, flipping over halfway. Remove fried tofu from pan and set aside.
- Add the sauce into the pan and simmer to thicken.
- Toss fried tofu in the thickened sauce until evenly coated. Remove off heat. Garnish with green onions and sesame seeds. Enjoy!
Notes
To Air Fry the Tofu
- Lightly spray the air fryer basket with neutral oil or cooking spray.
- Place the coated tofu into the air fryer basket in a single layer, giving each piece enough space. You will need to air fry in batches.
- Lightly spray the tofu with more oil or cooking spray.
- Air fry at 400 degrees F for a total of 10 minutes, flipping the pieces over halfway, until crispy and golden.
Sheila
I am not a fan of Tofu, but tried this and love it! Made it with some fried rice to go with it and perfect! Quick, easy and very tasty, Thank you!
Christie Lai
Thank you so much making my recipe and for leaving this review, Sheila! Glad you enjoyed it and found it easy.
Nicky
This was AMAZING! I rarely leave reviews but had to for this one. So delicious. My partner commented several times how good it was. Definitely going in the rotation and pretty quick for a week night. Brava!
Christie Lai
So thrilled to read this and I appreciate you taking the time and effort to leave me such a kind review! Thanks for making my recipe, Nicky!
Julie S
I never leave reviews, but have to tell you, this tofu recipe is THE BEST. My 11yr old has requested it three days in a row for lunch. I like to get it extra crispy, and the sauce is spot on and ridiculously fast to throw together. Total winner in our house. Thanks!
Christie Lai
Thank YOU SO MUCH for this very kind and raving review, Julie! So happy to hear that you both enjoyed it and glad it's a winner in your house 🙂
Eric
First time I ever had tofu making this, it's actually really good! My parents liked it too, they were surprised when I told them it was tofu. We'll definitely be having it again.
Christie Lai
Fantastic! Thanks so much for making my recipe and for leaving this positive review, Eric! Happy your parents liked it too.
Mike
Best tofu recipe! Thanks for sharing this delicious recipe with the world. Steamed vegetables with this and it was a perfect meal.
Christie Lai
Amazing! Thank you so much for making my recipe Mike. Glad you enjoyed it!
Victoria
I made this tonight for my husband and I and we both absolutely loved it!
(I added some fresh ginger to the sauce)
Christie Lai
Thank you so much for making my recipe and for sharing your positive experience with us! So glad you enjoyed it!
Kara
Excellent recipe 😋
Christie Lai
Thank you so much for making my recipe! So glad you enjoyed it!