

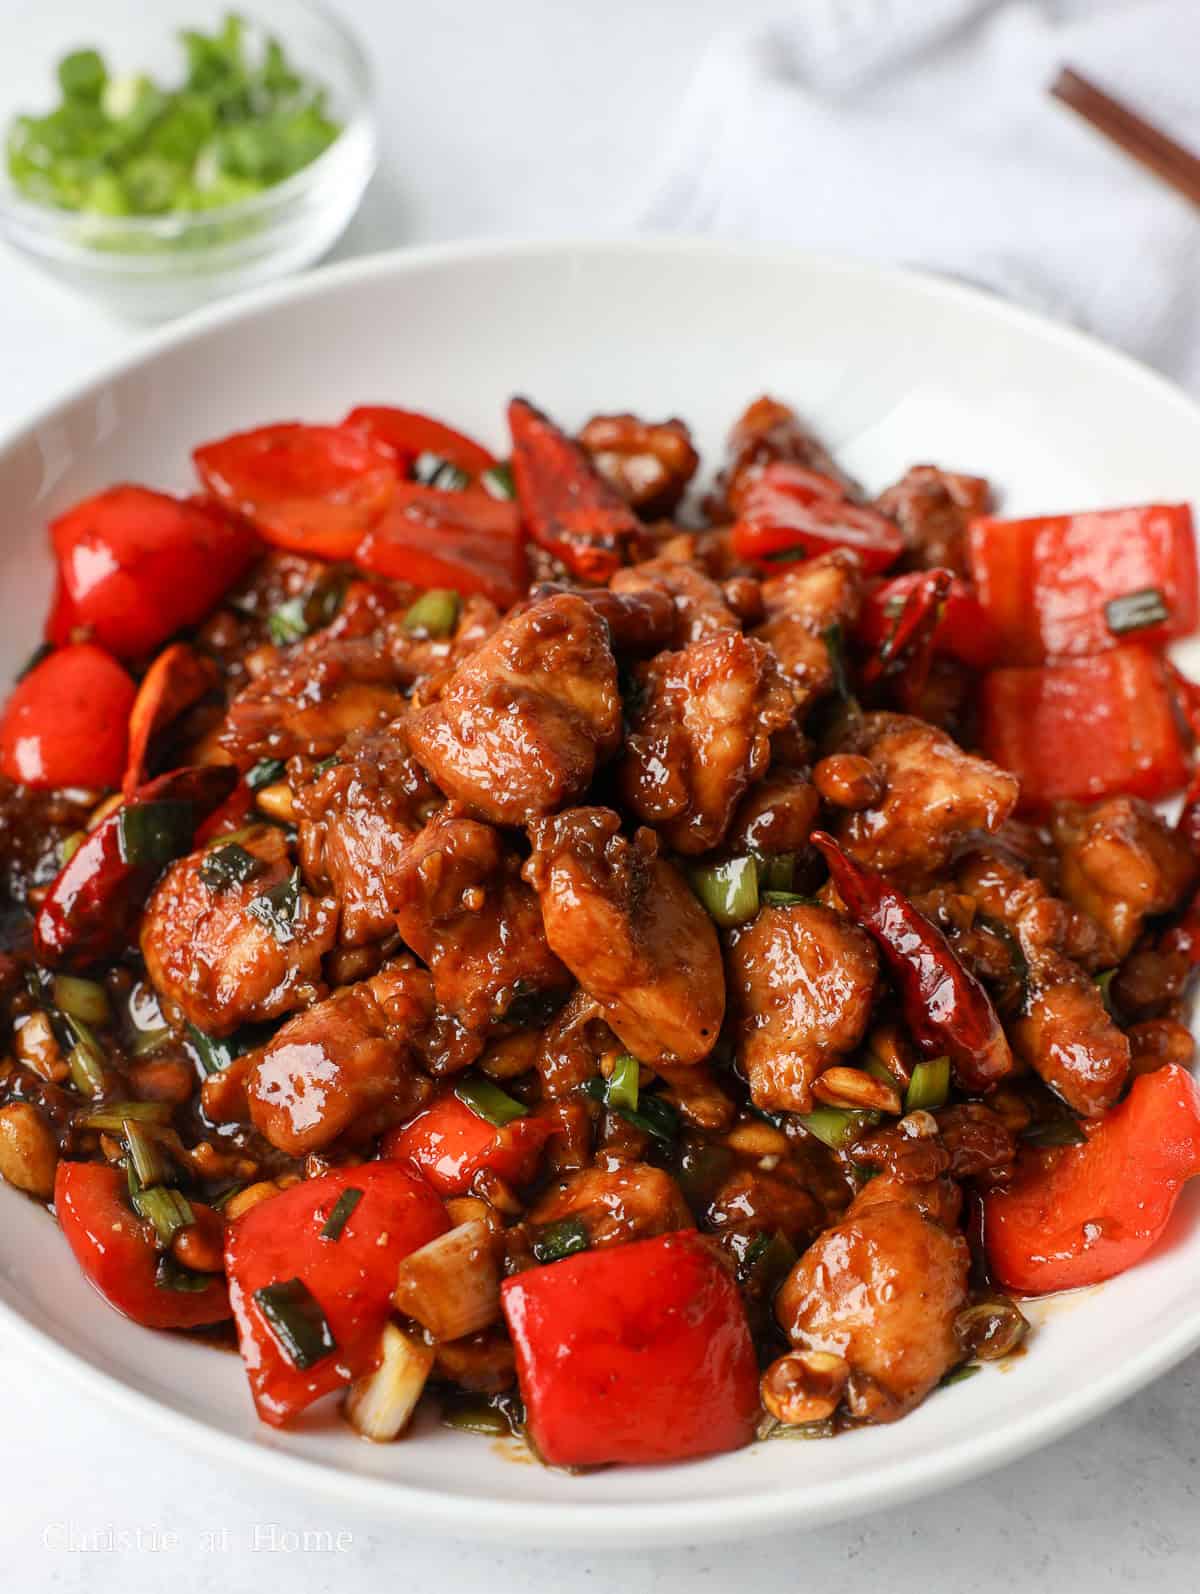
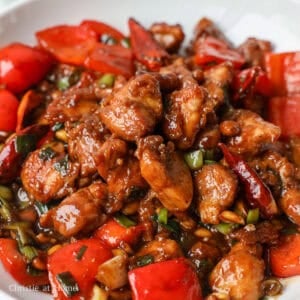
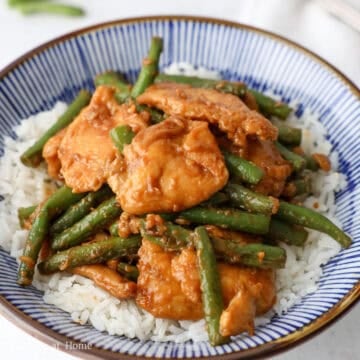
If you want a fast weeknight dinner, this easy kung pao chicken recipe comes together in 30 minutes. The sweet and savory sauce has just the right amount of heat. You get tender chicken and crunchy peanuts in every bite.
Jump to:
When I was a little girl, I remember ordering Kung Pao chicken (宫保鸡丁) at our local Chinese restaurant and loving the sweet and savory flavors with all the contrasting textures. Naturally, I had to share this on the blog as it's a classic takeout dish.
In my testing, I found that velveting the chicken with baking soda, cornstarch, and oil for 15-20 minutes keeps it tender even after quickly pan-frying it over medium-high heat.
Why It Works
- Short velveting time: A 15-20 minute marinade tenderizes the chicken without making it overly soft.
- Batch pan-frying: Cooking the chicken in batches helps it brown evenly without overcrowding the pan.
- Quick final stir-fry: Adding the sauce at the end lets it thicken around the chicken without overcooking it.
Ingredients & Substitutes
Exact ingredient amounts are listed in the recipe card at the bottom of this page.
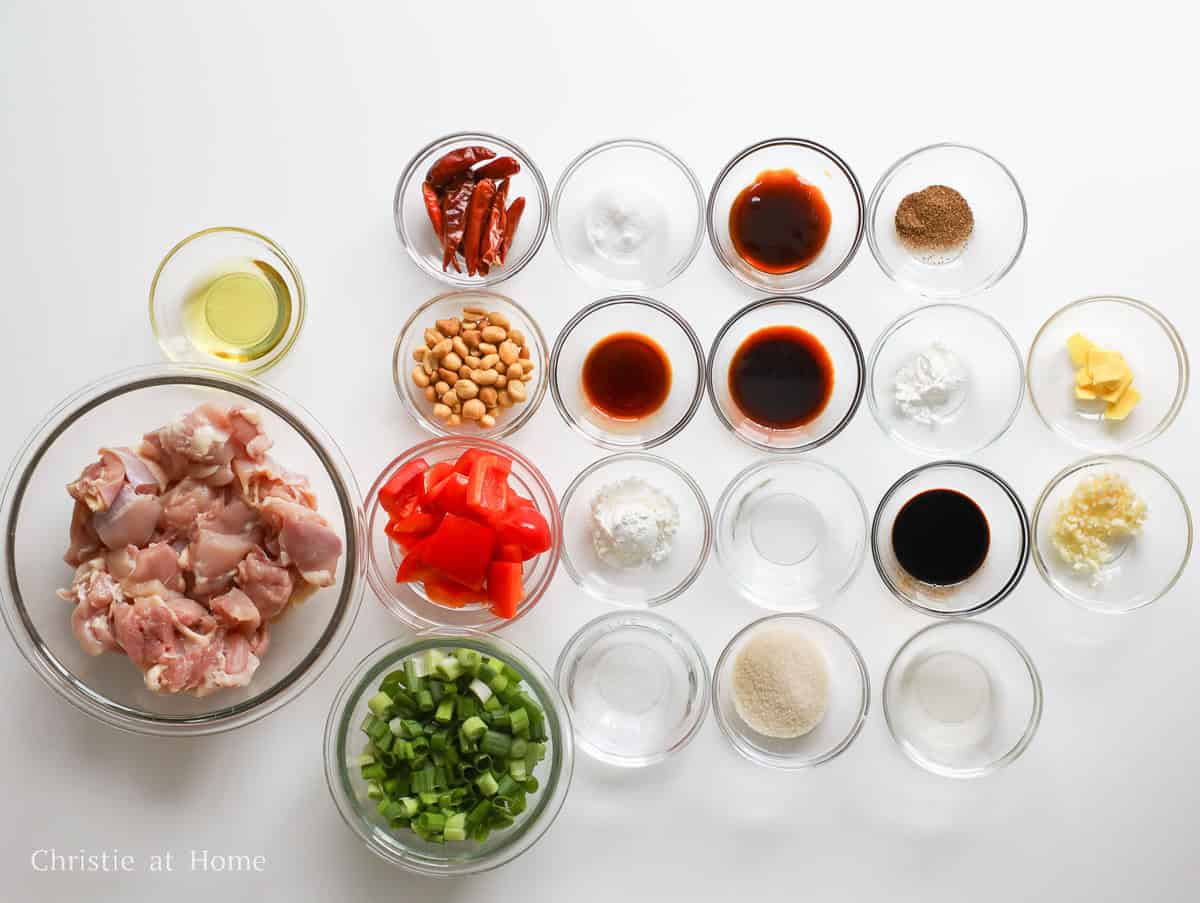
- Chicken Thighs: Use boneless, skinless thighs. Chicken breast works too but will be leaner.
- Red Bell Pepper: Orange, yellow, or green bell peppers work too.
- Green Onions: Shallots or a small onion also work.
- Unsalted Roasted Peanuts: Unsalted roasted cashews work too.
- Dried Whole Sichuan Red Chilis
- Vegetable Oil: Choose a neutral, high-smoke-point oil. Canola, peanut, or refined avocado oil works too.
Chicken Marinade
- Cold Water
- Cornstarch: Potato starch also works. Avoid using tapioca starch, as it can cause the chicken to stick together when frying.
- Regular Soy Sauce: Light soy sauce also works. Use low-sodium soy sauce for less salt.
- Baking Soda: Tenderizes the chicken during the short velveting marinade.
- Vegetable Oil: Canola, peanut, or refined avocado oil works too.
Kung Pao Sauce
- White Granulated Sugar: Cane sugar also works.
- Cold Water
- Regular Soy Sauce: Light soy sauce also works. Use low-sodium soy sauce for less salt.
- Oyster Sauce: Vegetarian stir-fry sauce works too.
- Rice Vinegar: Apple cider vinegar works too but has a slightly fruitier tang.
- Dark Soy Sauce: Gives the sauce a darker color and deeper flavor. Mushroom dark soy sauce works too.
- Cornstarch: Thickens the sauce. Potato starch or tapioca starch also works.
- Ground Sichuan Peppercorn: This adds that numbing sensation. Whole Sichuan peppercorns also work if you finely grind them before using.
- Garlic Cloves
- Ginger
Note: Asian ingredients are typically available at most Asian grocery stores or online.
Expert Tips
- Cut the peppers large and add them last so they stay crisp-tender.
- Prep everything before cooking because the stir-fry comes together very quickly.
- Use a carbon steel wok over high heat to develop wok hei and deeper stir-fried flavor.
Instructions
Below are step-by-step instructions on how to make kung pao chicken:
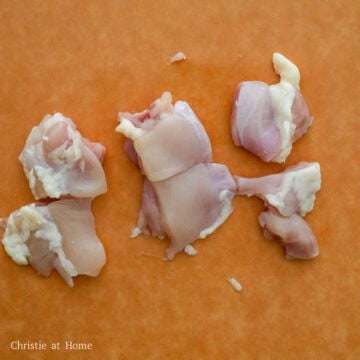
- Cube the Chicken: Dice the chicken thighs into uniform 1.5-inch pieces and place them in a large mixing bowl.
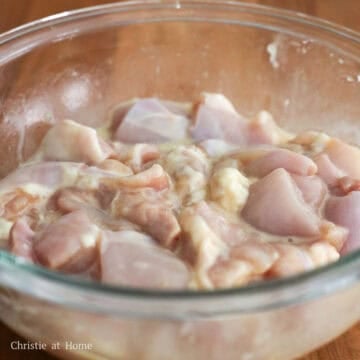
- Marinate the Chicken: Mix the water, cornstarch, soy sauce, and baking soda thoroughly into the chicken, then mix in the oil. Marinate for 15 to 20 minutes.

- Whisk the Sauce: Whisk all the listed sauce ingredients in a separate bowl until the sugar dissolves. Set aside.
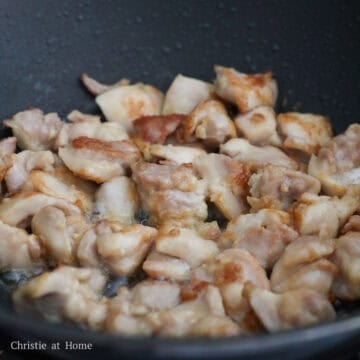
- Sear the Chicken: Heat the vegetable oil in a large pan over medium-high heat. Fry the chicken in batches for 5 to 6 minutes total, flipping halfway through, until golden on both sides and the internal temperature reaches 165°F. Remove the chicken, leaving the residual oil in the pan.
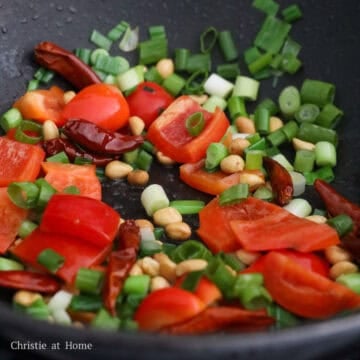
- Toast the Aromatics: Stir-fry the dried chilis, green onions, and peanuts in the residual oil for 15 seconds. Add the bell peppers and stir-fry for 30 seconds.
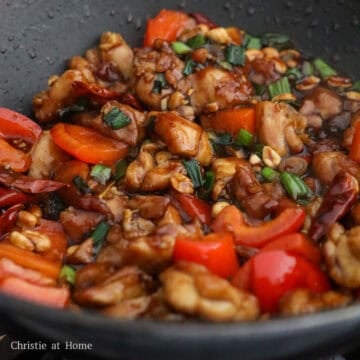
- Combine and Thicken: Return the chicken to the pan. Whisk the sauce again, then pour it in and stir-fry constantly for 30 seconds until the sauce thickens and coats the chicken. Remove from the heat and serve immediately.
Variations
- Gluten-free: Replace both soy sauces with tamari or gluten-free soy sauce, and use certified gluten-free oyster sauce.
- Spicier: Mix 1 teaspoon red chili flakes into the prepared sauce.
Pairing Suggestions
Serve Chinese kung pao chicken with:
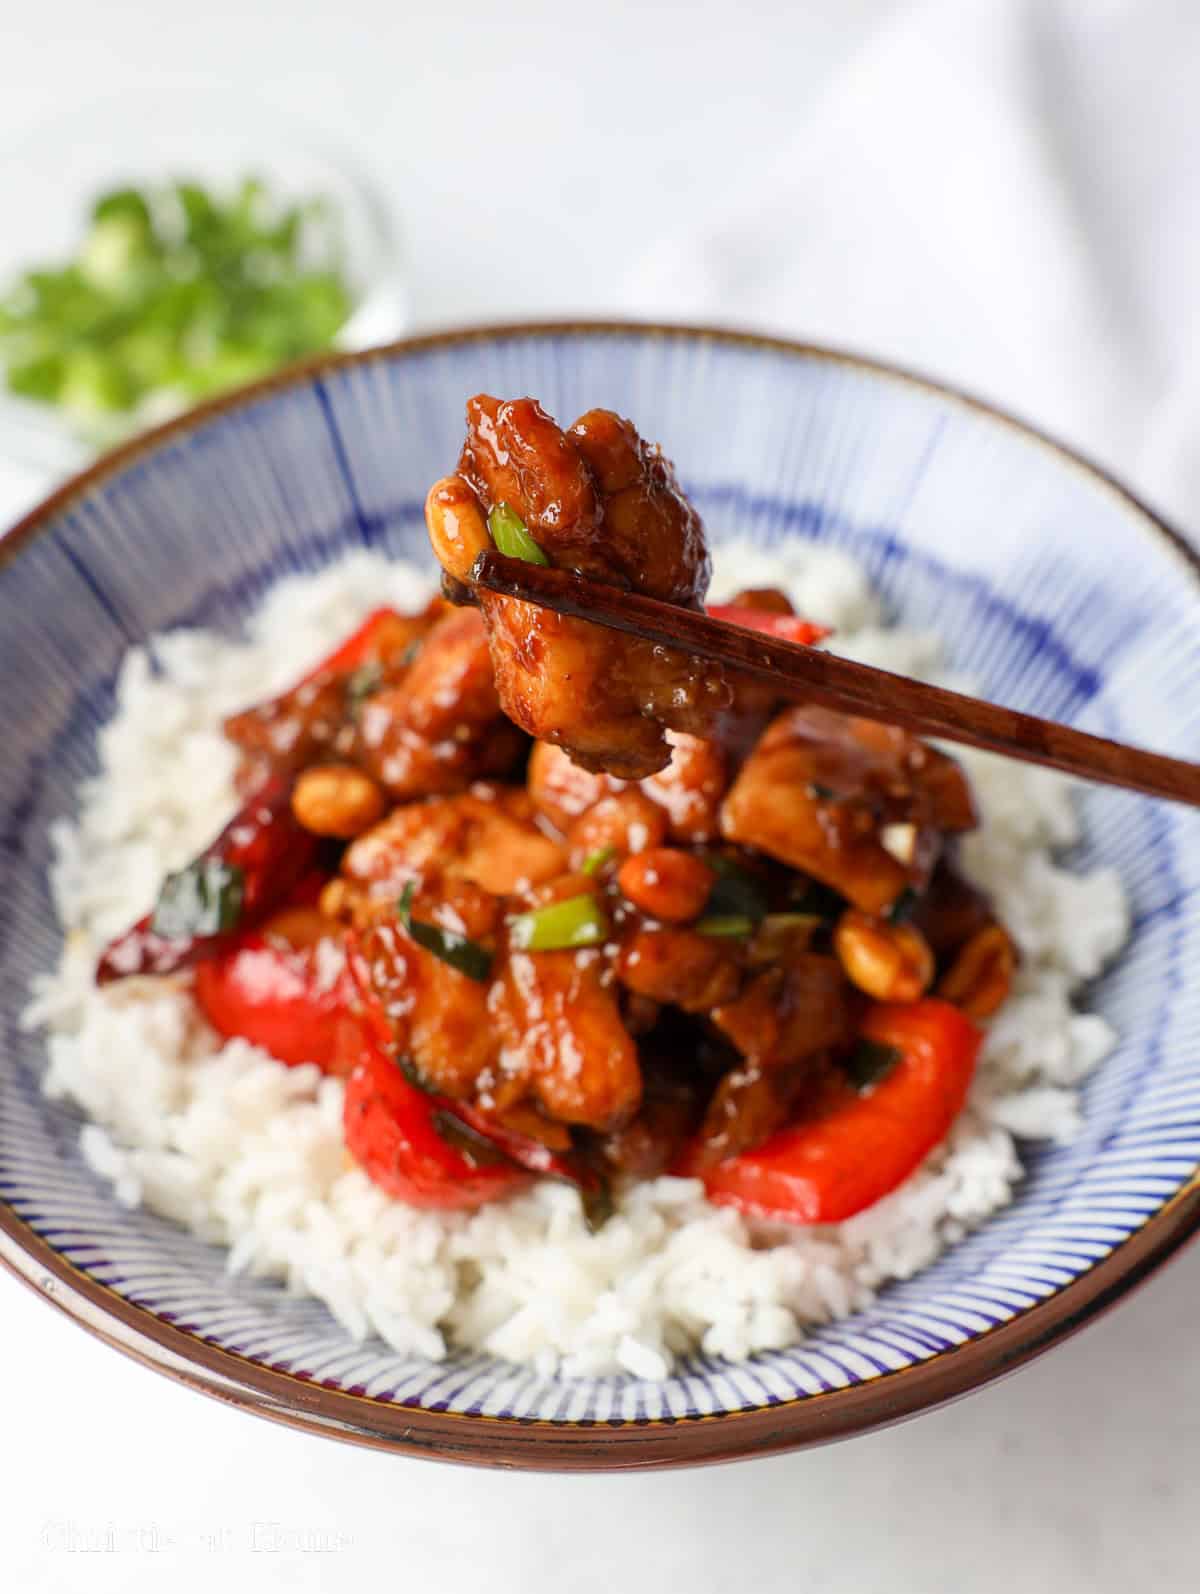
- White Rice: Soaks up the savory sauce and balances the heat.
- Spicy Garlic Bok Choy: Adds a crisp vegetable side to the meal.
- Crab Rangoon: Adds a crunchy, creamy contrast to the spicy chicken.
Storage & Reheating
- Refrigerator: Store leftovers in an airtight container for up to 4 days.
- Freezer: I don't recommend freezing because the bell peppers and peanuts will become soggy after thawing.
- Reheating: Reheat in a skillet over medium-high heat with a splash of water for about 3 minutes, or microwave for 2-3 minutes, until hot.
FAQ
The chicken may have been overcooked or the velveting step was skipped. Marinate it with the baking soda mixture for 15-20 minutes and cook just until it reaches 165°F.
The sauce may not have been re-whisked before adding, causing the cornstarch to stay settled at the bottom. Make sure the sauce is well mixed and let it briefly simmer until it thickens and coats the chicken.
Keep the dried chilis whole and use fewer if needed to reduce the heat. You can also reduce the Sichuan peppercorn if you prefer less of its signature numbing sensation.
More Like This
Check out my other fried chicken recipes:
📖 Recipe
Easy Kung Pao Chicken (30 Minutes)

Ingredients
- 1 lb skinless boneless chicken thighs
- ½ cup red bell pepper large diced
- 5 green onions chopped into ½" long rounds
- ¼ cup roasted peanuts unsalted
- 10 whole dried Sichuan red chilies
- 2 tablespoon vegetable oil or any neutral oil
Chicken Marinade
- 3 tablespoon water cold
- 1 tablespoon cornstarch
- 1 teaspoon regular soy sauce or light soy sauce
- ½ teaspoon baking soda
- 1 tablespoon vegetable oil or any neutral oil
Sauce
- 2 tablespoon white granulated sugar
- 2 tablespoon water cold
- 1 tablespoon regular soy sauce or light soy sauce
- 1 tablespoon oyster sauce
- 1 tablespoon rice vinegar
- ½ tablespoon dark soy sauce
- 1 teaspoon cornstarch
- ½ teaspoon ground sichuan peppercorn
- 3 garlic cloves minced
- 1 teaspoon ginger thinly sliced
Instructions
- Dice the chicken thighs into uniform 1.5-inch pieces and place them in a large mixing bowl.
- Marinate the Chicken: Mix the water, cornstarch, soy sauce, and baking soda thoroughly into the chicken, then mix in the oil. Marinate for 15 to 20 minutes.
- Whisk all the listed sauce ingredients in a separate bowl until the sugar dissolves. Set aside.
- Heat the vegetable oil in a large pan over medium-high heat. Fry the chicken in batches for 5 to 6 minutes total, flipping halfway through, until golden on both sides and the internal temperature reaches 165°F. Remove the chicken, leaving the residual oil in the pan.
- Stir-fry the dried chilis, green onions, and peanuts in the residual oil for 15 seconds. Add the bell peppers and stir-fry for 30 seconds.
- Return the chicken to the pan. Whisk the sauce again, then pour it in and stir-fry constantly for 30 seconds until the sauce thickens and coats the chicken. Remove from the heat and serve immediately.
Mrs Aamir
Delicious Awesome and easy
Christie Lai
Thanks for making my recipe and for the positive review!
Manlet
I cannot stress enough at how high quality this recipe is . It’s so simple and comes out so perfectly . Plus the sechuan powder is so well balanced . You get flavor instead of pure numbing feeling . This is one of my favorite Chinese takeout dishes I make now .
Christie Lai
This comment seriously made my day! Thank you so much for making my recipe and for leaving this kind review, Manlet 🙂 I'm so glad you enjoyed it and found it to be high quality. I hope you continue to enjoy it in the future.
Adriana
My family and I loved your kung pow chicken recipe. Thank you!
Greatly appreciate all the recipes.
Christie Lai
Amazing! Thank you so much for making my recipe and very glad to hear your family enjoyed it, Adriana!
Rina Bruccoleri caringi
Good receipe. My family enjoyed it. I placed Chili peppers instead of the recommended one in the receipe and it was food. I added more soy sauce then recommended.
Easy and amazing recipe.
Christie Lai
Thank you so much for making my recipe and glad the whole family enjoyed it!
Rafael Campos
Thanks it was really good. Added more Chiles and veggies but delicious
Christie Lai
Thank you so much for making my recipe and for leaving this positive review, Rafael!
Will
Better than any Chinese carry out place
christieathome
Thank you so much Will! I am so glad you enjoyed my recipe 🙂