Jump to:
What is Mongolian Chicken?
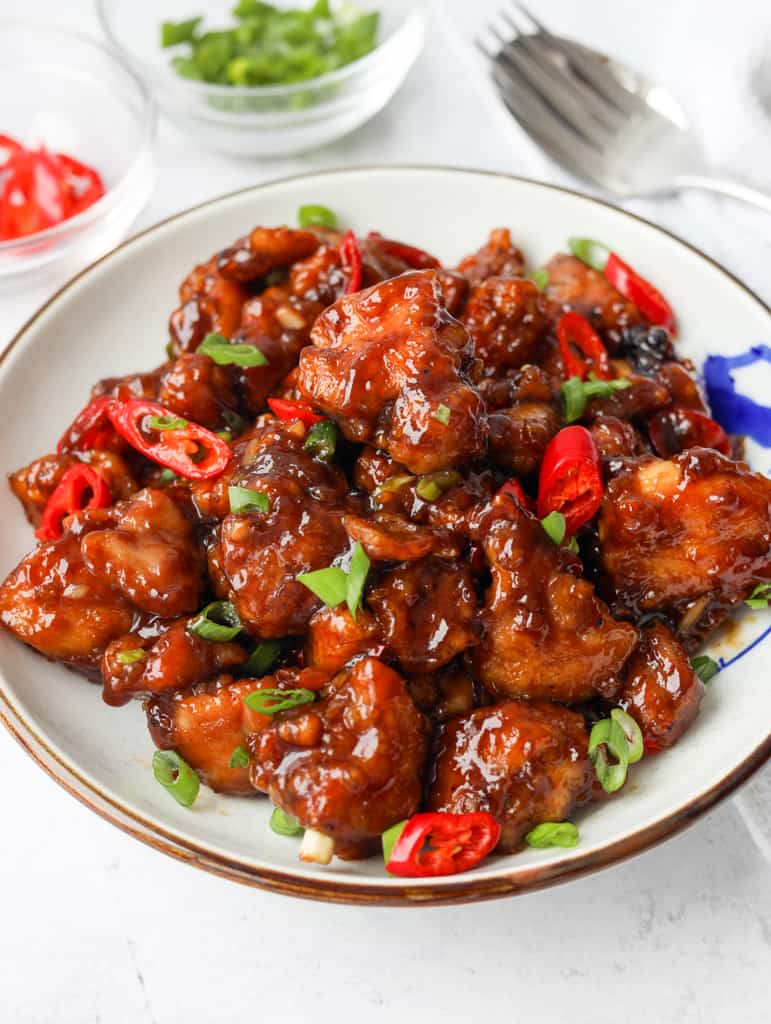
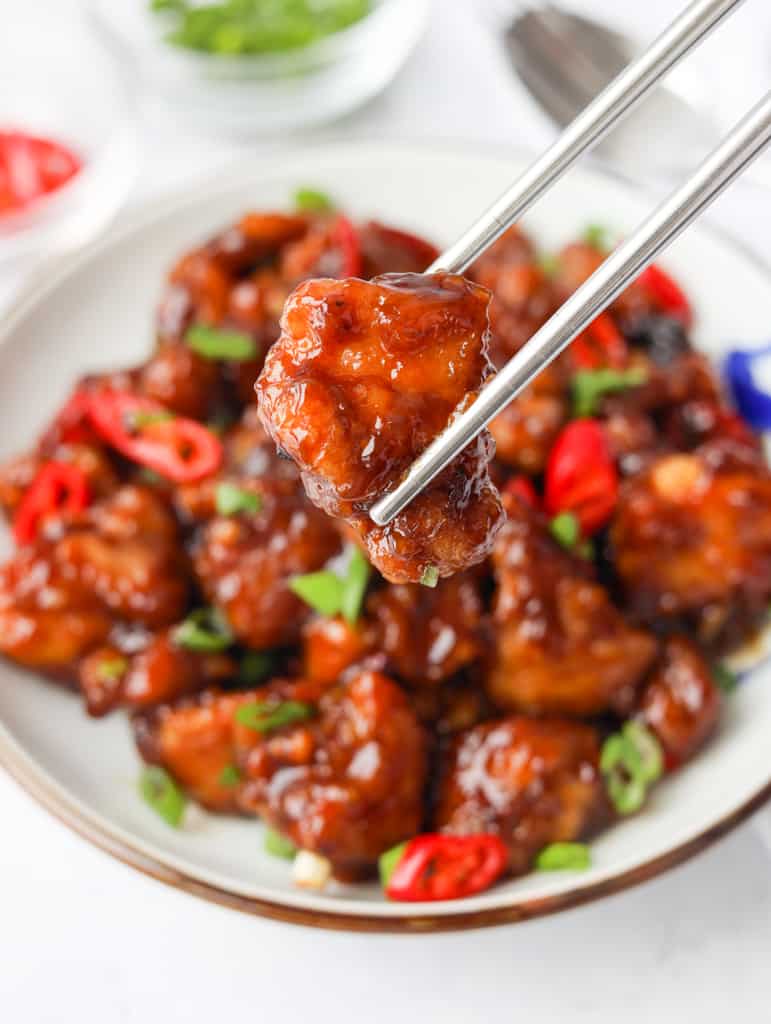
Mongolian chicken features crispy bite-sized chicken coated in a sweet, savory hoisin-based sauce infused with ginger, garlic, and red chili.
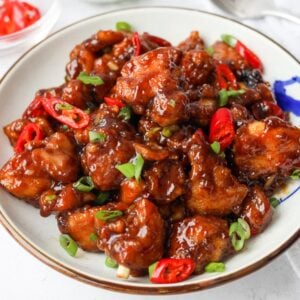
It's a popular Chinese restaurant dish with bold and complex flavors, thanks to the rich sauce and aromatics. This dish is best served over plain white rice with vegetables.
Despite the name, it doesn't originate from Mongolia - it's a Chinese-American takeout dish. The name comes from a Taiwanese stir-fry method, called "Mongolian barbecue".
What makes my recipe unique is that the chicken is lightly dusted in starch (no messy wet batter here!) and shallow-fried using a small amount of oil. It's also gluten-free adaptable (see Variations section below).
Ingredients & Substitutes
Please scroll to the recipe card below for exact measurements.
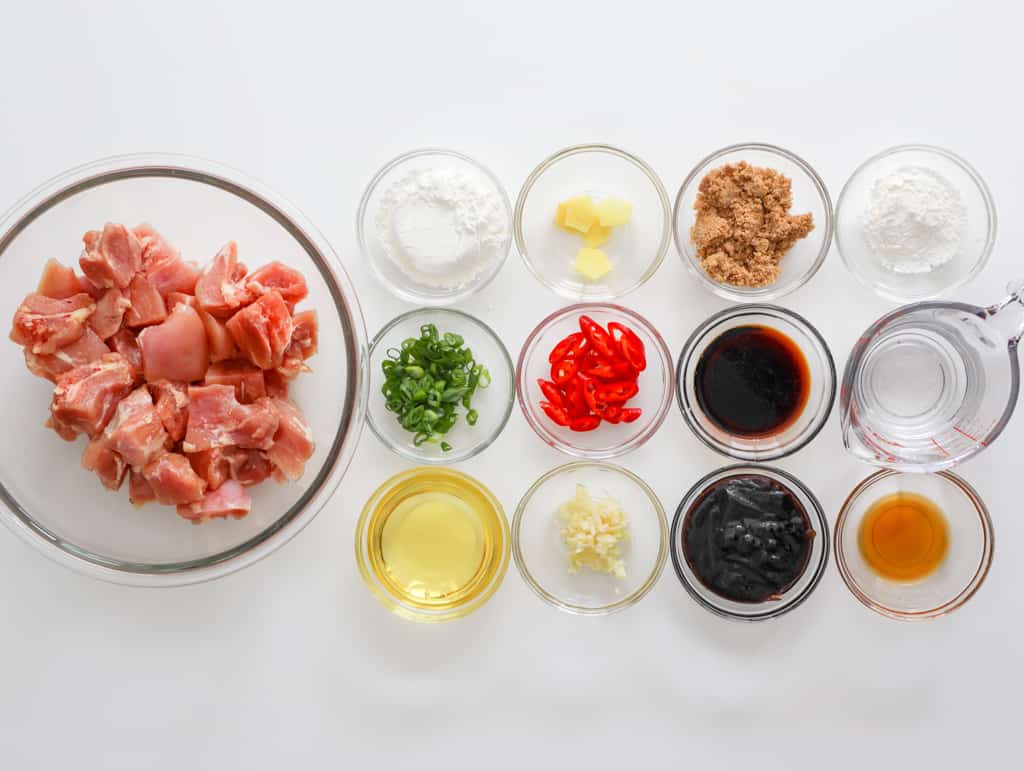
- Boneless Skinless Chicken Thighs: Or use chicken breasts and adjust the cooking time, so it doesn't dry out.
- Cornstarch: Or use potato starch. Avoid using tapioca starch or arrowroot starch or it'll cause the chicken to stick together.
- Neutral Oil: Use a neutral oil like avocado, sunflower, grapeseed, peanut, vegetable, or canola oil. Avoid olive oil or any low-smoke-point oil.
- Garlic
- Red Chili: Use any large red chili of choice. For a milder spice, de-seed the red chili or replace with 2 tablespoon finely diced red bell pepper.
- Fresh Ginger
- Hoisin Sauce: A thick brown sweet sauce not to be confused with oyster sauce.
- Regular Soy Sauce: Or use low-sodium soy sauce or light soy sauce.
- Brown Sugar: Both light or dark brown sugar will work.
- Sesame Oil
- Cornstarch: This is for the cornstarch slurry. Or substitute with potato starch or tapioca starch.
- Cold Water: This is for the cornstarch slurry. Or substitute low-sodium chicken stock for more flavor.
- Green Onion & Red Chili: These are optional garnishes.
Note: Asian ingredients are typically available at most Asian grocery stores or check online.
Variations
- Pork version - Replace the chicken with diced pork shoulder.
- Beef version - Replace the chicken with diced flank steak.
- Gluten-free version: Replace the soy sauce with tamari sauce, coconut aminos or a gluten-free soy sauce and use gluten-free hoisin.
- Vegetarian version - Replace the chicken with diced extra-firm tofu.
Expert Tips
- Use fresh chicken and aromatics as they are the star ingredients. The aromatics are key for great flavor!
- Use chicken thighs instead of chicken breasts for best taste as they have more fat and won't dry out during cooking.
- Don’t pat dry the chicken as moisture is needed for the cornstarch to stick.
- Evenly dice the chicken into 1.5-inch cubes, so they cook consistently.
- Use a heavy-bottomed pan to fry the chicken to maintain consistent oil temperature.
- Ensure the oil is hot enough before frying, ideally around 325-350 F with a digital cooking thermometer or insert a wooden chopstick into the oil and look for rapid bubbles.
- Fry the chicken in batches in a single layer to ensure crispiness and avoid overcrowding the pan.
- Avoid moving the chicken as it fries, so it can develop a golden crust.
- Drain the fried chicken on a wire rack or paper-towel-lined plate to remove excess oil.
Instructions
Below are step-by-step instructions on how to make Mongolian chicken:
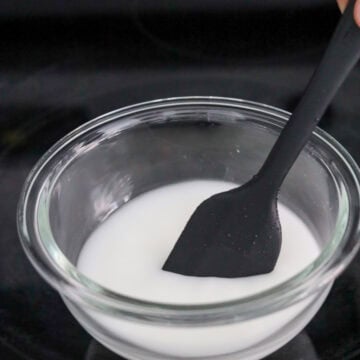
- Make cornstarch slurry: In a small bowl, combine 1 tablespoon cornstarch and ½ cup cold water until the starch has dissolved. Set aside.
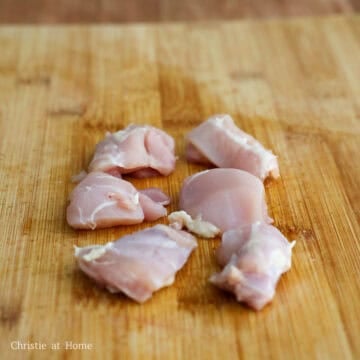
- Cube chicken: Dice chicken thighs into 1.5-inch cubes. (Don't pat the chicken dry as moisture is needed for the next step).
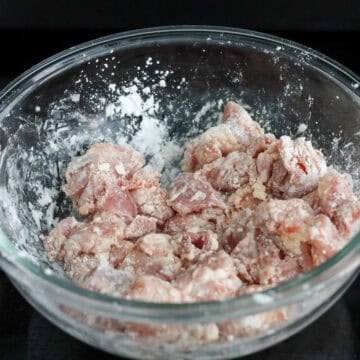
- Coat diced chicken in starch: Transfer diced chicken to a large mixing bowl and add cornstarch. Then toss to coat evenly and set aside. (Feel free to add more cornstarch if needed).
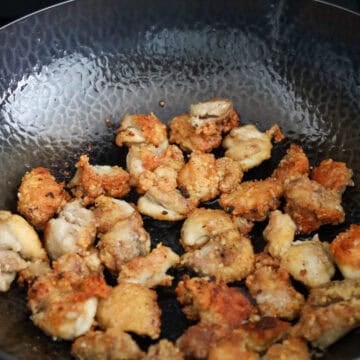
- Fry chicken: Heat the vegetable oil in a large pan on medium-high heat. Fry chicken in batches in a single layer until crispy, cooked and golden, about 5-7 minutes total. Transfer to a wire rack or paper towel-lined plate to drain excess oil. Reserve 2 teaspoon of oil in the pan, discarding the rest.
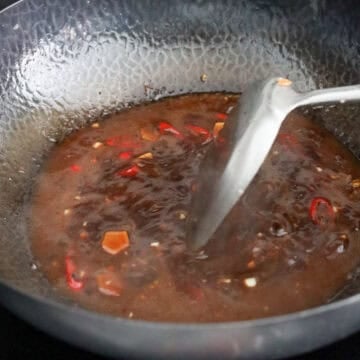
- Cook aromatics and sauce: Reduce to medium heat. Stir-fry ginger, garlic, and red chili for 10 seconds. Then add hoisin sauce, soy sauce, brown sugar, and sesame oil. Mix the cornstarch slurry again and add to the pan. Stir to combine and simmer sauce until thickened.
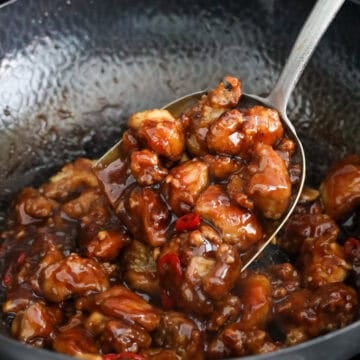
- Toss chicken in sauce: Once thickened, add fried chicken and toss to evenly coat. Remove from heat. Garnish with red chili and green onions - enjoy!
Storage & Reheating
- Mongolian chicken can last up to 4 days stored in an airtight container in the fridge once cooled. To enjoy, reheat in the microwave or on the stovetop until hot throughout.
- Mongolian chicken can be frozen for up to 2-3 months in a freezer-safe bag once cooled. To enjoy, defrost overnight in the fridge and reheat in the microwave or on the stovetop until hot throughout.
Pairing Suggestions
Mongolian chicken pairs well with:
- Starters: Egg rolls, Crab rangoon, Egg drop soup, or Hot and sour soup.
- Rice Dishes: White rice, Brown rice, or Fried rice.
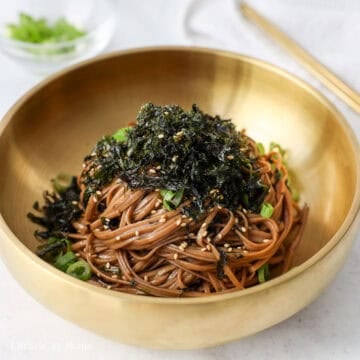
- Noodle Dishes: Chow mein, Lo mein, Plain noodles, or Soup noodles.
- Vegetable Dishes: Chinese Garlic Bok Choy, Spicy Garlic Bok Choy, Chinese Garlic Yu Choy, Chinese Garlic Gai Lan, Garlic Green Beans or Stir-fried Snow Pea Leaves.
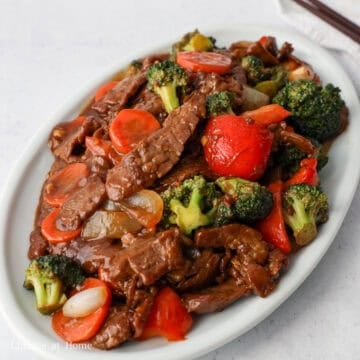
- Protein Dishes: Beef Vegetable Stir-Fry, Bang Bang Shrimp, Egg Foo Young, Soy Garlic Tofu, and more!
FAQ
Mongolian chicken can be made up to 4 days in advance and stored in an airtight container in the fridge once cooled. To reheat, microwave or reheat on the stovetop until hot throughout.
You can add vegetables, such as diced bell peppers, broccoli florets, cauliflower, carrots, snap peas, or snow peas before stir-frying the aromatics.
The fried chicken can be made in the air fryer: First evenly spray air fryer basket with neutral oil, then place the coated chicken into the basket in a single layer, giving each piece enough space - you'll need to air fry in batches. Evenly spray oil over the chicken. Air fry at 400 F for 10-14 minutes until golden and crispy, no need to flip.
📖 Recipe
Quick & Easy Mongolian Chicken
Ingredients
- 1 lb skinless boneless chicken thighs
- ¼ cup cornstarch or potato starch, add more if needed
- ⅓ cup vegetable oil or any neutral oil
- 2 garlic cloves minced
- 1 red chili pepper sliced (optional)
- 5 slices ginger
- 4 tablespoon hoisin sauce
- 2 tablespoon regular soy sauce or light soy sauce
- 2 tablespoon brown sugar
- 2 teaspoon sesame oil
Cornstarch Slurry
- 1 tablespoon cornstarch or potato starch
- ½ cup water cold
Optional Garnishes
- 1 green onion finely chopped
- 1 red chili pepper sliced
Instructions
- In a small bowl, combine 1 tablespoon cornstarch and ½ cup cold water until the starch has dissolved. Set aside.
- Dice chicken thighs into 1.5-inch cubes. (Don't pat the chicken dry as moisture is needed for the next step).
- Transfer diced chicken to a large mixing bowl and add cornstarch. Then toss to coat evenly and set aside. (Feel free to add more cornstarch if needed).
- Heat the vegetable oil in a large pan on medium-high heat. Fry chicken in batches in a single layer until crispy, cooked and golden, about 5-7 minutes total. Transfer to a wire rack or paper towel-lined plate to drain excess oil. Reserve 2 teaspoon of oil in the pan, discarding the rest.
- Reduce to medium heat. Stir-fry ginger, garlic, and red chili for 10 seconds. Then add hoisin sauce, soy sauce, brown sugar, and sesame oil. Mix the cornstarch slurry again and add to the pan. Stir to combine and simmer sauce until thickened.
- Once thickened, add fried chicken and toss to evenly coat. Remove from heat. Garnish with red chili and green onions - enjoy!
Patty C
Amazing good! Followed recipe, thanks for sharing.
Christie Lai
Fantastic! Thank you so much for making my recipe and for leaving a positive review here, Patty! So glad you enjoyed it!
Roy Goodacre
Love this recipe. Have made it several times and this evening I'm making it for my two grandchildren who enjoyed it last time I made it for them.
Christie Lai
Thank you so much for making my recipe and for leaving a positive review, Roy! So happy you and your grandchildren enjoyed it 🙂
Bob
Loved it., But being into heat I added a quarter cup of chili garlic sauce.
Christie Lai
So happy to read this! Glad you enjoyed it with the extra heat!
Sabrina
This dish turned out great!!
Christie Lai
Thrilled to read this, Sabrina! Thank you so much for making my recipe and for sharing your 5-star review!
Lynn
First time varying from my usual Asian dishes. Loved this. My husband said it was great and there were no leftovers. Definitely will make it again.
Christie Lai
Thank you so much for the positive feedback and for making my recipe! Glad you and your husband loved it so much!
Jules
Can you use chicken tenderloins instead of chicken thighs?
Christie Lai
Yes, that will work well too!